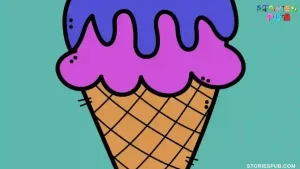
How to Draw Ice Cream Cone | Step By Step
How to Draw Ice Cream Cone | Step By Step Drawing an ice cream cone is a great way to add a bit of fun to any drawing project. It’s also a great way to practice art fundamentals, such as shading and color theory. Whether you’re creating a charming illustration or just doodling in your sketchbook. In This tutorial to learn how to draw an ice cream cone! From the steps for creating the cone shape to adding details and accessories, we cover it all. So grab your favorite drawing supplies and let’s get started! 1. Begin by drawing a basic ice cream cone shape. Start with a small circle at the top and then taper it down into a cone shape. 2. Next, add some details to your cone. Include swirls or other designs on the side of the cone and make the top of the cone nice and