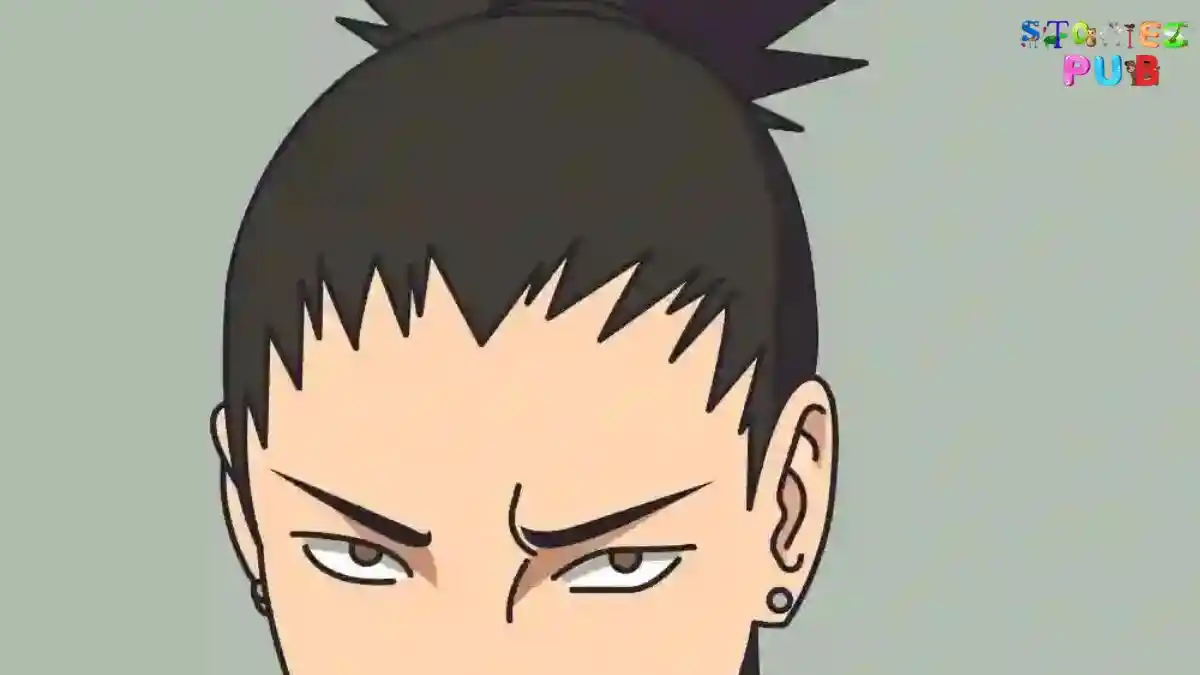

How To Draw Kakashi Face – Step By Step
How To Draw Kakashi Face – Step By Step If you’re a fan of the Naruto franchise, then you know that Kakashi Hatake is one of the most popular characters. He has become a fan favorite for his cool attitude and mysterious past. And for fans who want to try their hand at drawing, Kakashi’s face can be an intimidating but rewarding challenge. In this blog post, we’ll break down the basics of how to draw Kakashi face, step-by-step. We’ll cover the anatomy of the face and key features, like the mask and Sharingan eyes. After reading through it, even beginners should be able to draw their favorite ninjas with ease! Kakashi Hatake is a beloved character from the anime and manga series Naruto, and many fans want to learn how to draw his face. Luckily, it’s not too difficult! Here are some tips on how to get started: First,