Summarize this Article with:
How To Draw A Quill – A to Z Alphabet Drawing
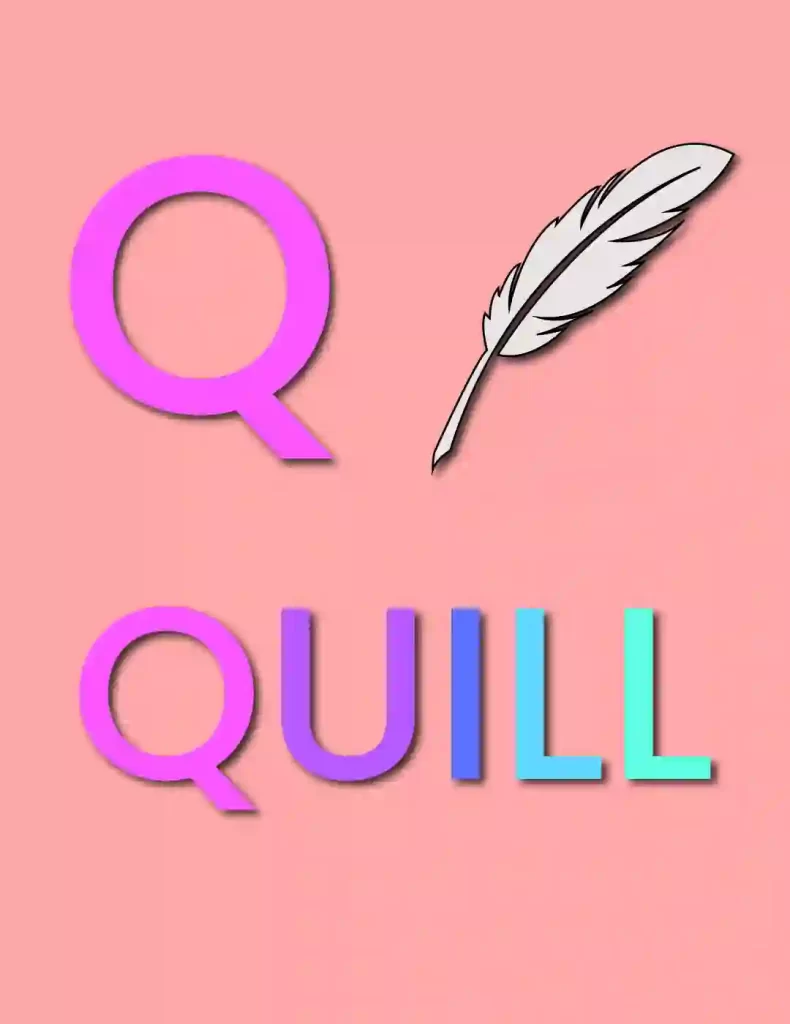
The original quill is a writing instrument made from a feather, usually from a goose or turkey, that has been cut and sharpened to a point. Quills were used for writing from the sixth century until the nineteenth century, when steel pens took their place.
Many writers and scholars preferred quills because they had a fine point that could produce detailed and elegant handwriting, and the ink used with them lasted a long time. However, quills were difficult to use because they needed to be sharpened constantly and the ink was messy.
You’ll learn How To Draw A Quill They were widely used by scholars and writers to write important documents, books, and letters.
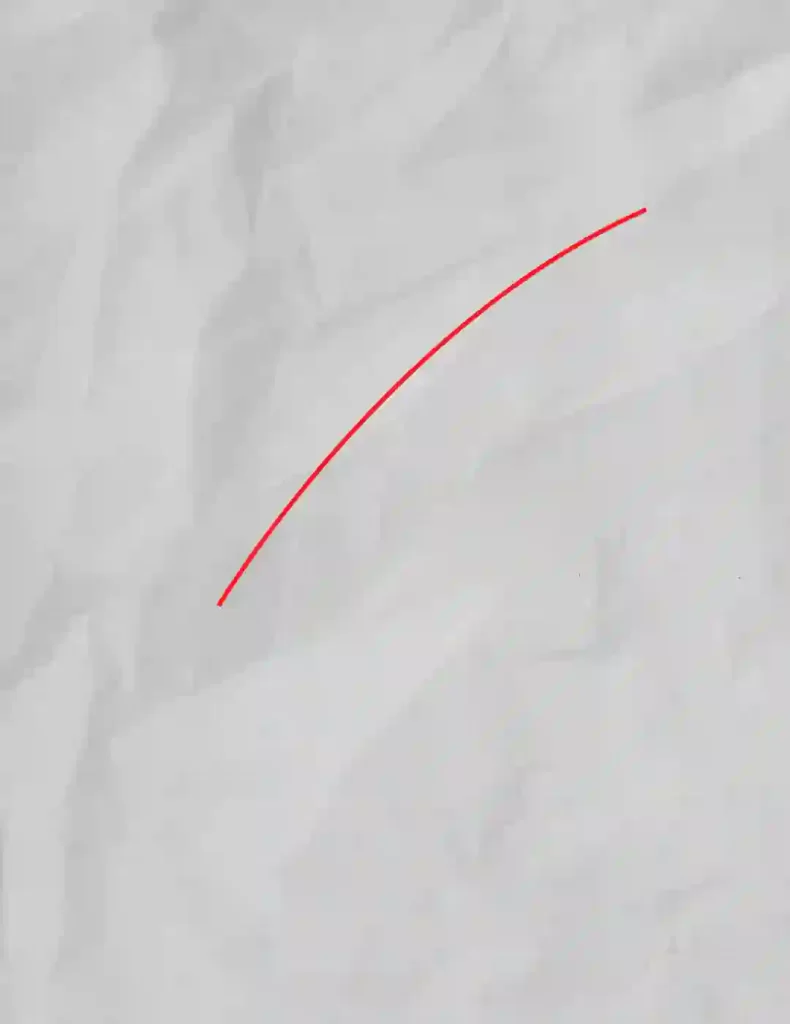
Step 1 :- Start by drawing the inner line of feather..
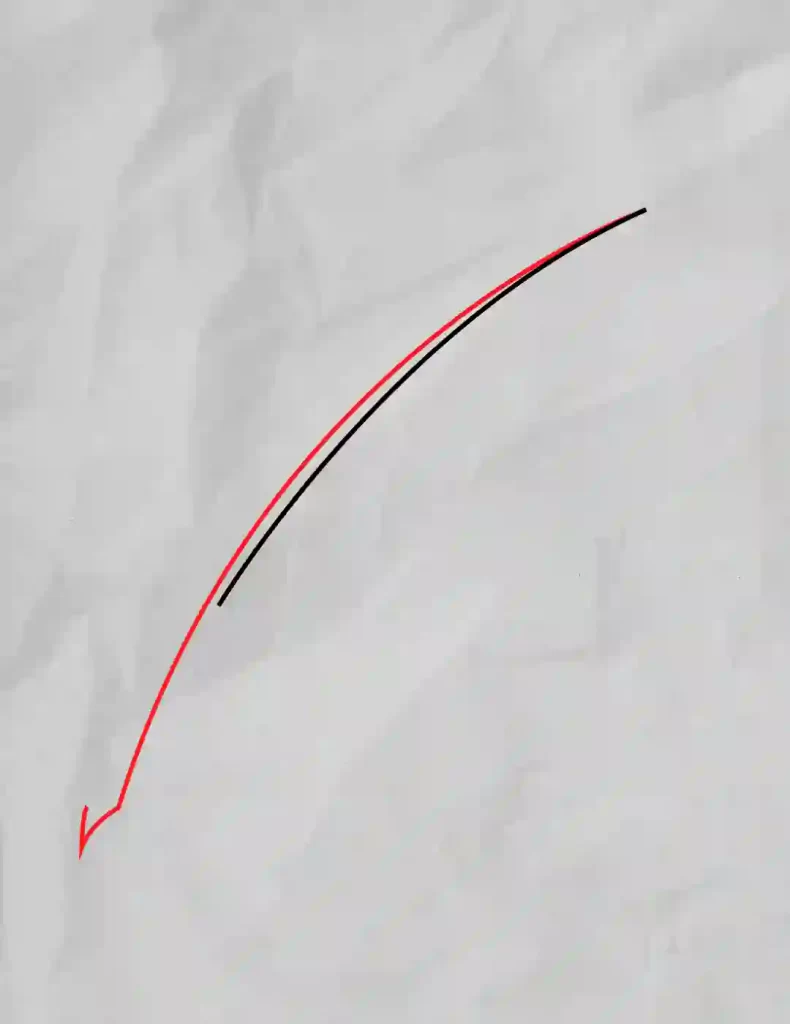
Step 2 :- Now trace back the line of the feather..
Step 3 :- Now draw the first feather on the line.
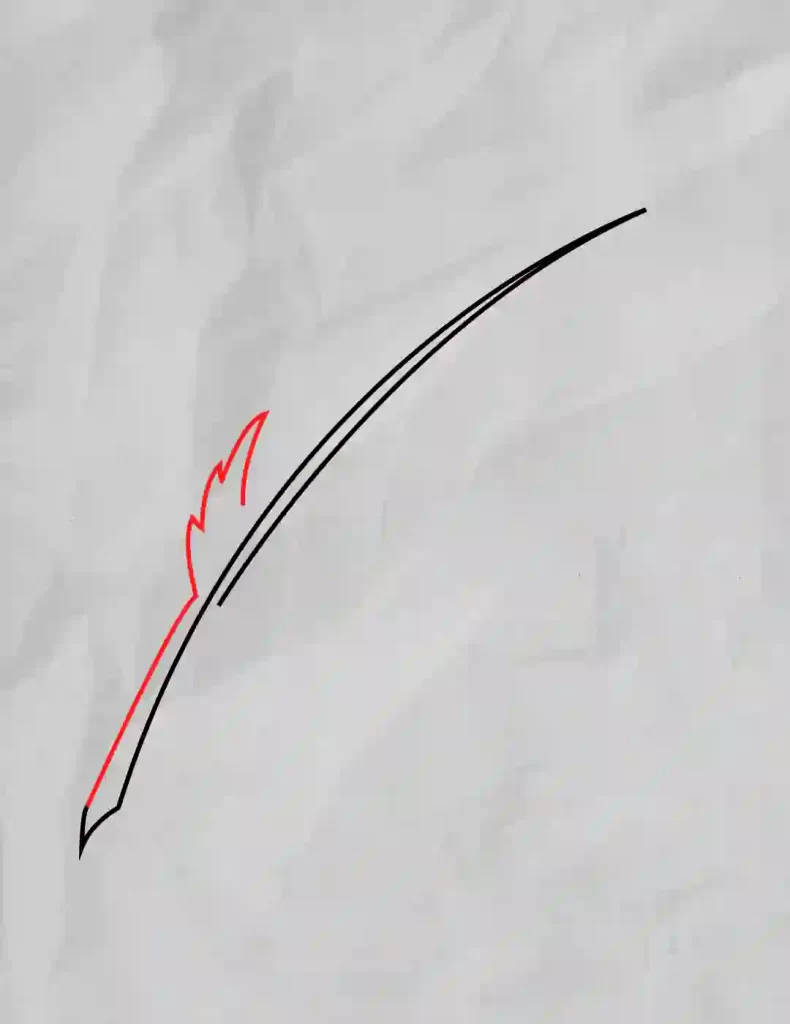
Step 4 :-Similarly, draw the next one.
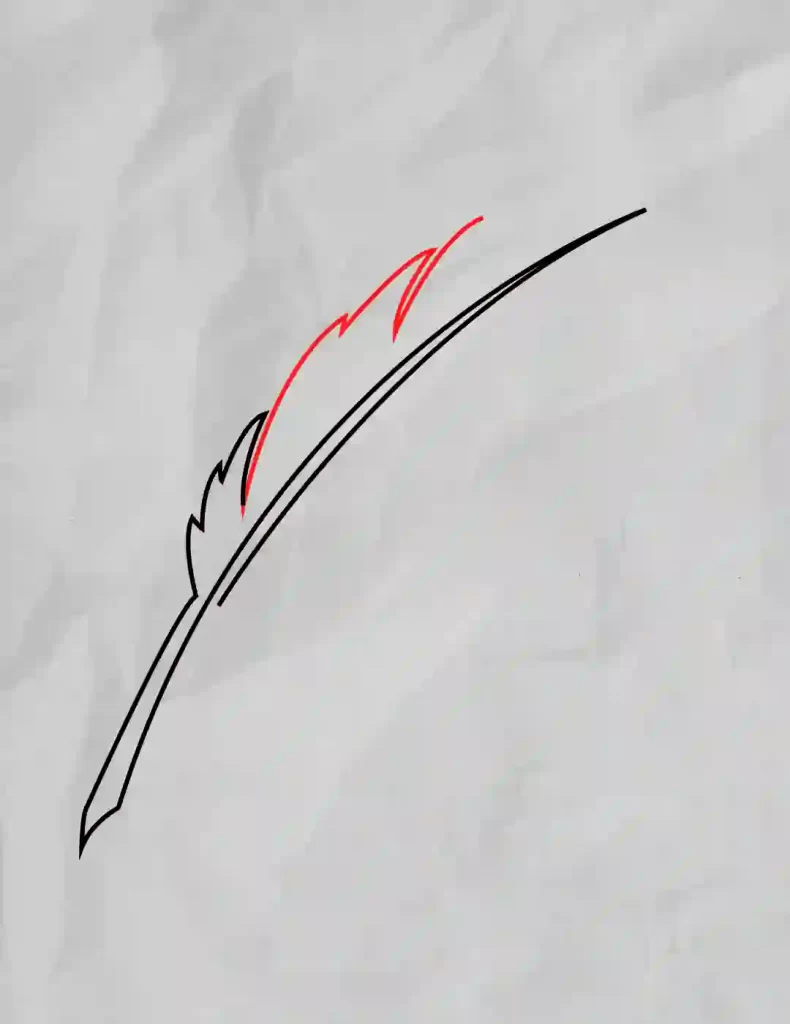
Step 5 :- Now draw the upper feather of the line.
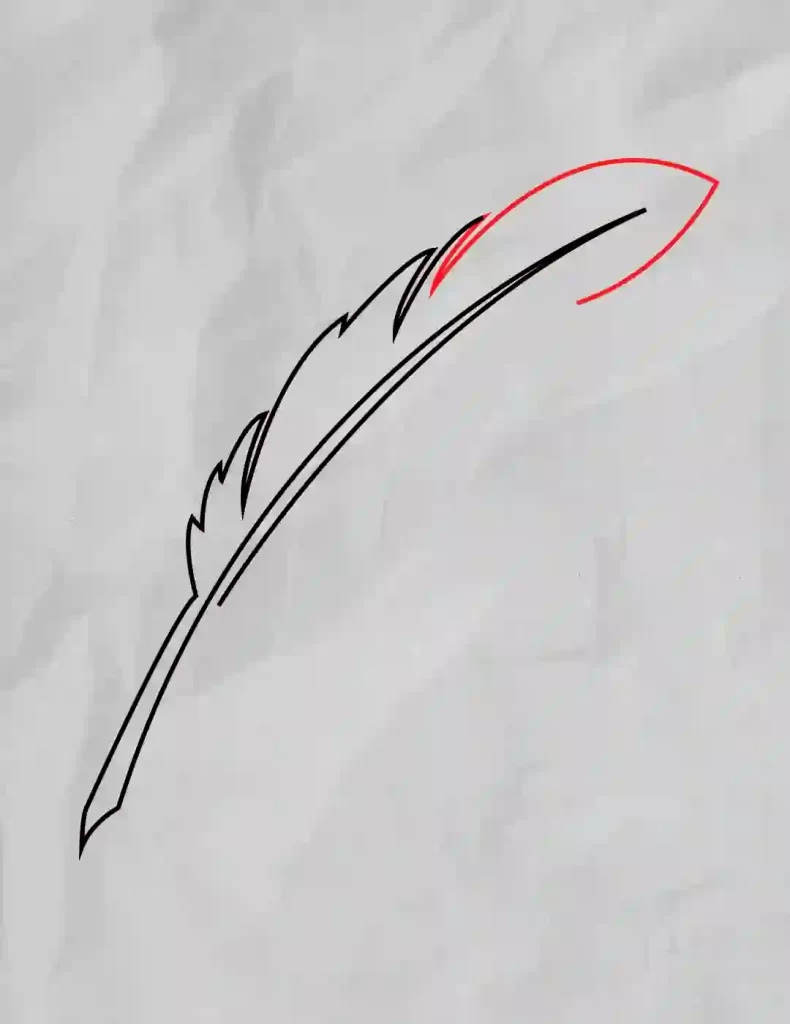
Step 6 :- Move onto the next one.
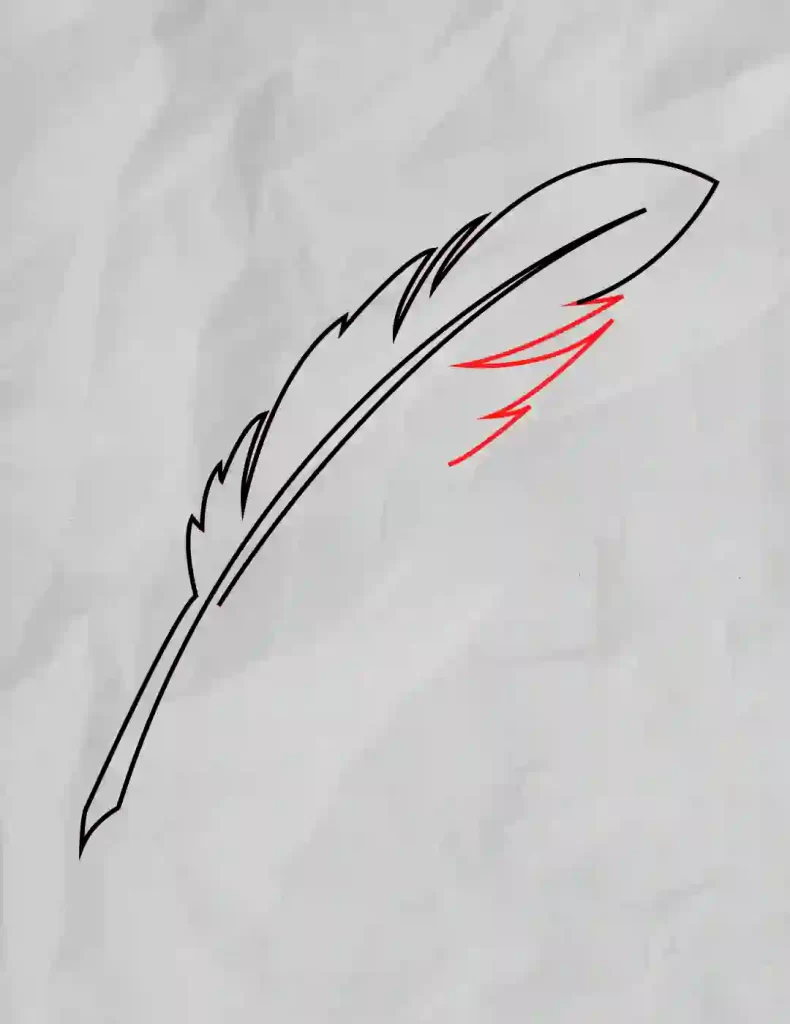
Step 7 :- Almost done, go for the another one.
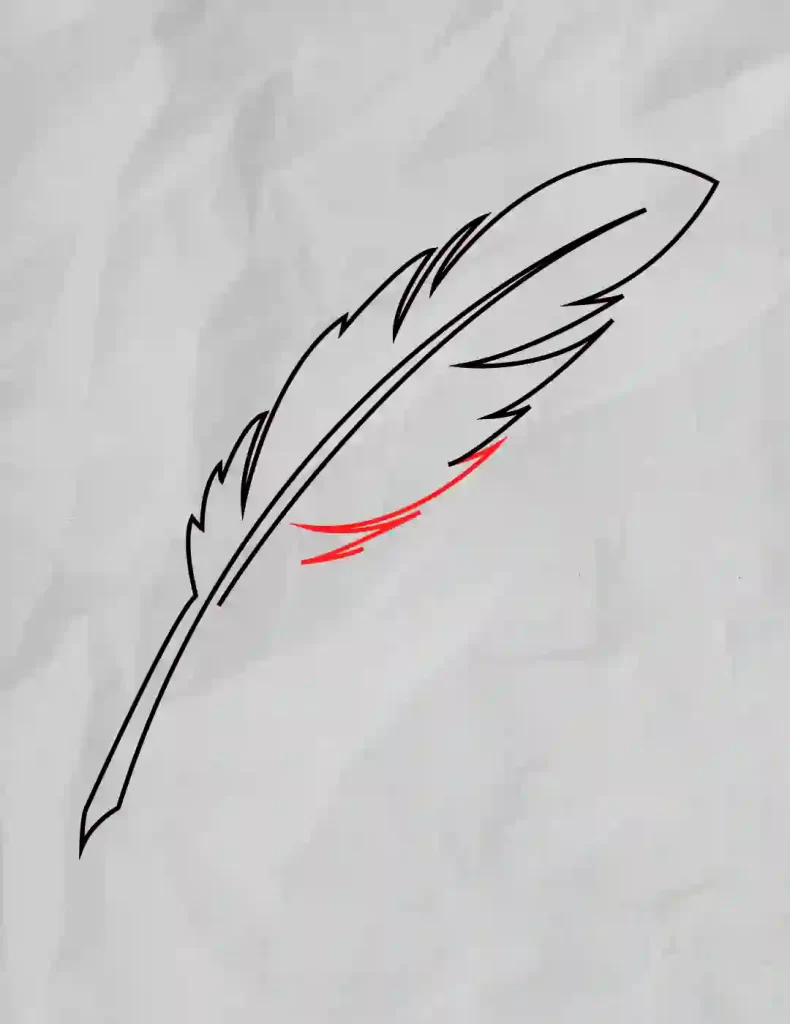
Step 8 :- Now finish the feather.
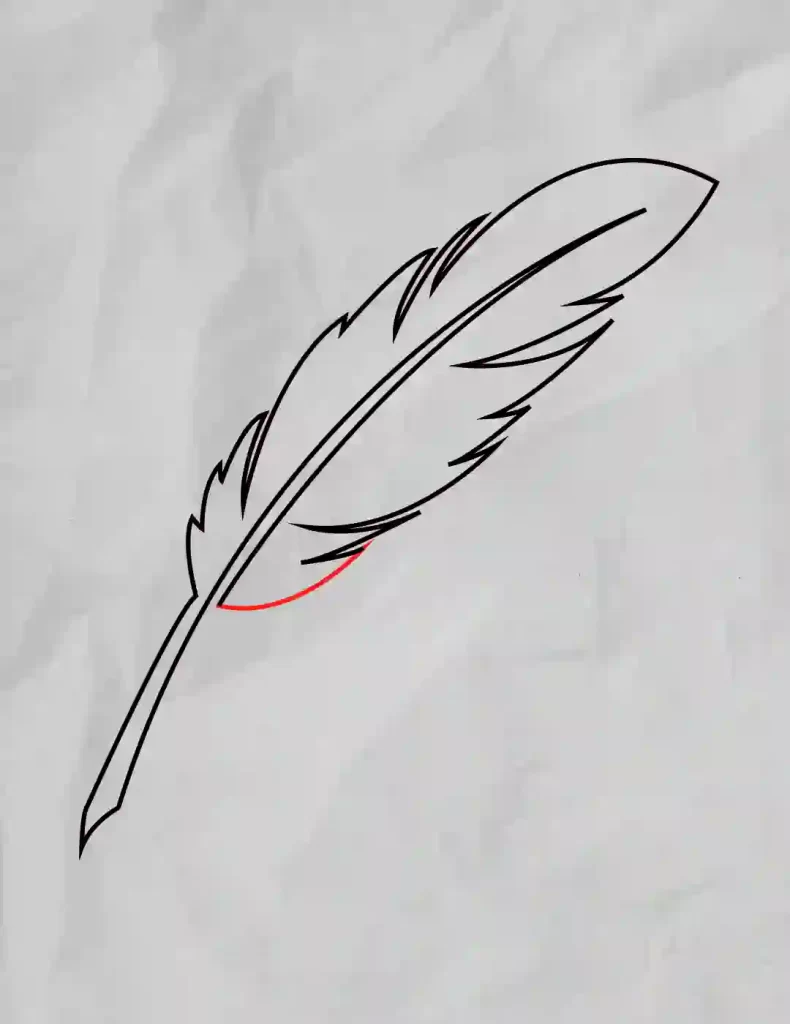
Step 9 :- The drawing is complete.

Step 10 :- Colour the drawing as shown in the picture.
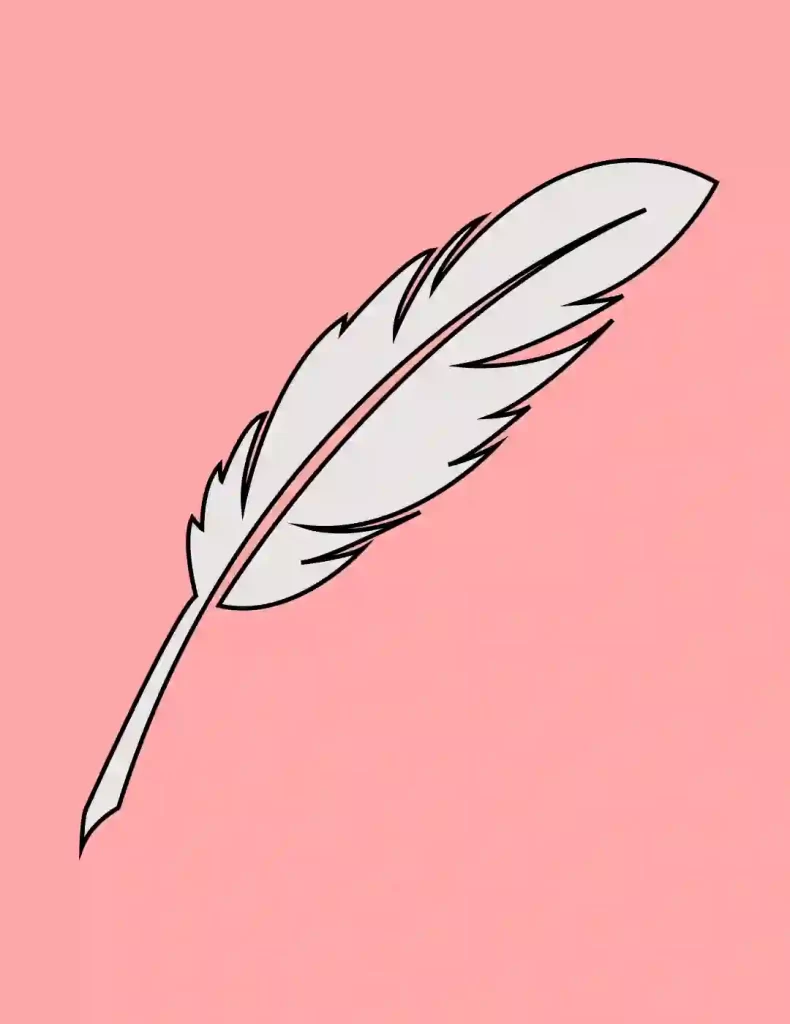
Step 11 :- Q for Quill
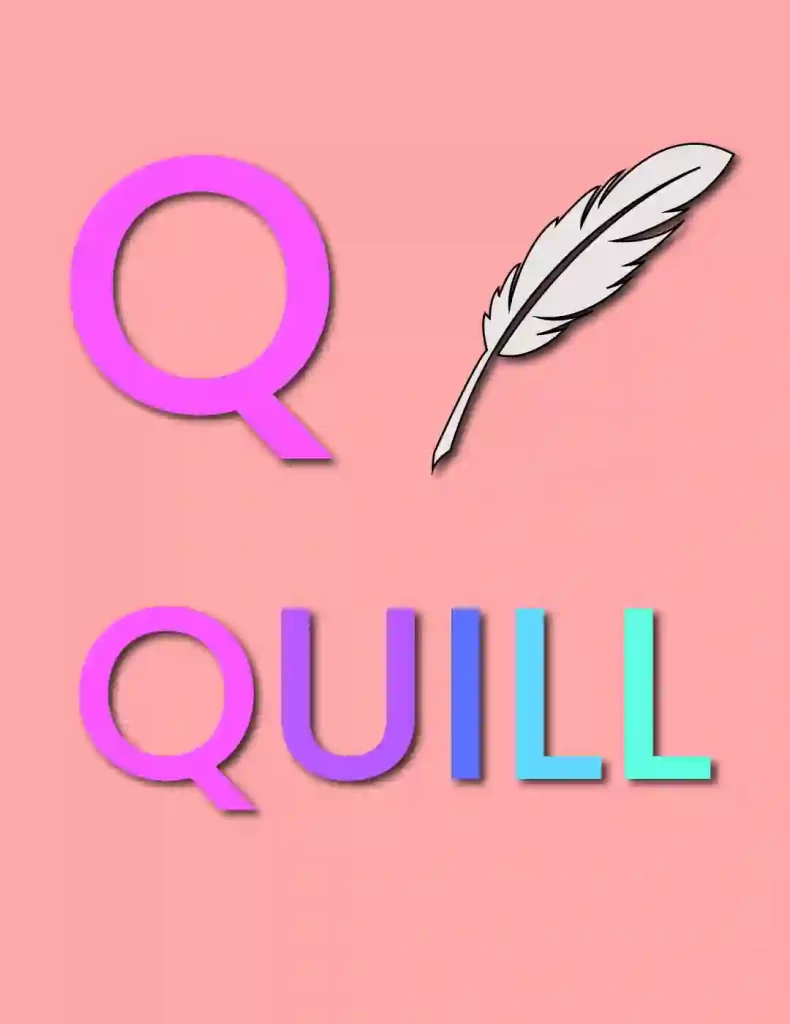
Hey kids did you like this How To Draw A Quill – A to Z Alphabet Drawing? Practice it and you will see your drawing is improving in every attempt, also share your view in the comment box, and don’t forget to share this art with your friends on Social Media so they can also enjoy it. For more such drawings keep visiting Storiespub.com.
More Drawing Tutorials


