Summarize this Article with:
How to Draw a Cherry Blossom | Step by Step

Spring is in full bloom, and with it comes the beautiful cherry blossoms. These flowers have been celebrated in art and culture for centuries, and they make for a stunning addition to any drawing or painting.
In this blog post, we will be teaching you how to draw a cherry blossom. We’ll cover everything from the basic shape of the flower to adding details like the petals and leaves. By the end of this post, you’ll be able to add cherry blossoms to any of your Spring artwork!
Assuming you would like a step-by-step guide on how to draw a cherry blossom:
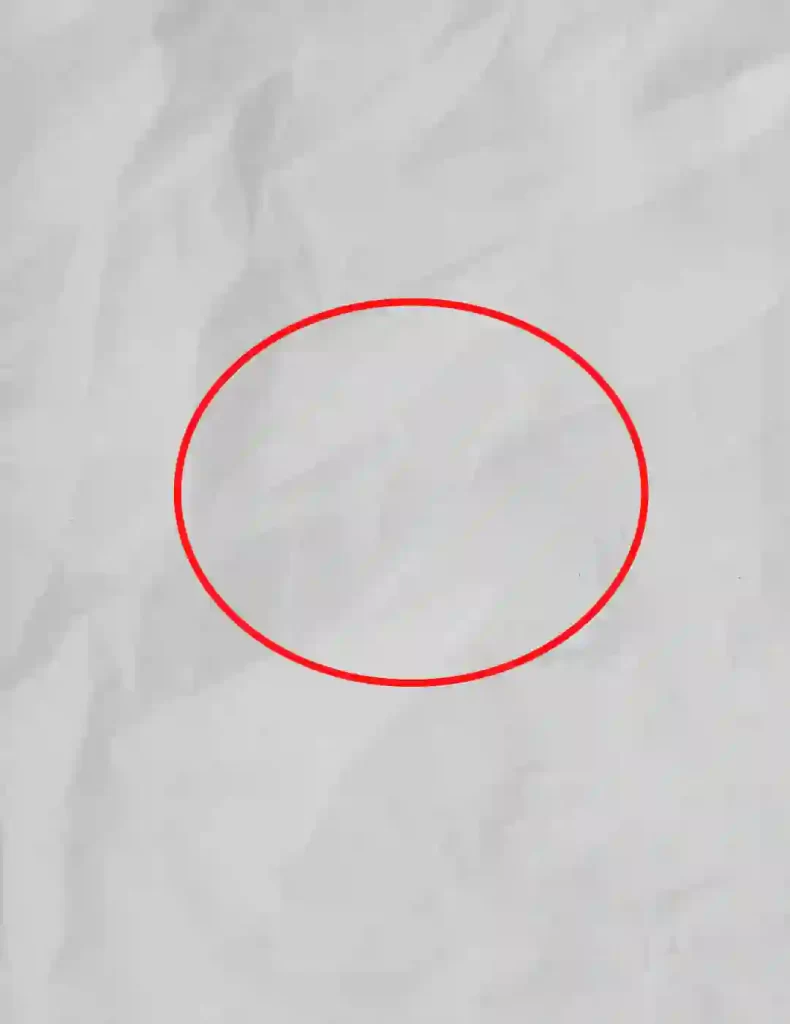
1. Begin by sketching out the general shape of the cherry blossom. Start with a small oval for the center of the flower and then add two slightly larger ovals for the petals.
2. Next, add some definition to the petals by drawing curved lines around the outer edge of each oval. Make sure to leave some white space in the center of each petal for realism.
3. To finish up the flower, add some stamens in the center using small straight lines. Then, erase any remaining pencil marks and paint or color in your drawing.
Step 1
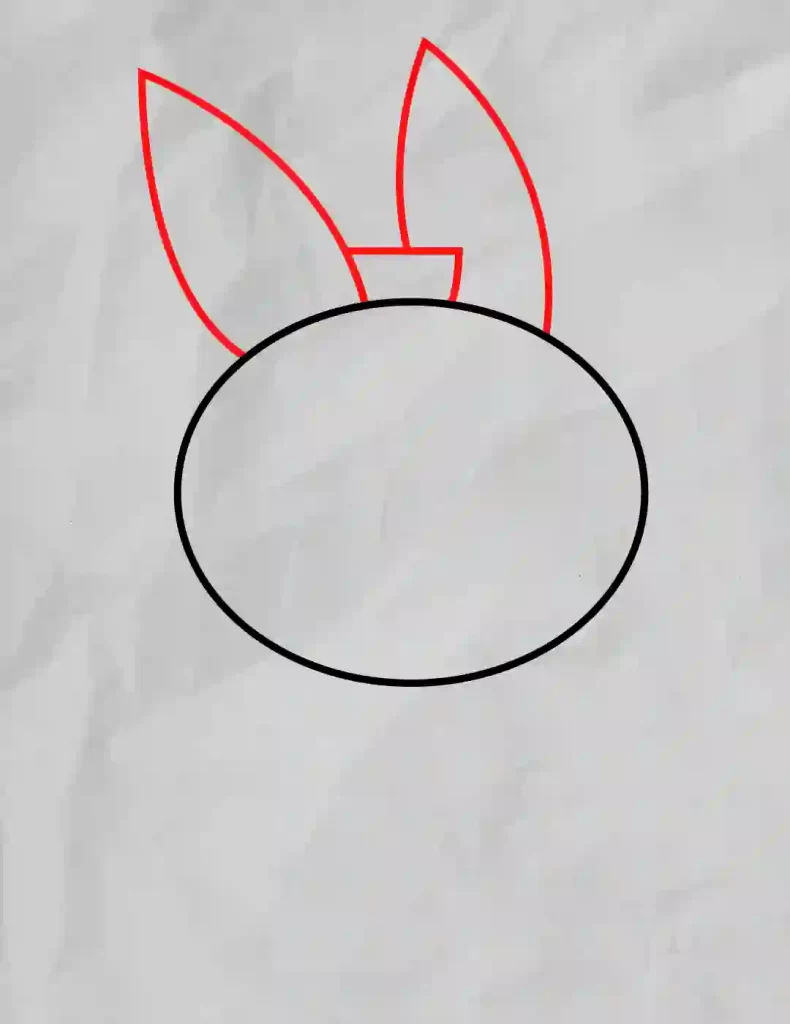
Step 2
Step 3
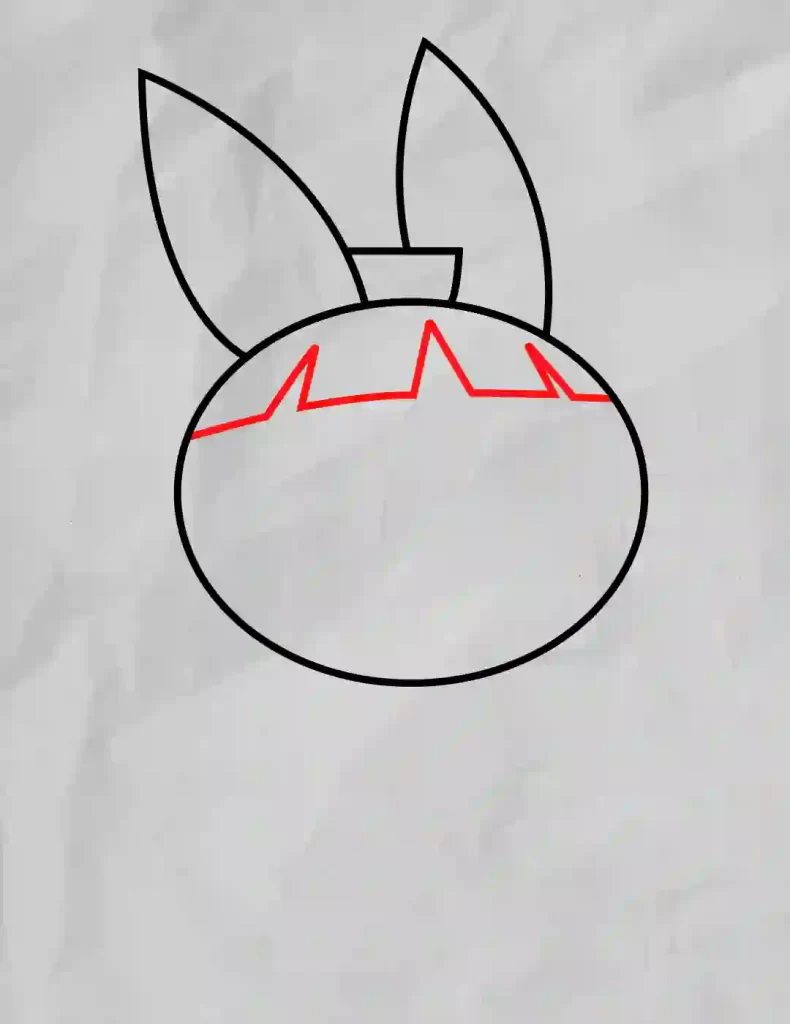
Step 4
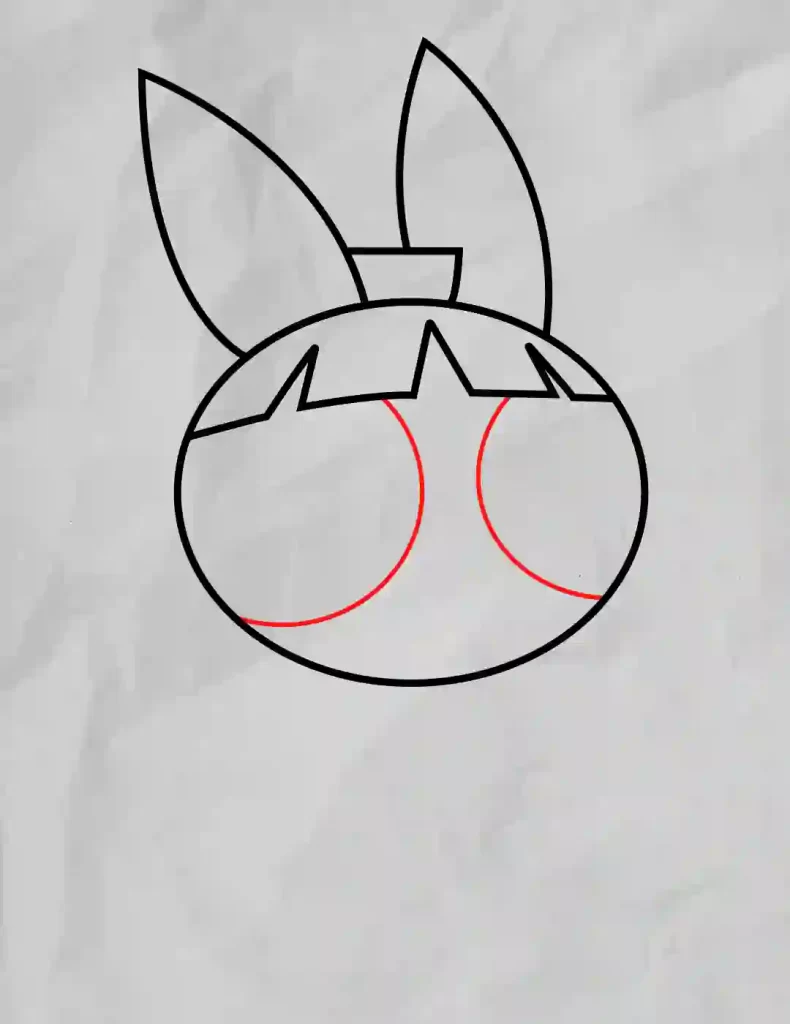
Step 5
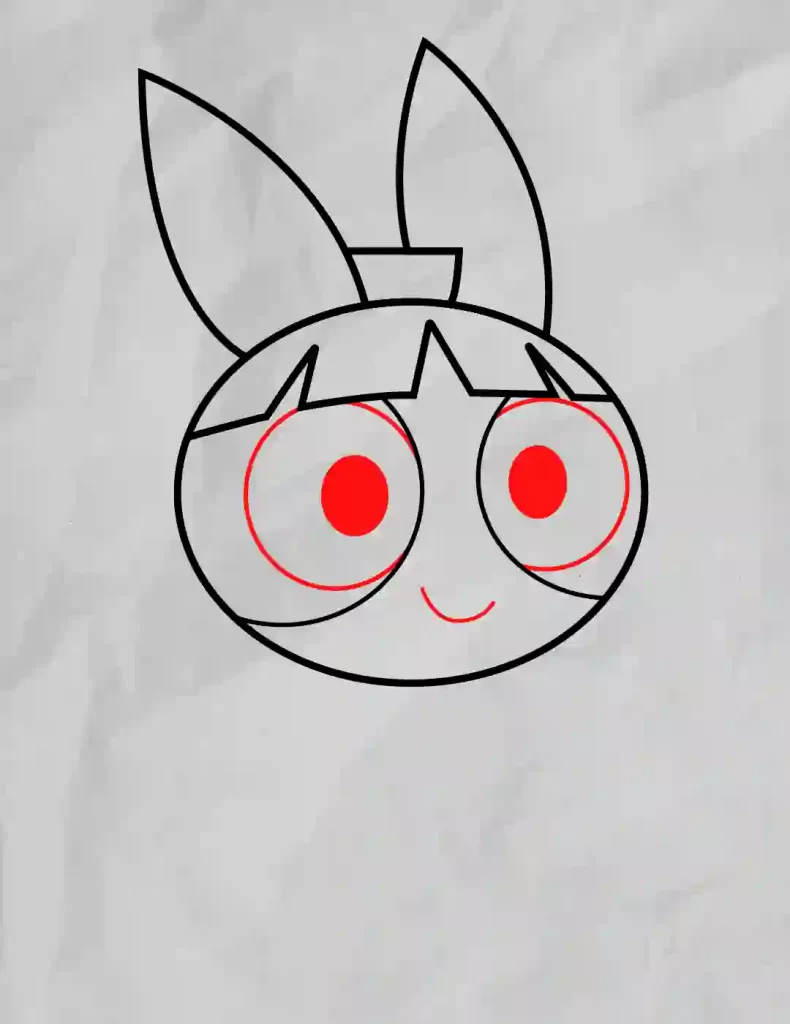
Step 6
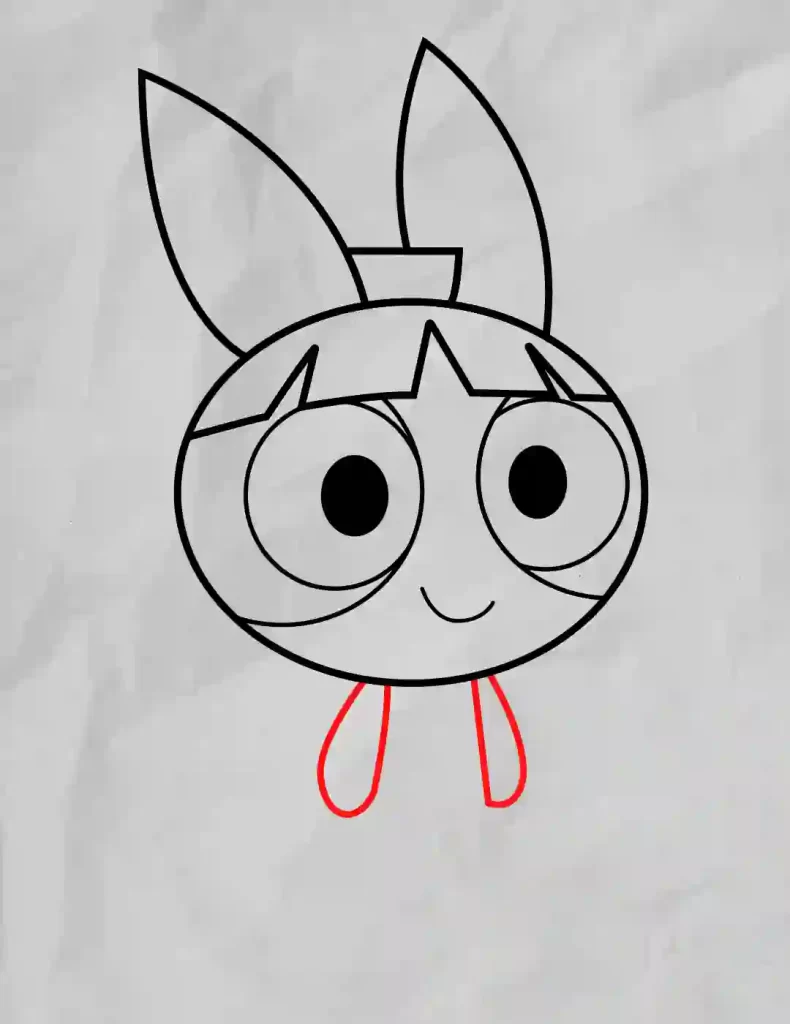
Step 7
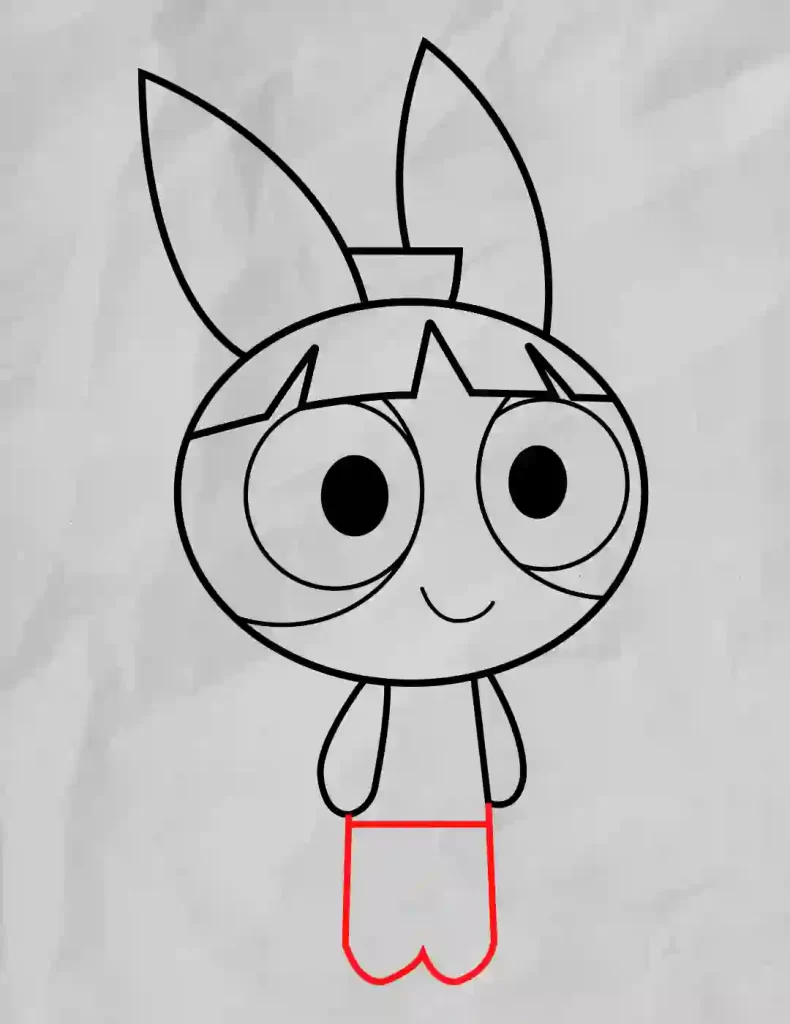
Step 8
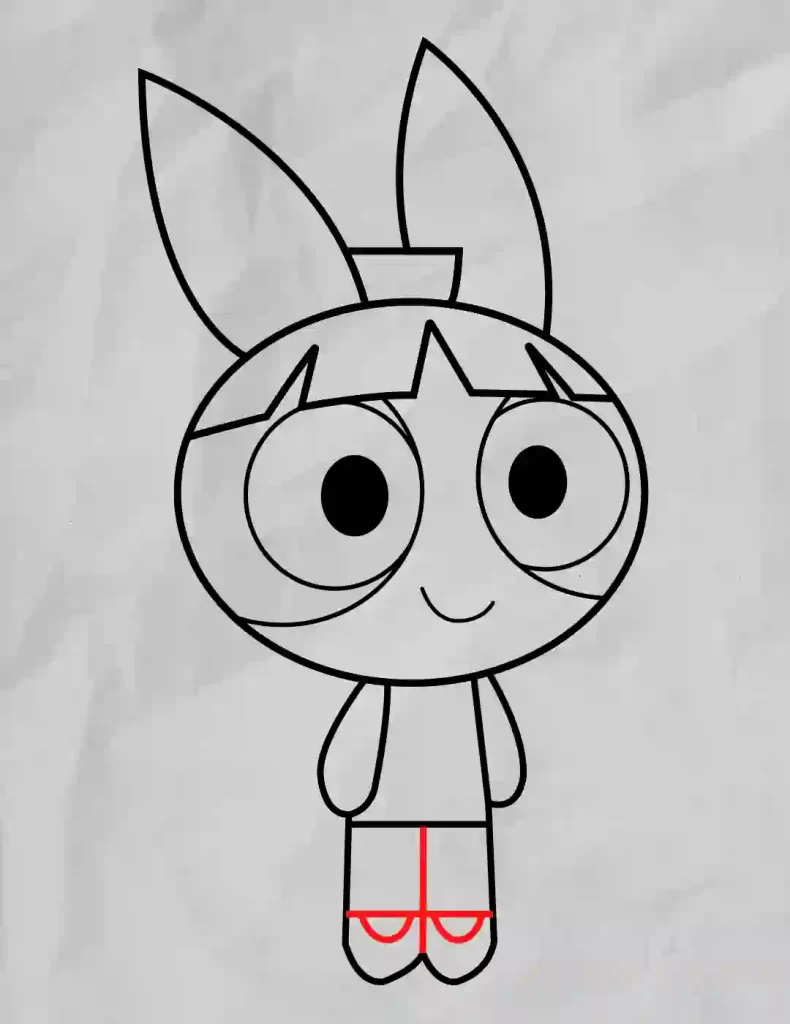
Step 9
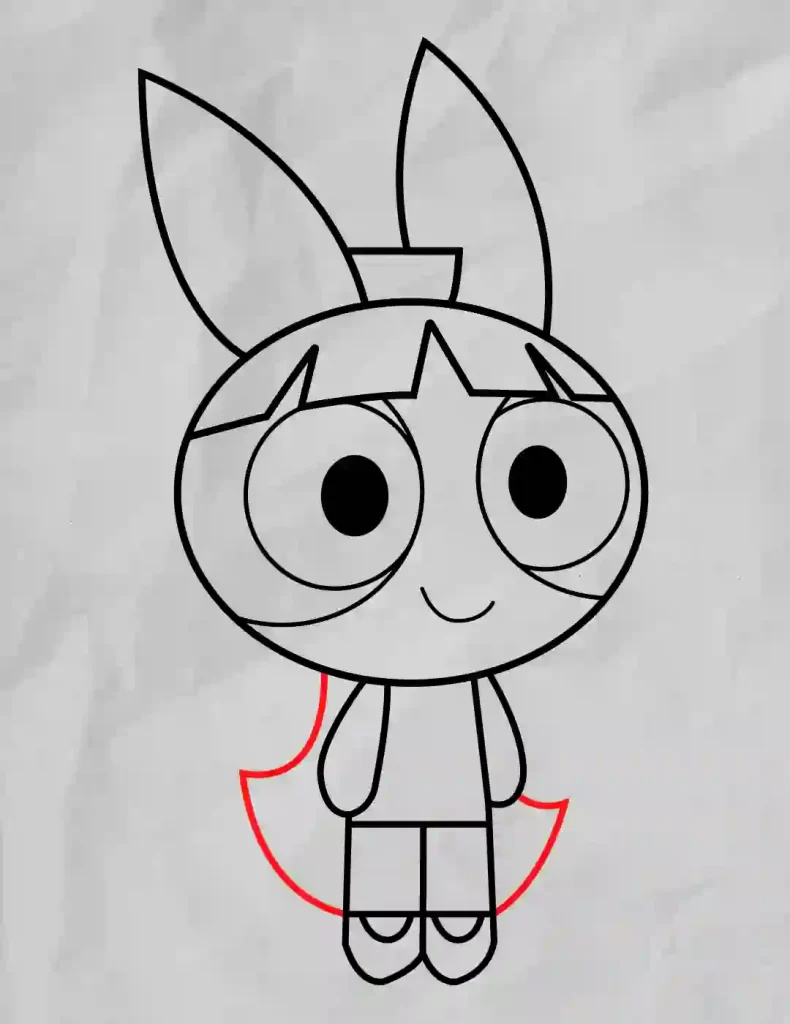
Step 10

Step 11
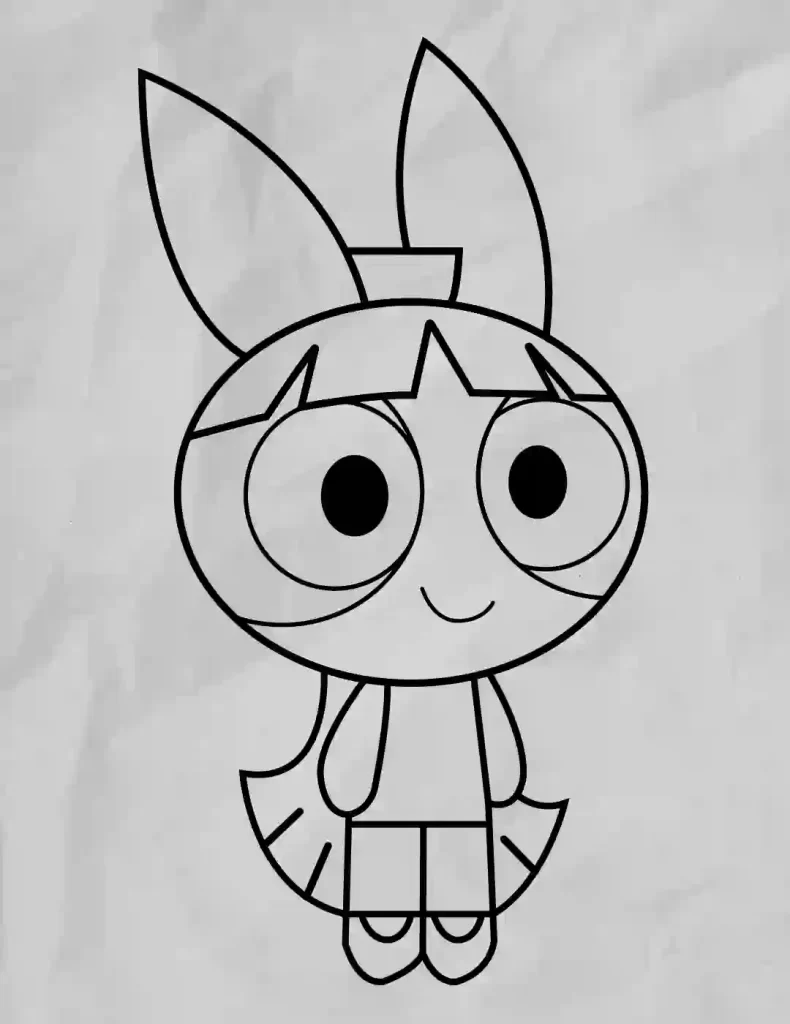
Step 12

Thanks For Reading This How to Draw a Cherry Blossom | Step by Step Drawing tutorials
Hey kids did you like this How to Draw a Cherry Blossom | Step by Step ? Practice it and you will see your drawing is improving in every attempt, also share your view in the comment box, and don’t forget to share this art with your friends on Social Media so they can also enjoy it. For more such drawings and stories keep visiting Storiespub.com.
- How to draw Volleyball
- How to draw Naruto
- How to draw bed
- How to draw bangs
- How to draw abs
- How To Draw Stairs
- How to Draw Nobita


