Summarize this Article with:
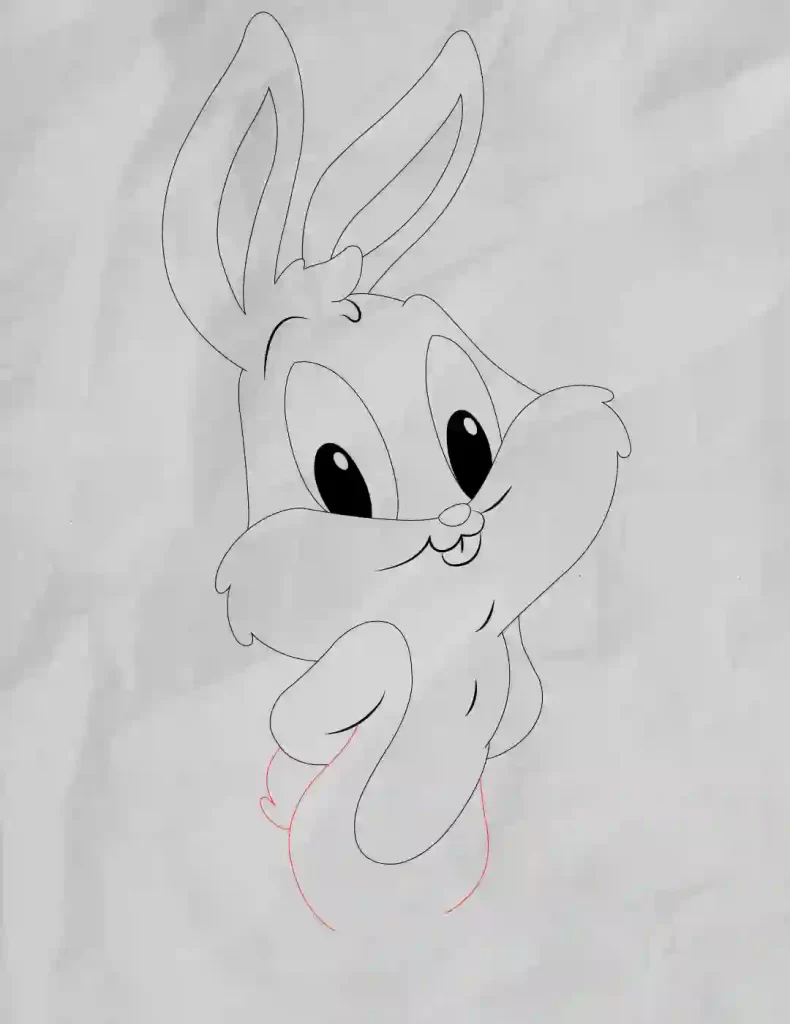
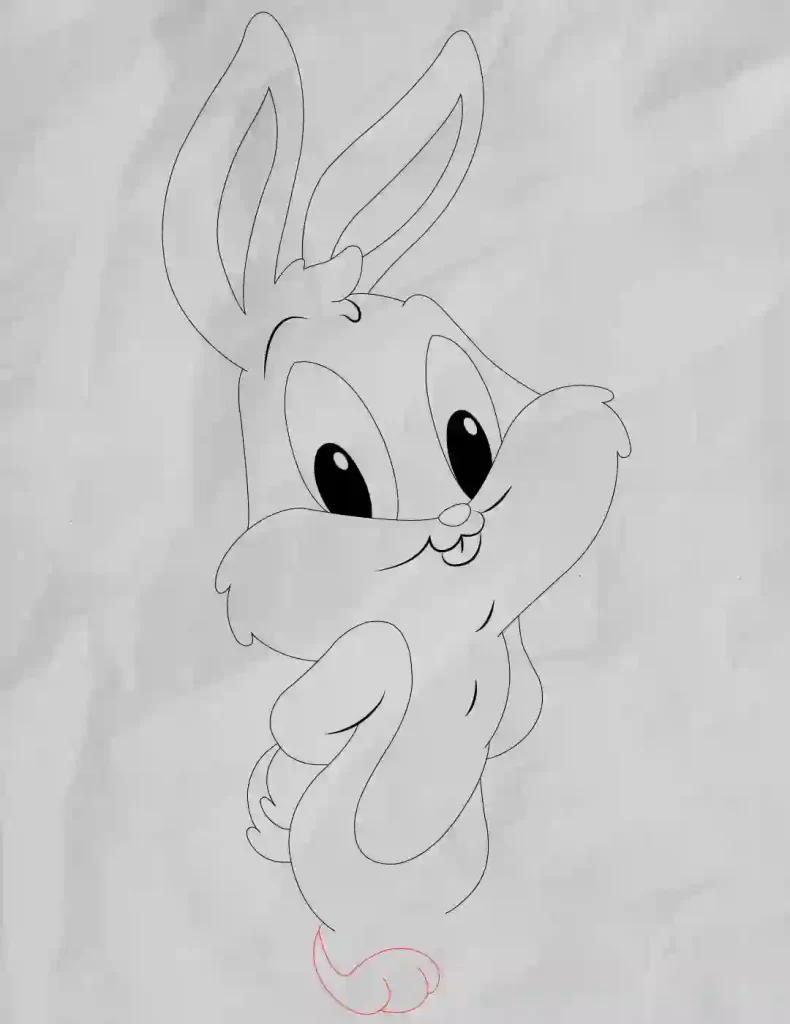
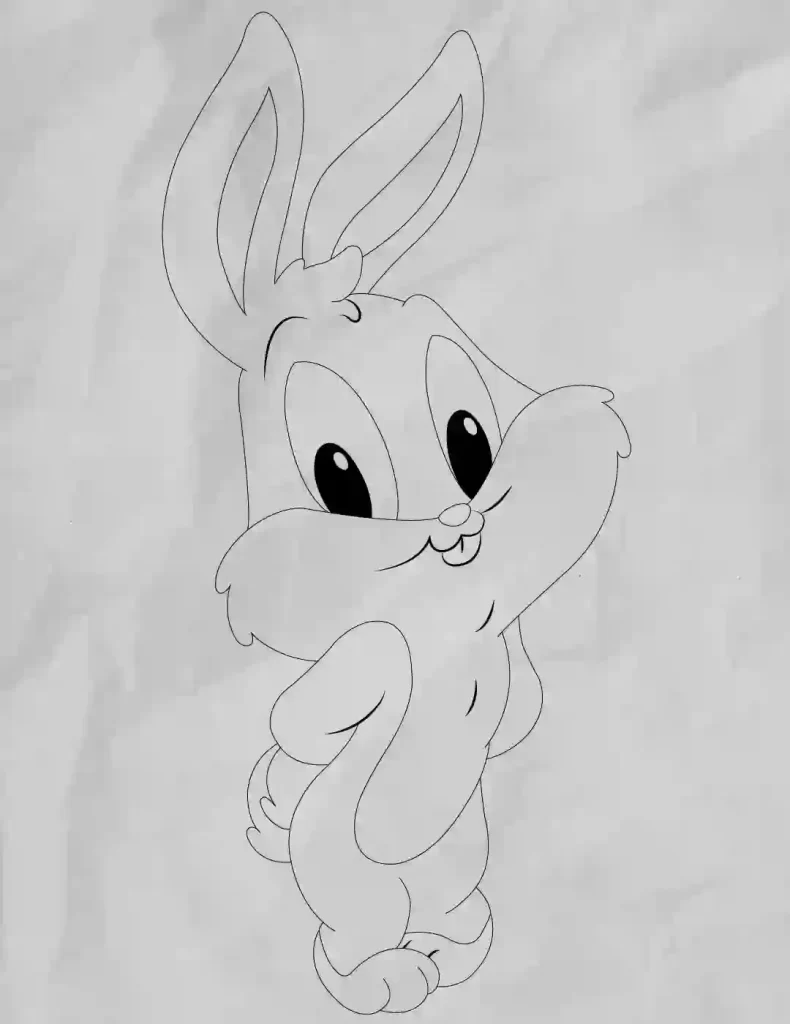
How to Draw Bugs Bunny | Step-by-Step

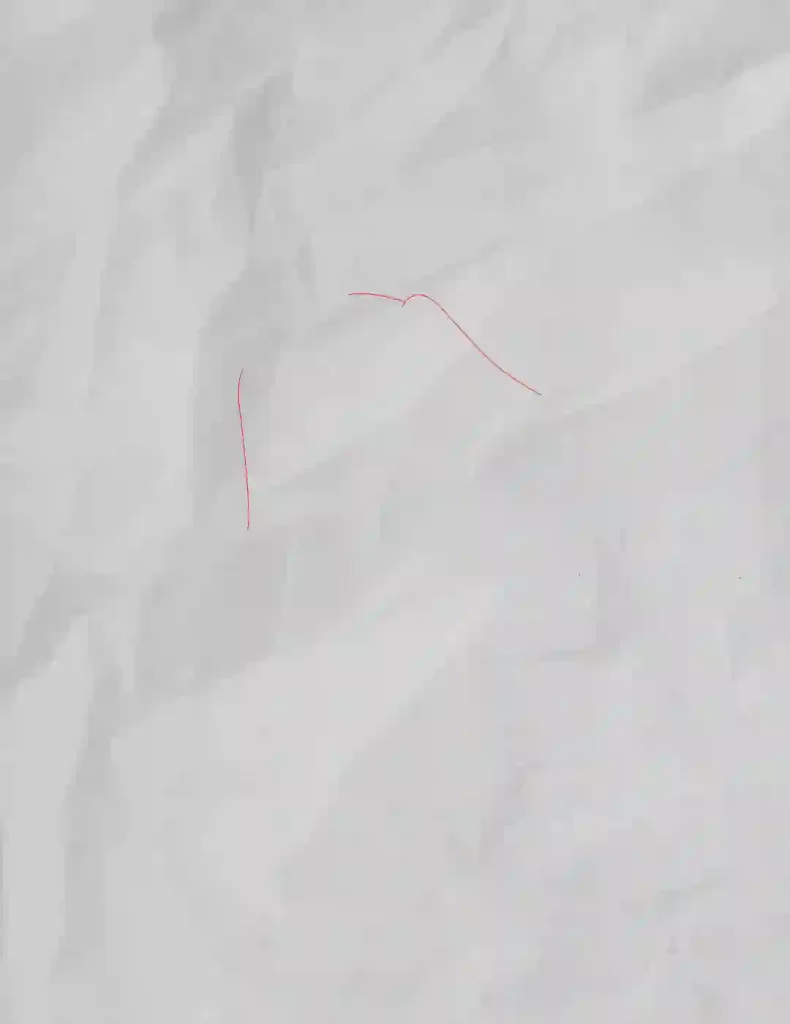
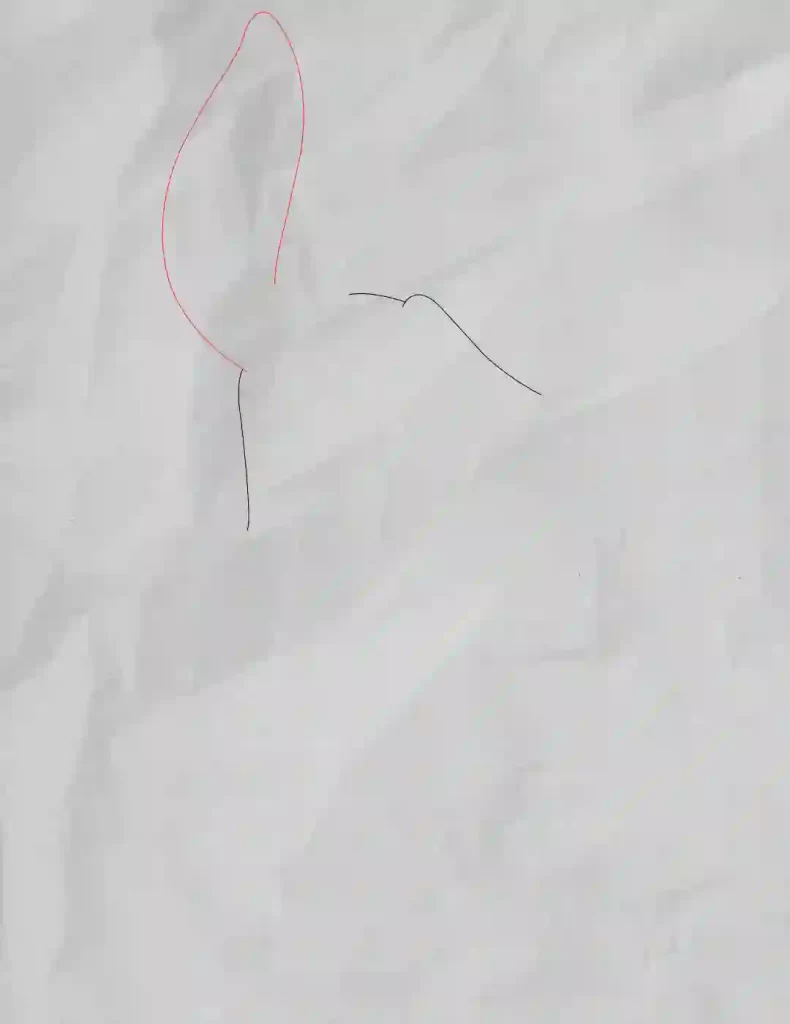
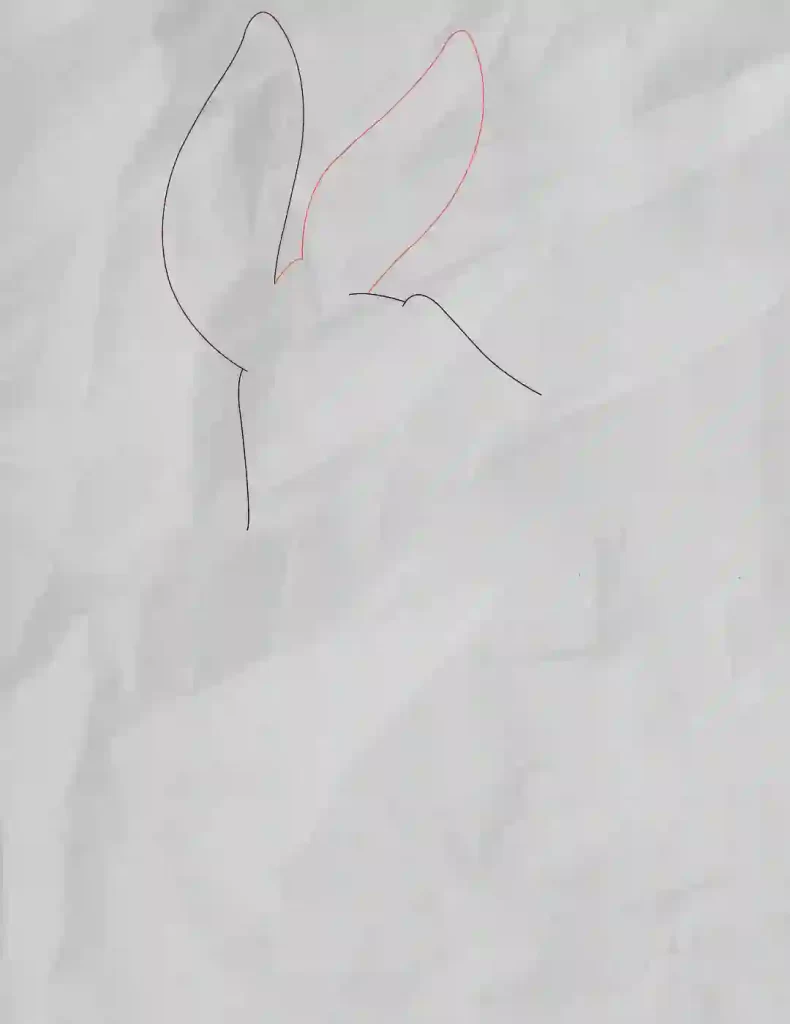
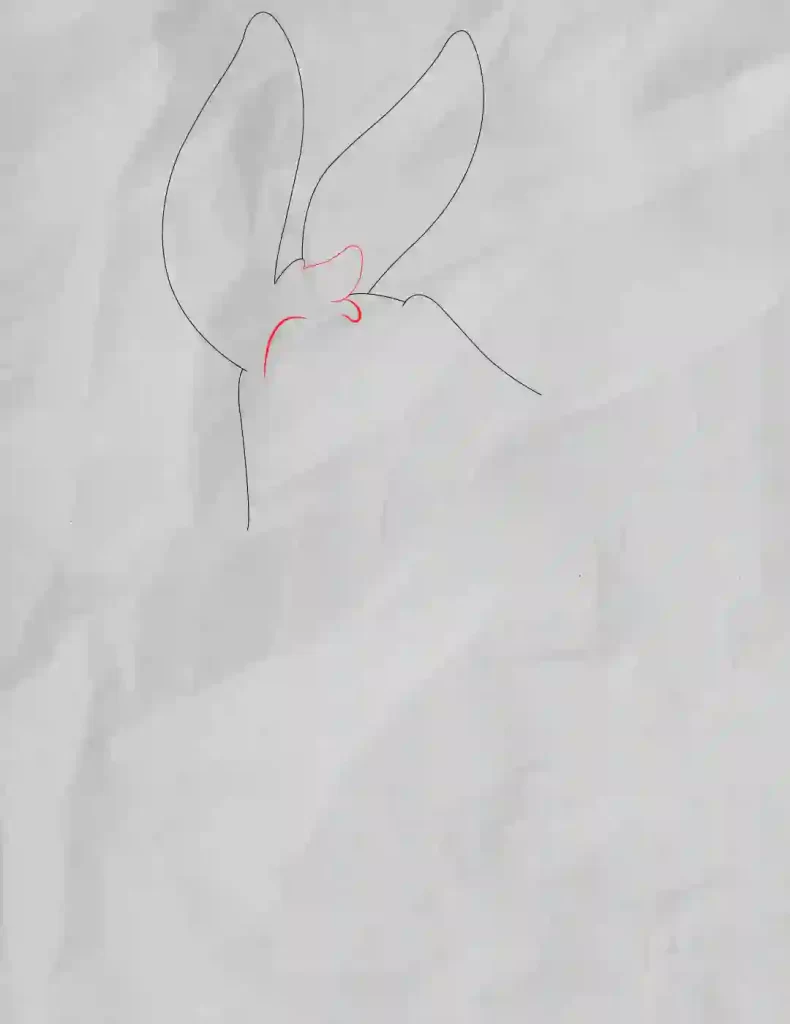
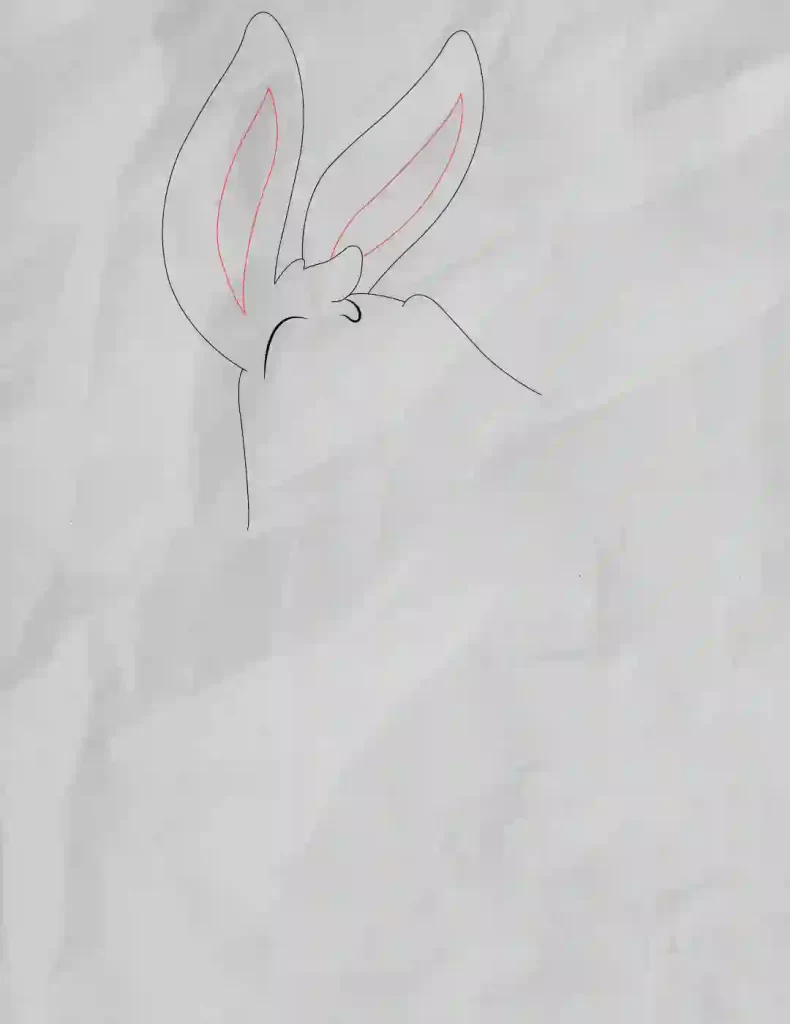
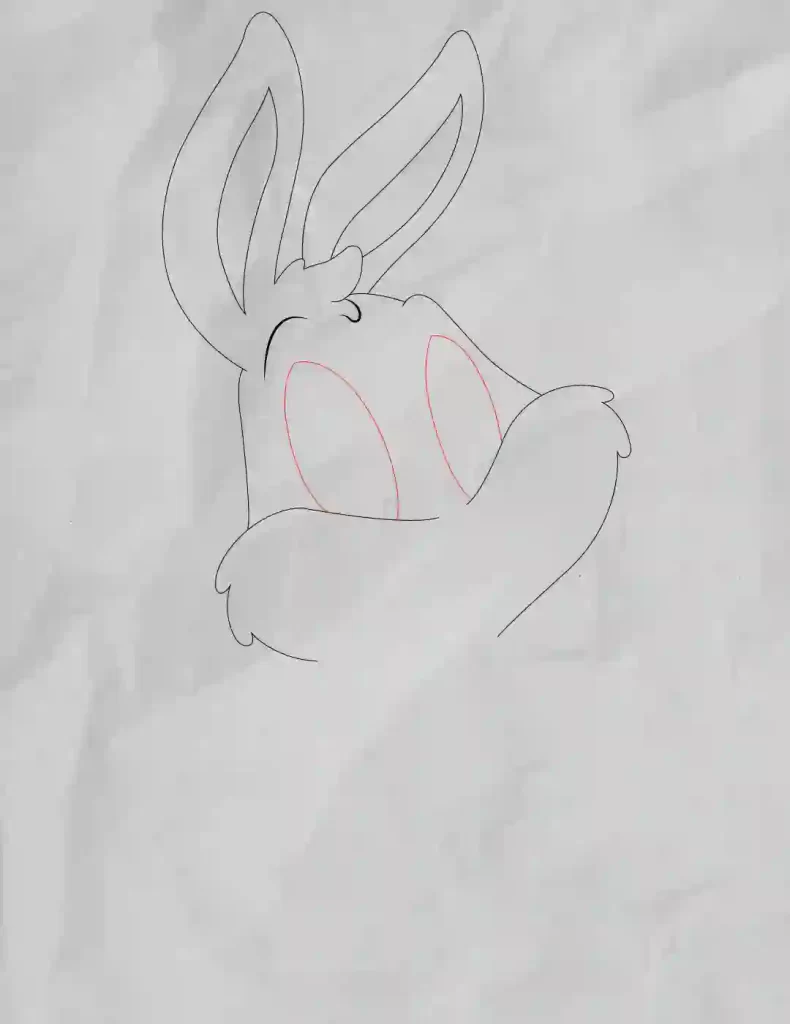
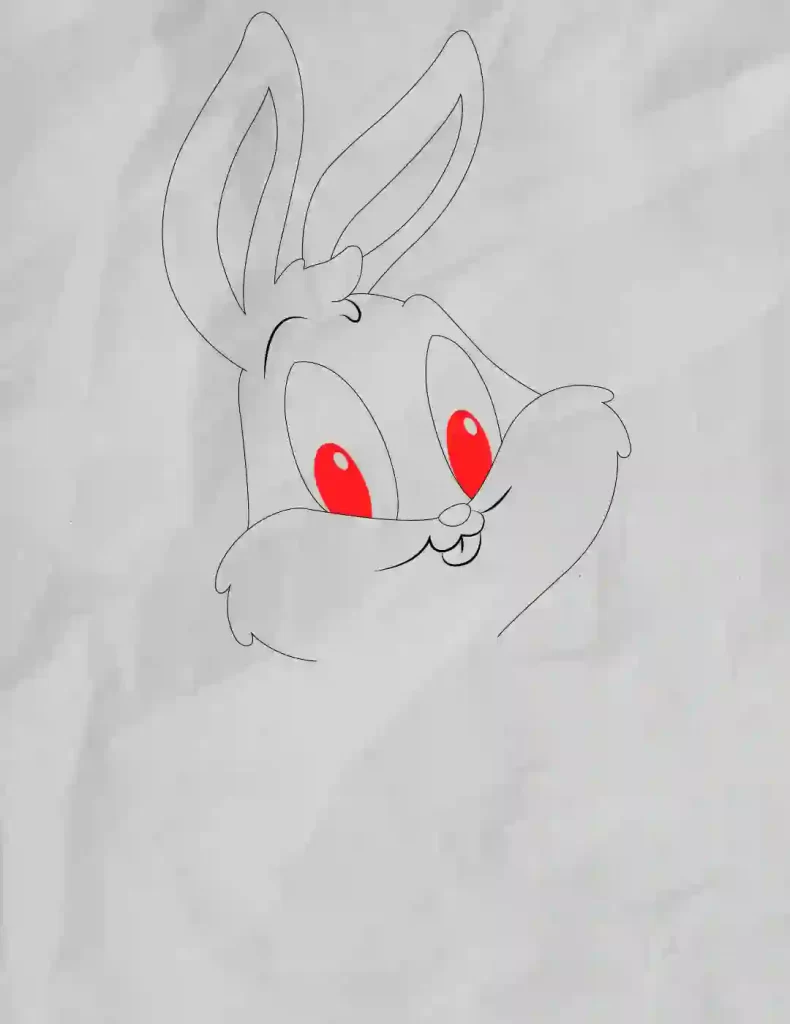
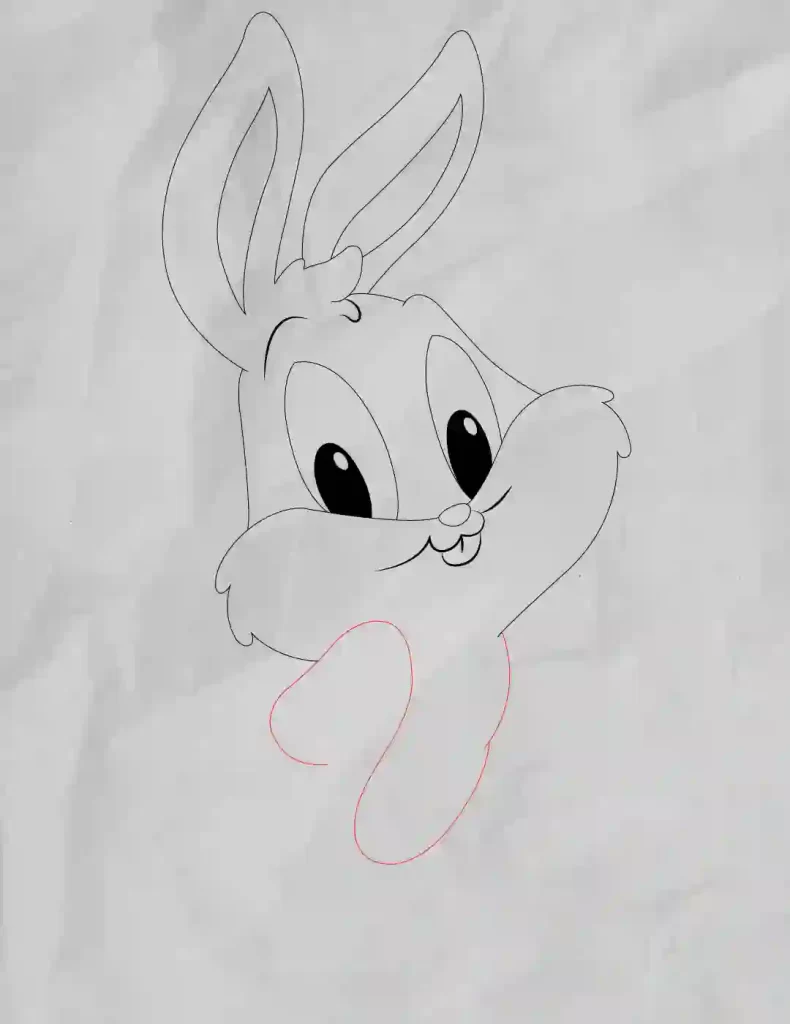
Bugs Bunny is one of the most iconic cartoon characters of all time. He’s also one of the easiest to draw! In this blog post, we’ll show you how to draw Bugs Bunny favorite wascally wabbit step by step. Whether you’re a beginner or an experienced artist, you’ll be able to follow along easily. So grab a pencil and some paper, and let’s get started!
1. Begin by sketching a basic oval shape for the bunny’s head.
2. Next, add two small circles for the eyes and an even smaller circle within each for the pupils.
3. Just below the eyes, draw a curved line for the nose.
4. To create Bugs Bunny’s signature big teeth, start with a horizontal line across the mouth then add two vertical lines downwards from each end. Finally, connect the bottom of these lines with another horizontal line to close off the smile.
5. Now add two long ears on either side of the head, starting just above the eyes and extending outwards. Make each ear look like a long oval that’s been slightly flattened at the top.
6. For Bugs Bunny’s neck and body, begin by drawing a large oval shape that’s narrower at the bottom than it is at the top. This will be his torso. Then add two small circles below for legs and another small oval connecting them for his pelvis area.
7 Last but not least, give your bunny some cute little feet by drawing four tiny ovals at the ends of his legs!
Step 1
Step 2
Step 3
Step 4
Step 5
Step 6

Step 7
Step 8

Step 9
Step 10
Step 11

Step 12
Step 13

Step 14
Step 15

Step 16
Step 17

Thanks For Reading This How to Draw Bugs Bunny | Step-by-Step Drawing tutorials
Hey kids did you like this How to Draw Bugs Bunny | Step-by-Step? Practice it and you will see your drawing is improving in every attempt, also share your view in the comment box, and don’t forget to share this art with your friends on Social Media so they can also enjoy it. For more such drawings and stories keep visiting Storiespub.com.
- How to draw Volleyball
- How to draw Naruto
- How to draw bed
- How to draw bangs
- How to draw abs
- How To Draw Stairs
- How to draw graduation cap
- How to draw


