Summarize this Article with:
How to Draw a Tarzan Car in simple steps
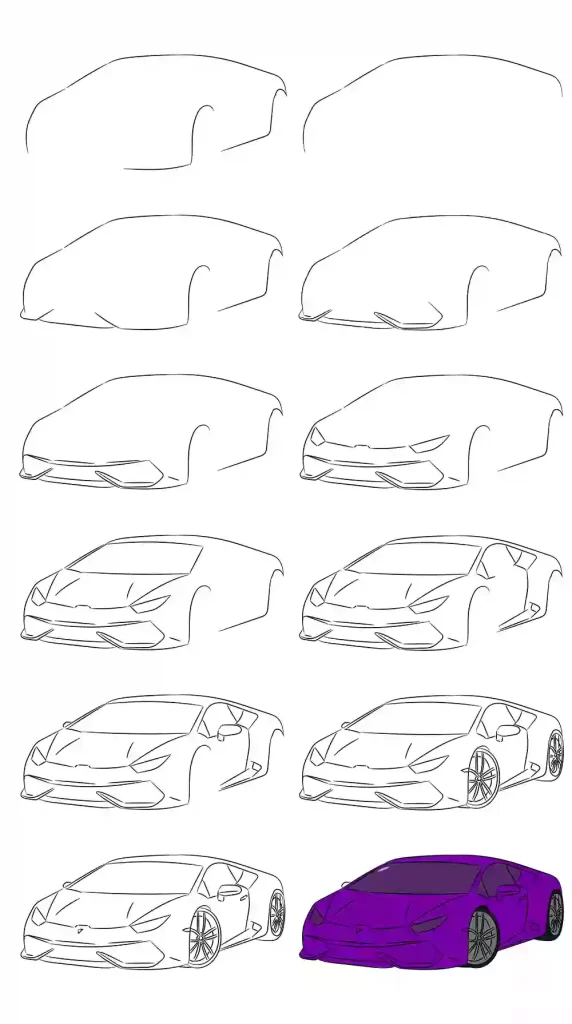
Cars have always been one of the most popular toys among children. It has also long been the topic of several animated films and series, including Cars, Speed Racer, Hot Wheels, etc.
What if you could design your own one-of-a-kind dream car?
You can make your dreams come true with this step-by-step instruction on how to design an automobile! Use this as an opportunity to personalise a vehicle and sketch it out on paper.
Anyone who enjoys cars will find this to be a fun activity.
If you have a child who is interested in vehicles, drawing a car is a great way to keep them amused while also allowing them to be creative.
Things required to draw a car.
1 paper
2-Marker.
3-Pencil.
4-Color.
Let’s learn how to draw a car.
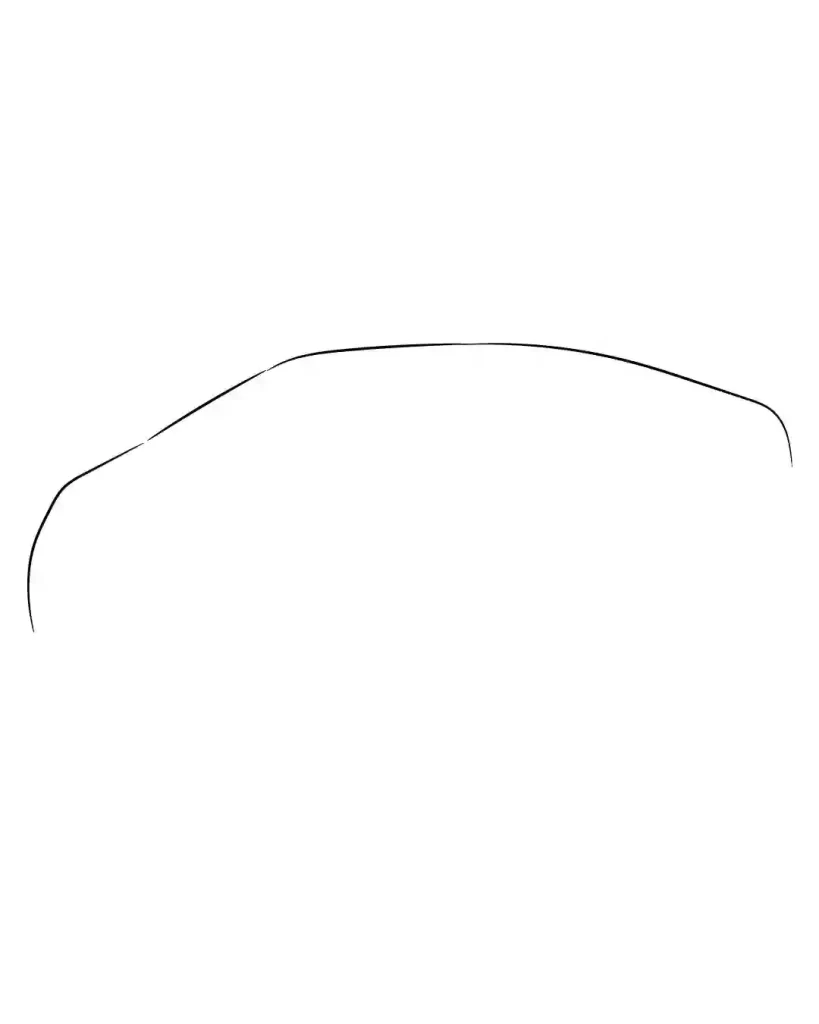
Step 1: Let’s start with the top part of the car.
Step 2-Now we will make the outline of the wheels.
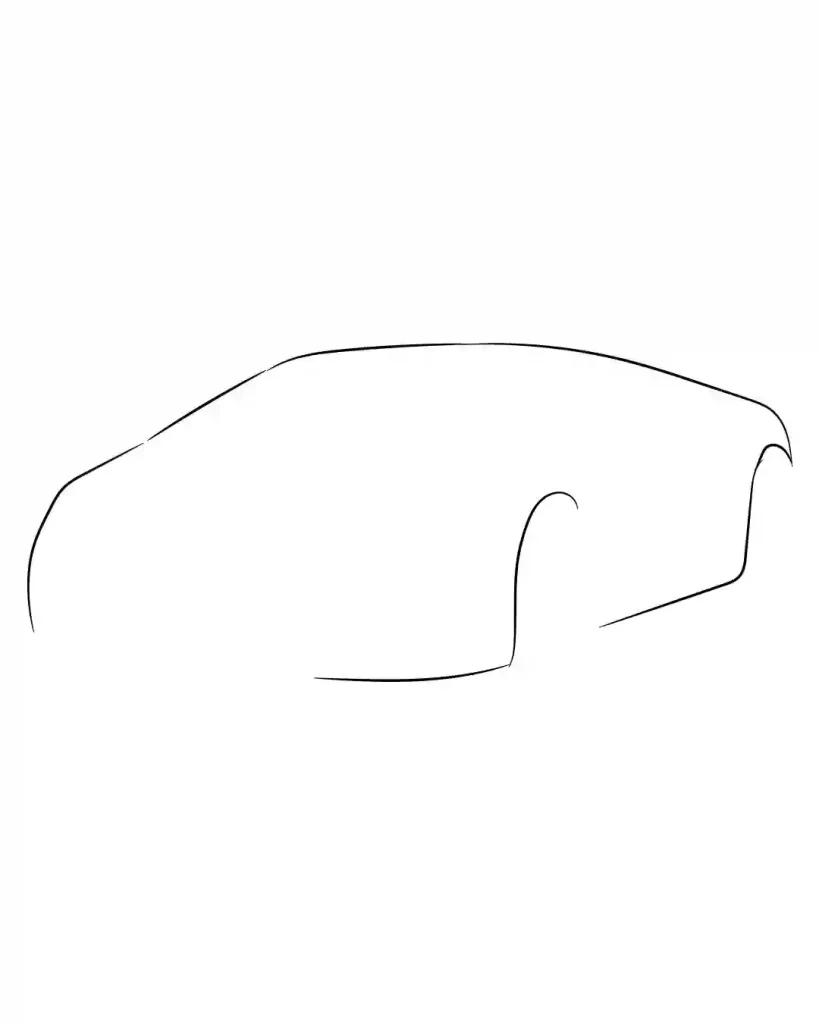
Step 3-Now we will make the bottom of the car.
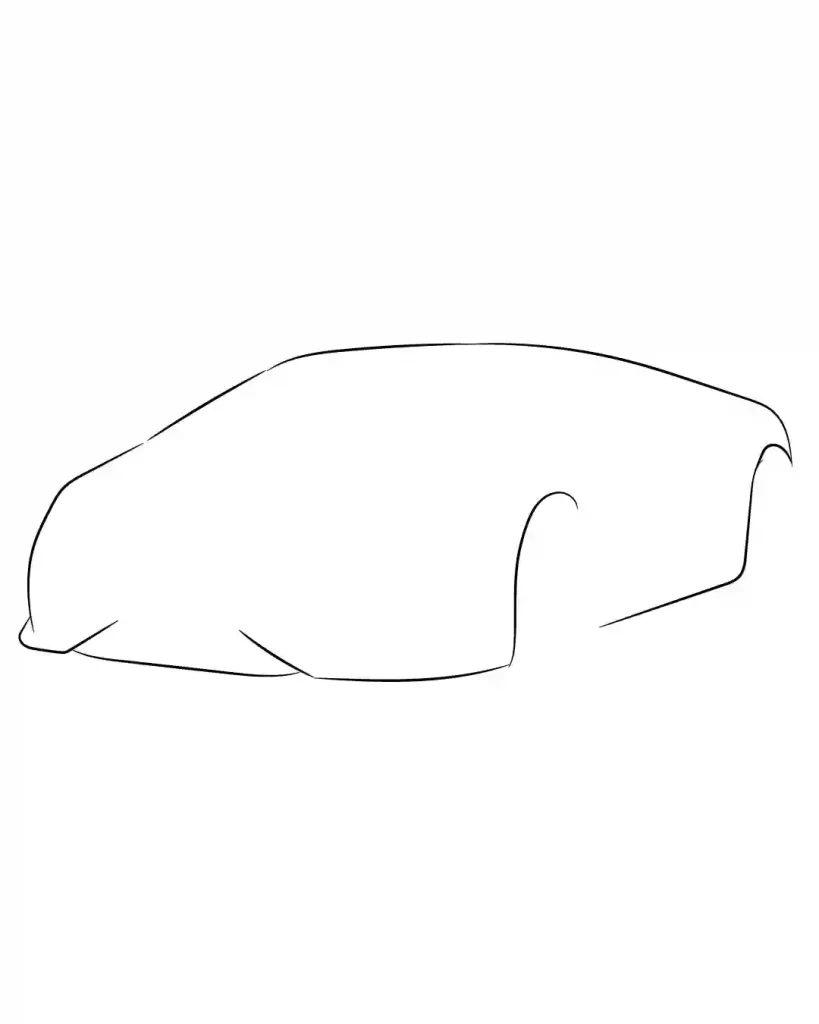
Step 4-Add some details to the car.
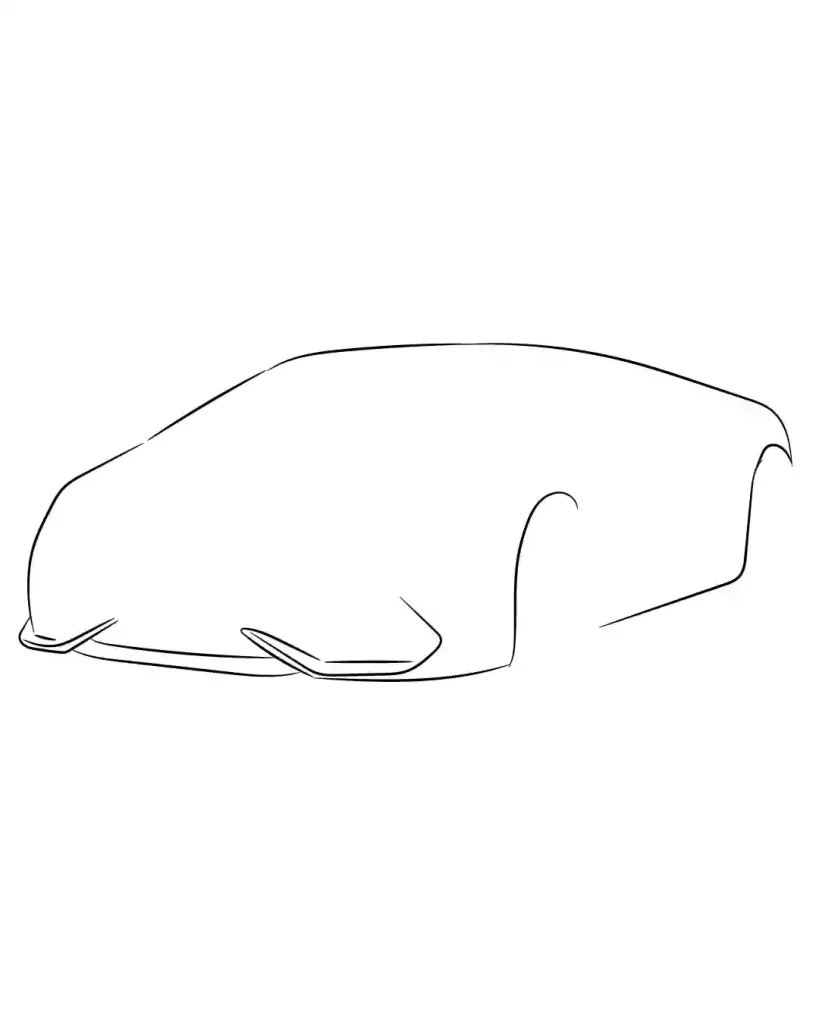
Step 5: Make a line as shown in the image.
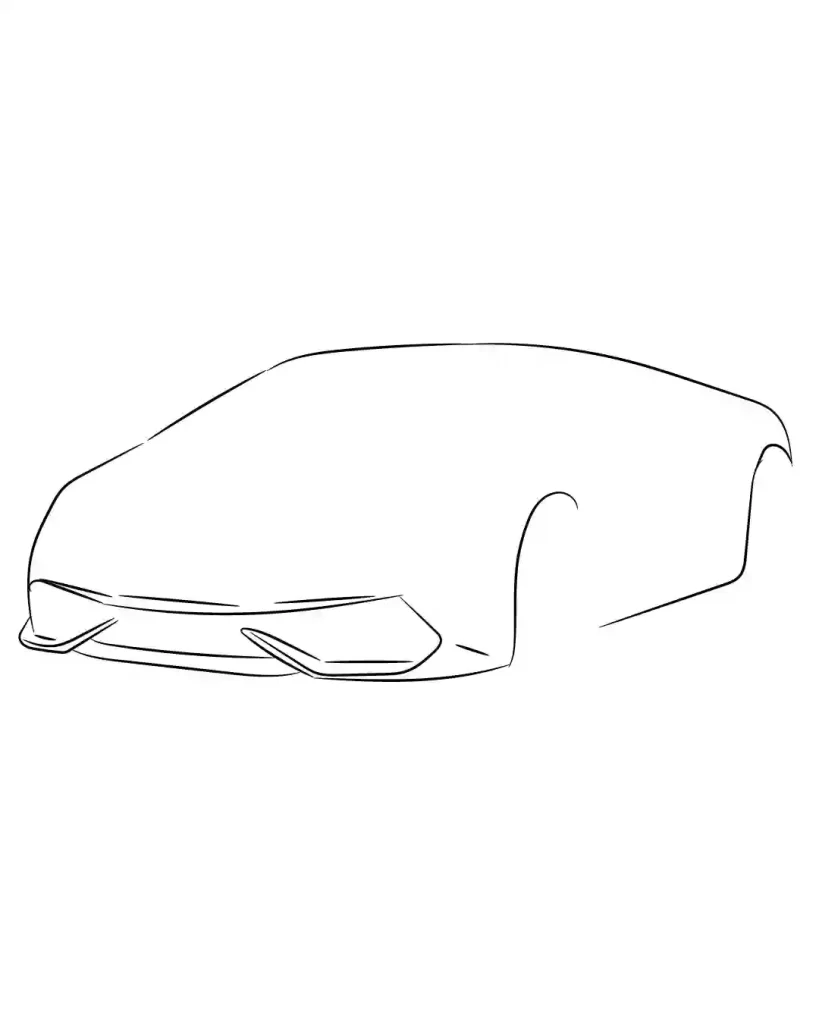
Step 6: Now we will make a headlight.
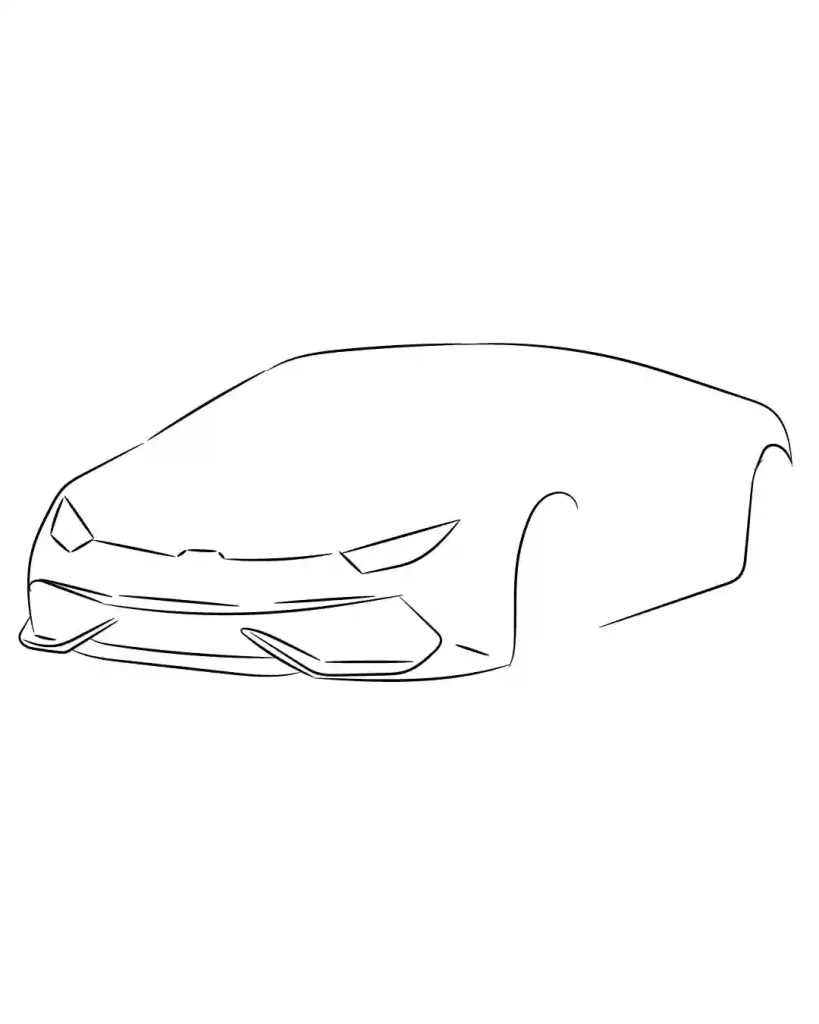
Step 7: Now we will make the windshield for the car.
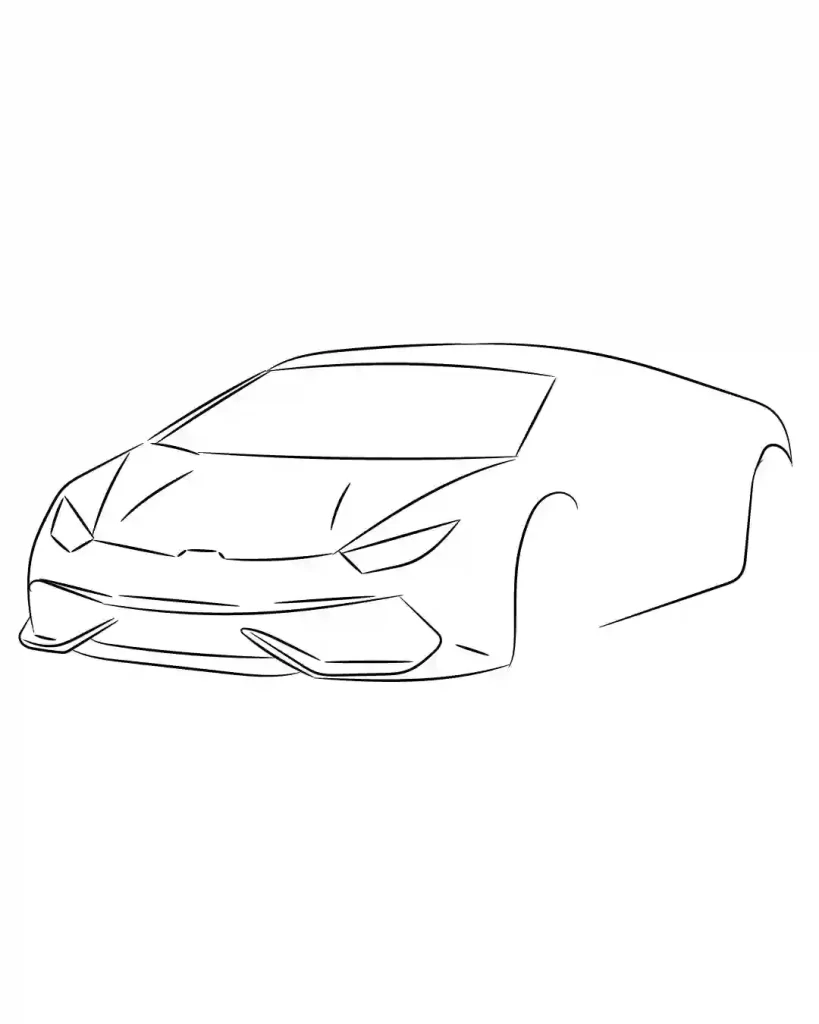
Step 8—Now we will make the side door and the glass.
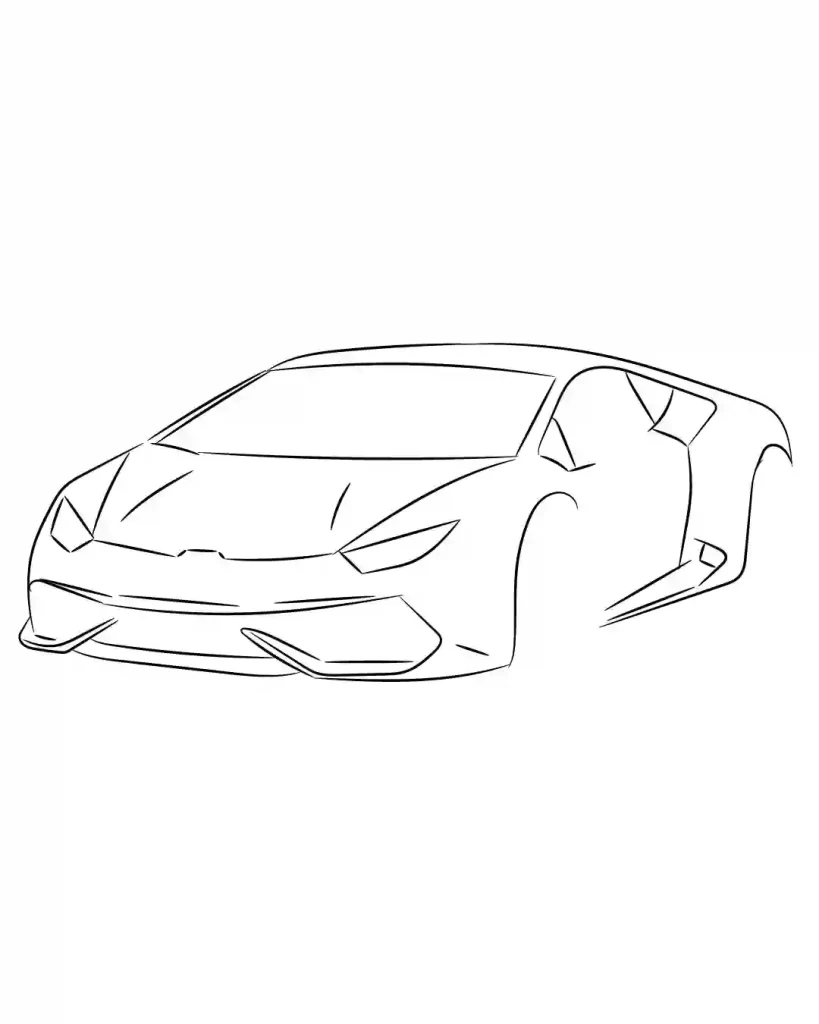
Step 9: Now let’s make a side mirror.
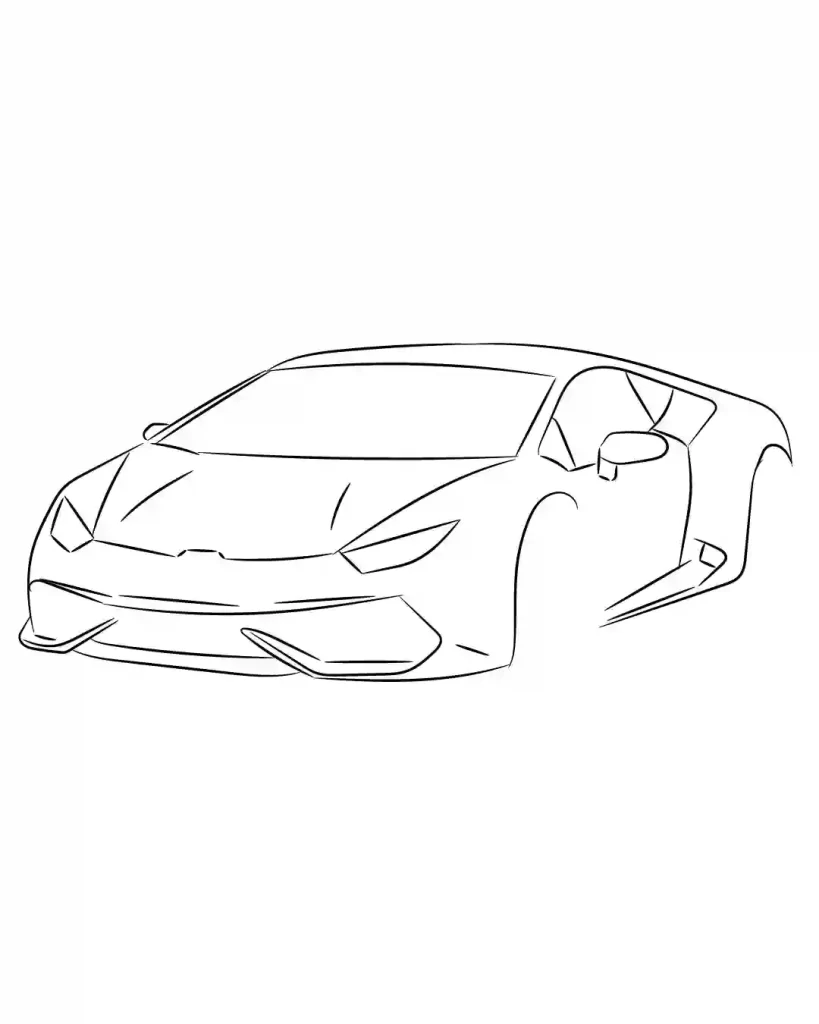
Step 10: Now we will make the rims for the tires.
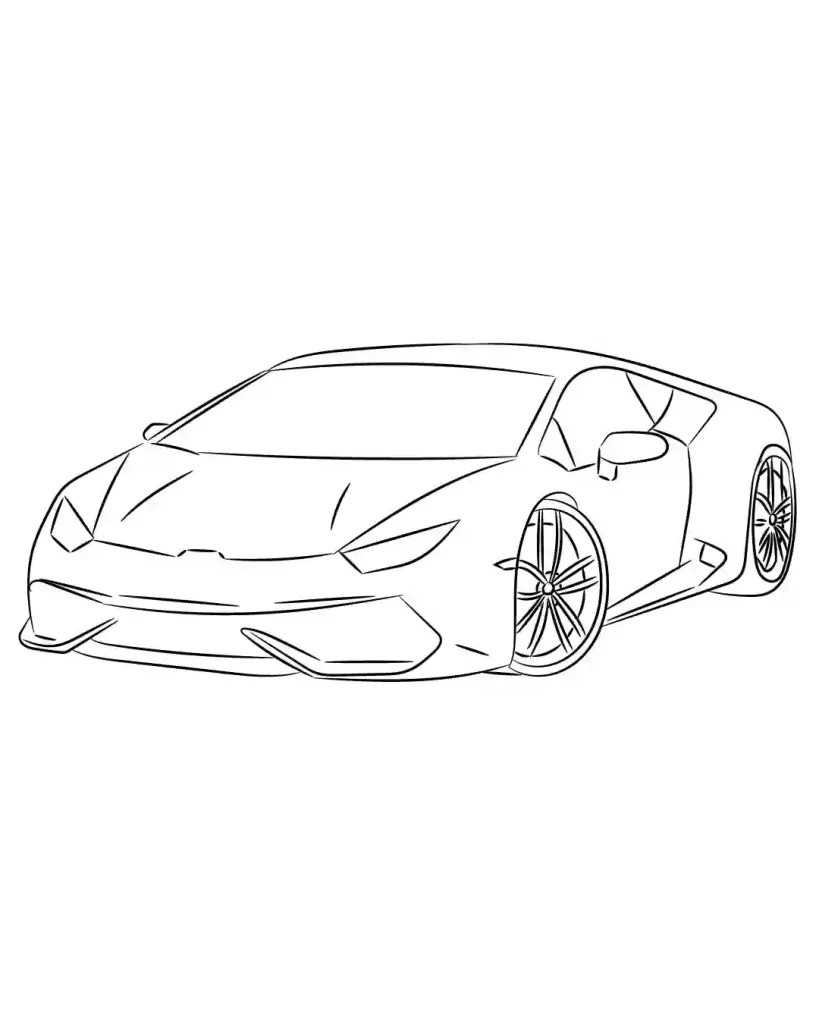
Step 11: Now let’s make the logo and the handle.

Step 12-Now we will colour the drawing as shown in the image.
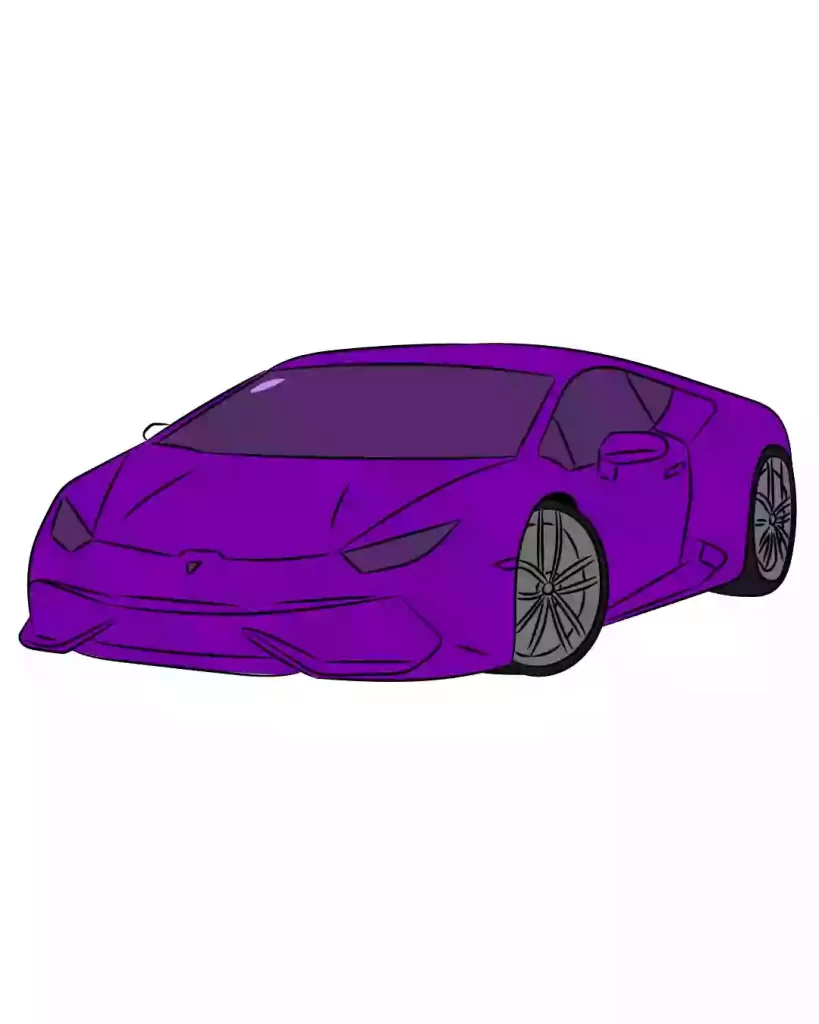
Hey kids did you like this How to Draw a Tarzan Car in simple steps Practice it and you will see your drawing is improving in every attempt, also share your view in the comment box, and don’t forget to share this art with your friends on Social Media so they can also enjoy it. For more such drawings and stories keep visiting Storiespub.com.
- How to draw Volleyball
- How to draw Naruto
- How to draw bed
- How to draw bangs
- How to draw abs
- How To Draw Stairs
- How to draw graduation cap
- How to draw
- How to draw fish in simple and east step by step guide


