Summarize this Article with:
How to Draw a Peacock step by step- Easy Drawing
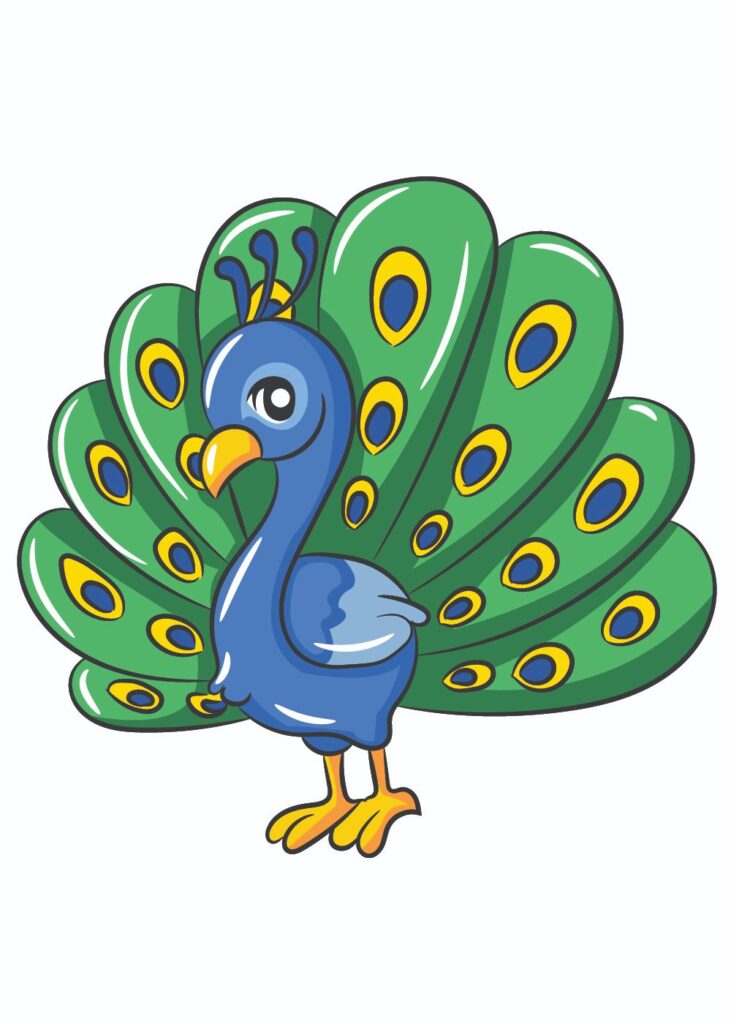
Peacock Drawing: Unleash Your Creativity
Are you ready to embark on a mesmerizing artistic journey? Learning how to draw a peacock is not only a delightful experience but also a fantastic way to showcase your artistic prowess. In this comprehensive guide, we’ll take you through the process of creating a stunning peacock drawing that captures every intricate detail of this magnificent bird.
Gathering Your Art Supplies
Before you dive into the world of peacock drawing, it’s essential to ensure you have all the necessary tools at your disposal. Here’s a list of items you’ll need:
- Sketching paper: Start with a high-quality sketching paper to give your artwork a sturdy foundation.
- Pencils: Opt for a range of graphite pencils to achieve various levels of shading and detailing.
- Eraser: A good-quality eraser will come in handy for correcting mistakes and refining your drawing.
- Fine liners: These will help you add precise and intricate lines to your peacock drawing.
- Colored pencils: To bring your peacock to life with vibrant colors, invest in a set of quality colored pencils.
Step 1 :- Start by drawing the neck and head of a peacock.

Step 2 :- Now draw the beak of the peacock.
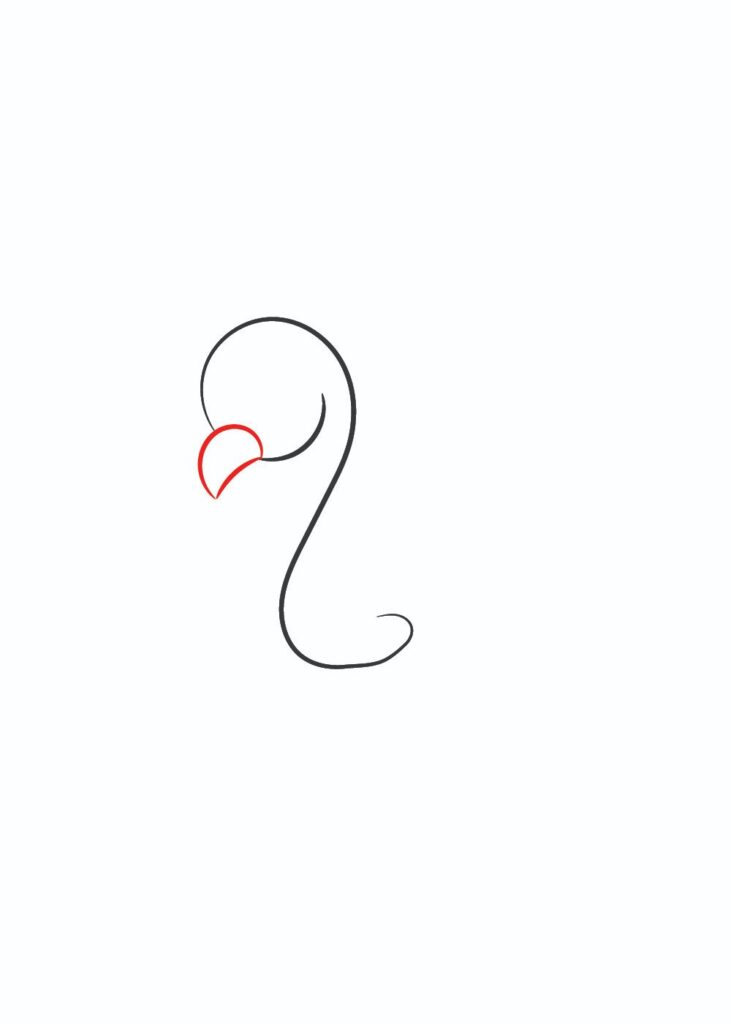
Step 3 :- Now the other side of the neck.
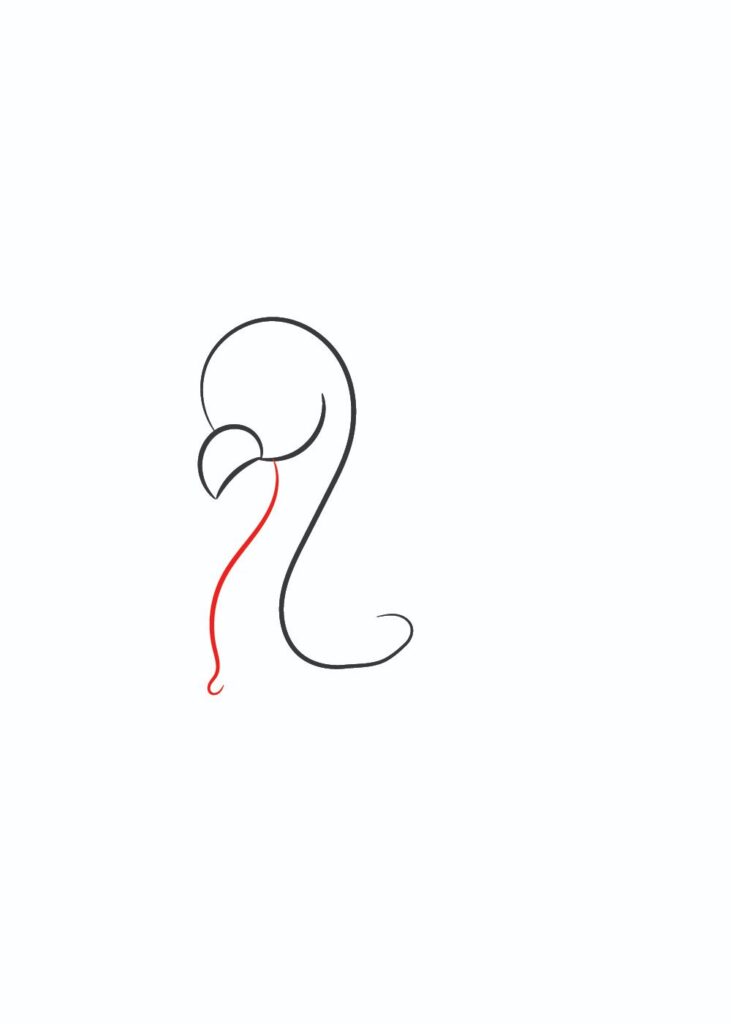
Step 4 :- Continue with wings.
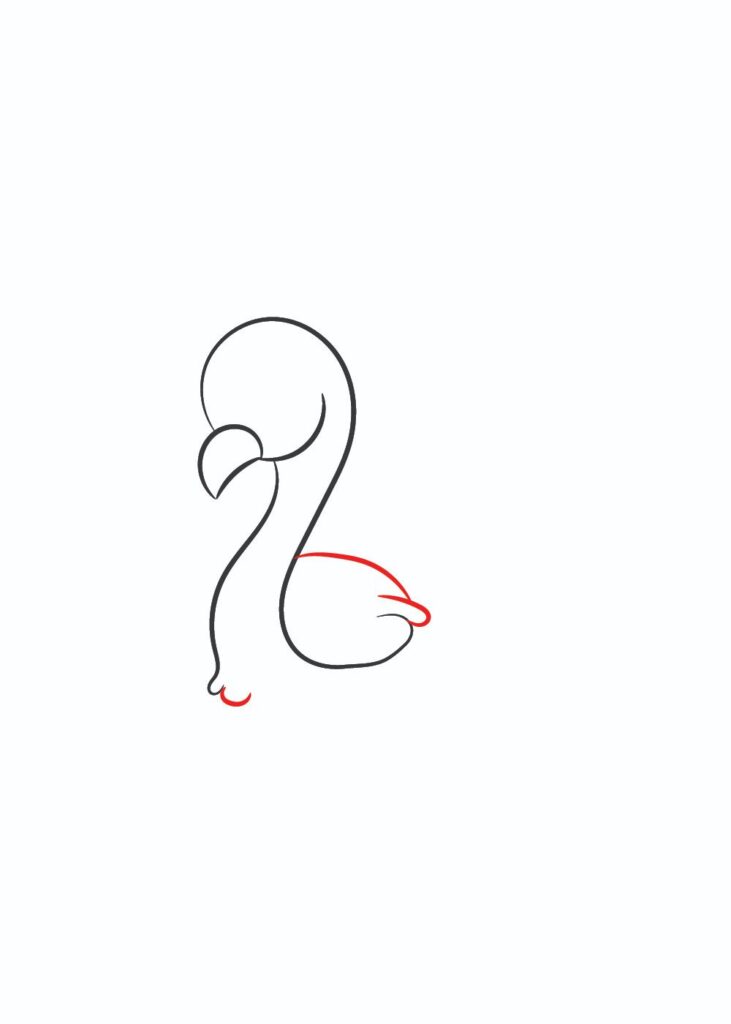
Step 5 :- Now the lower part of a peacock.
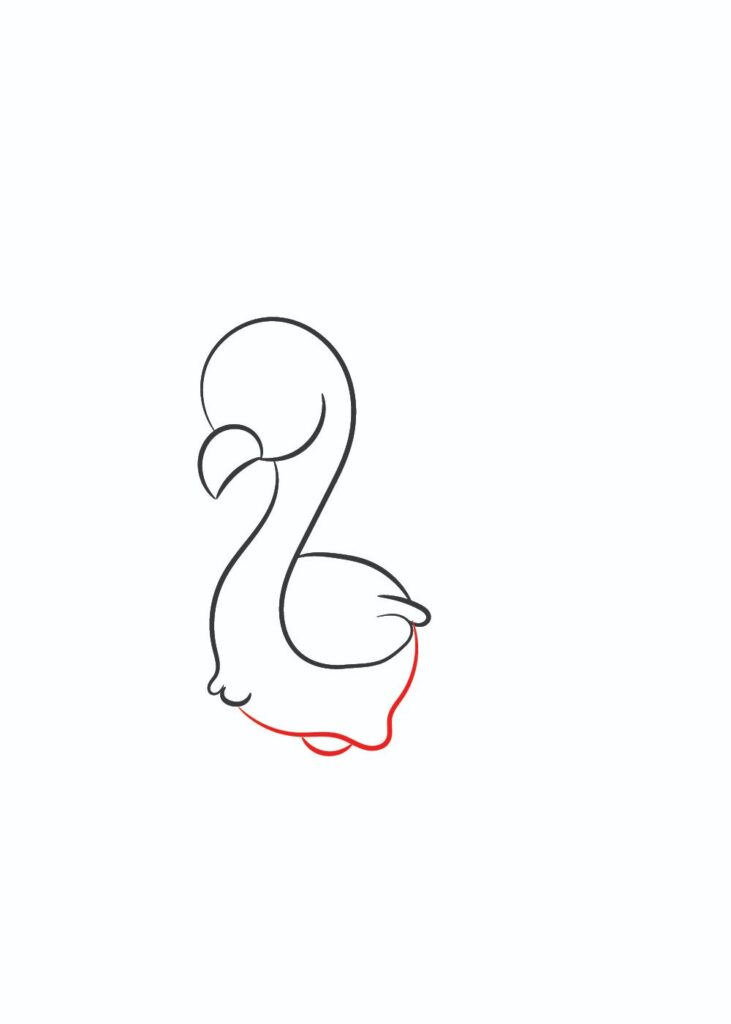
Step 6 :- Draw the legs next.
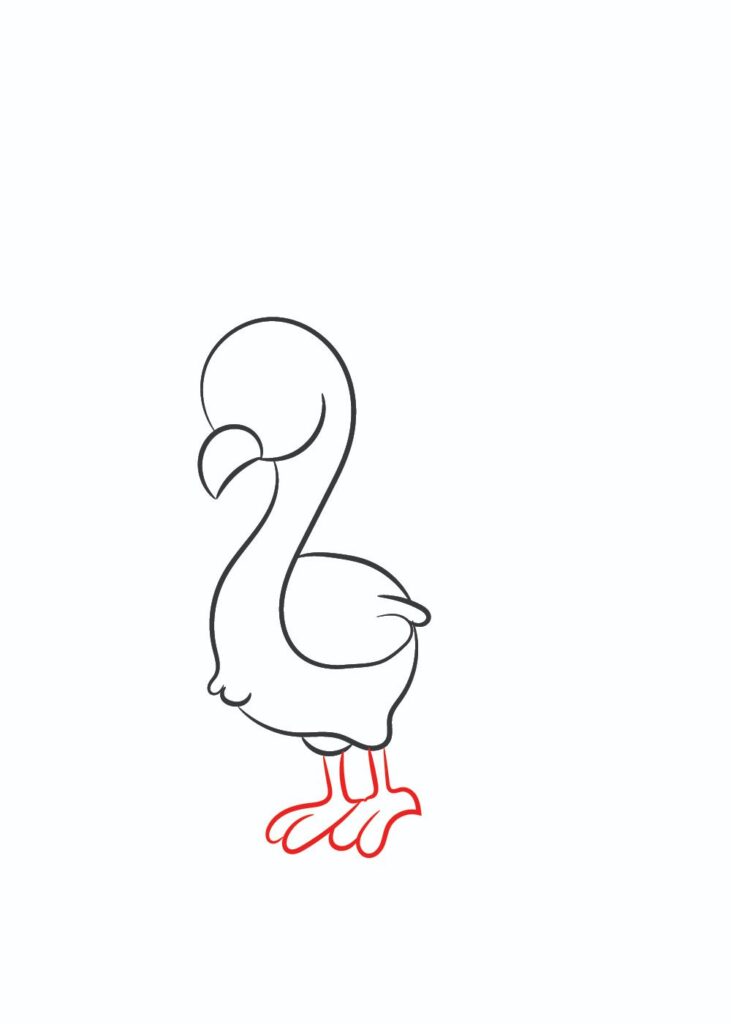
Step 7 :- Now draw the eye.
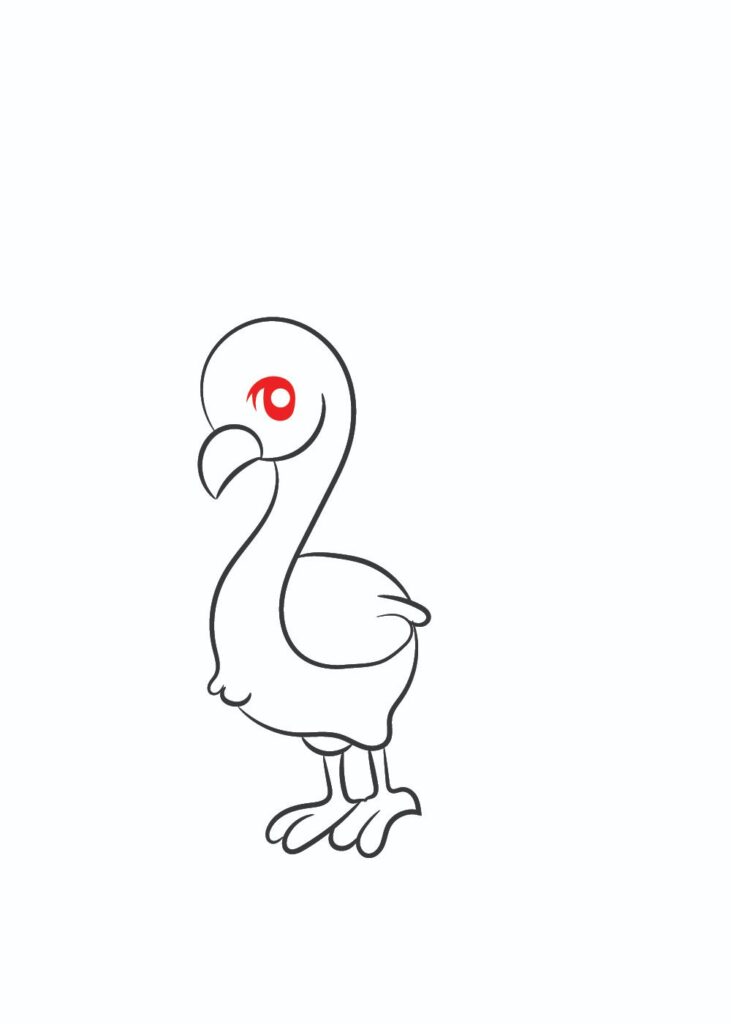
Step 8 :- Draw the crest of the peacock next.
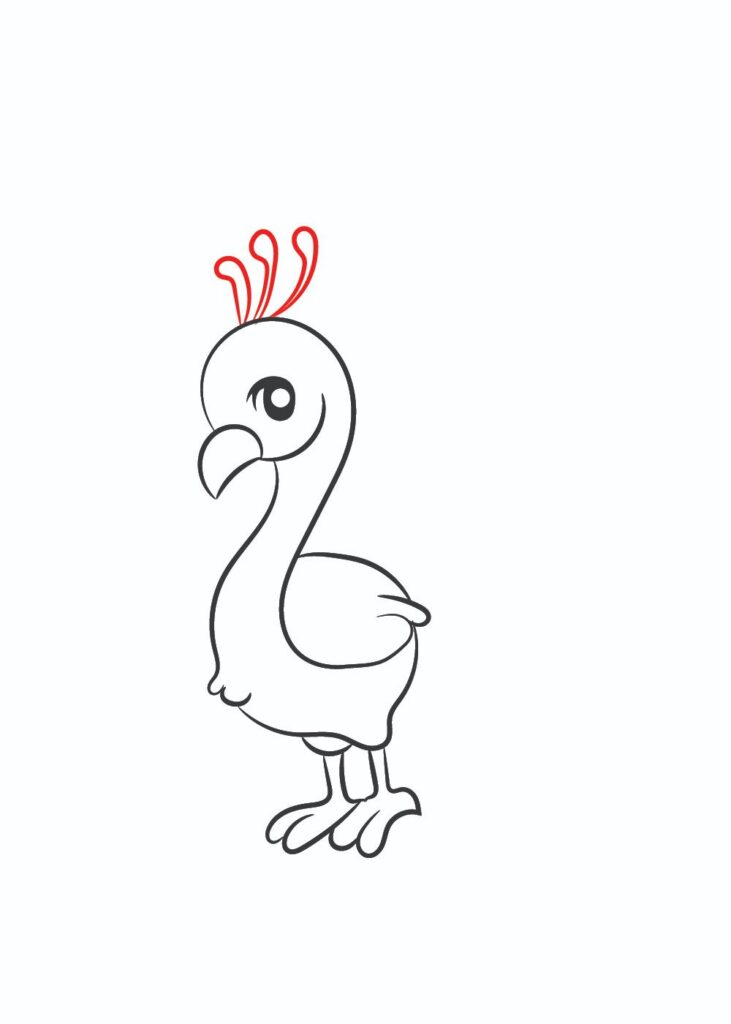
Step 9 :- Span the tail over the paper next.
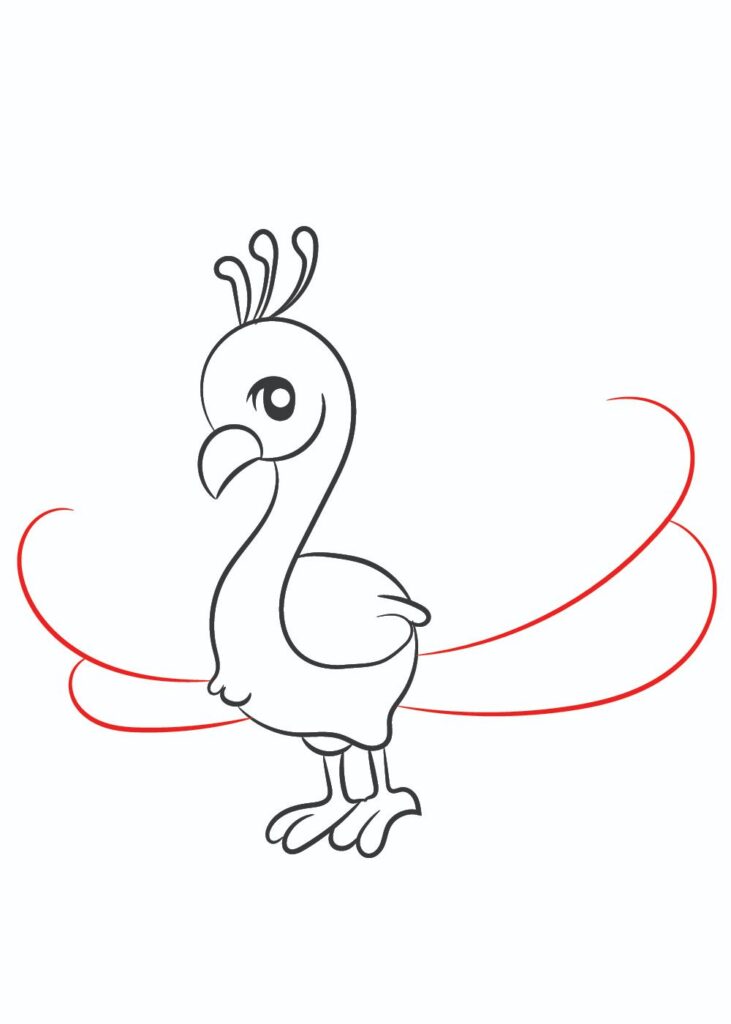
Step 10 :- Detail the tails.
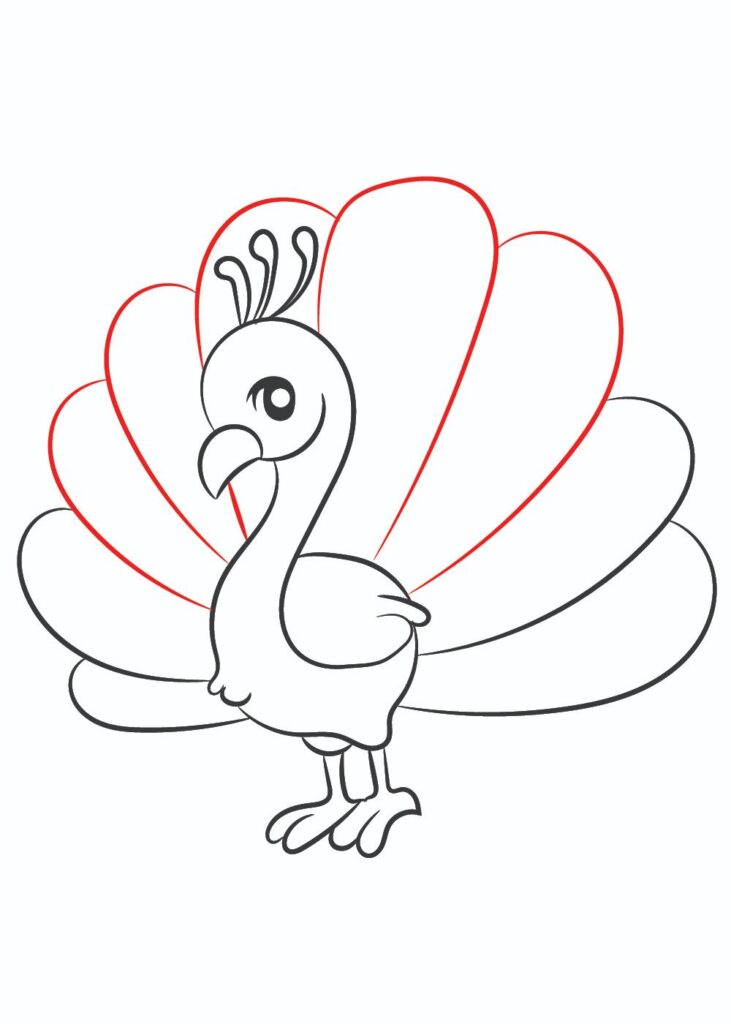
Step 11 :- The drawing is complete.
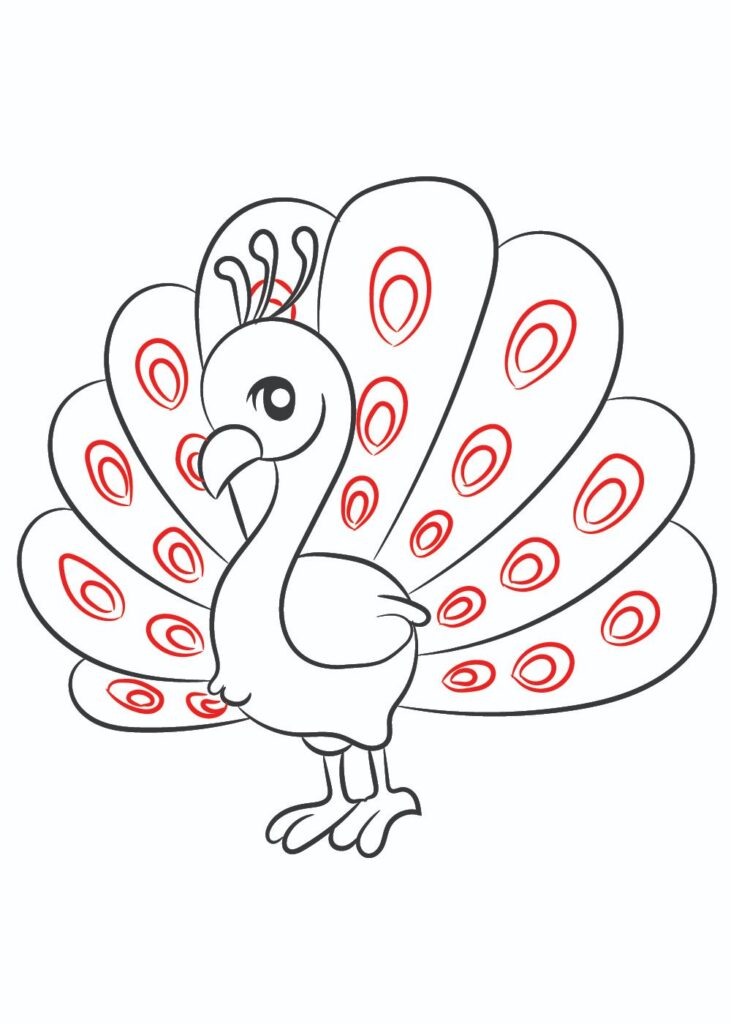
Step 12 :- Color the drawing as shown in picture.
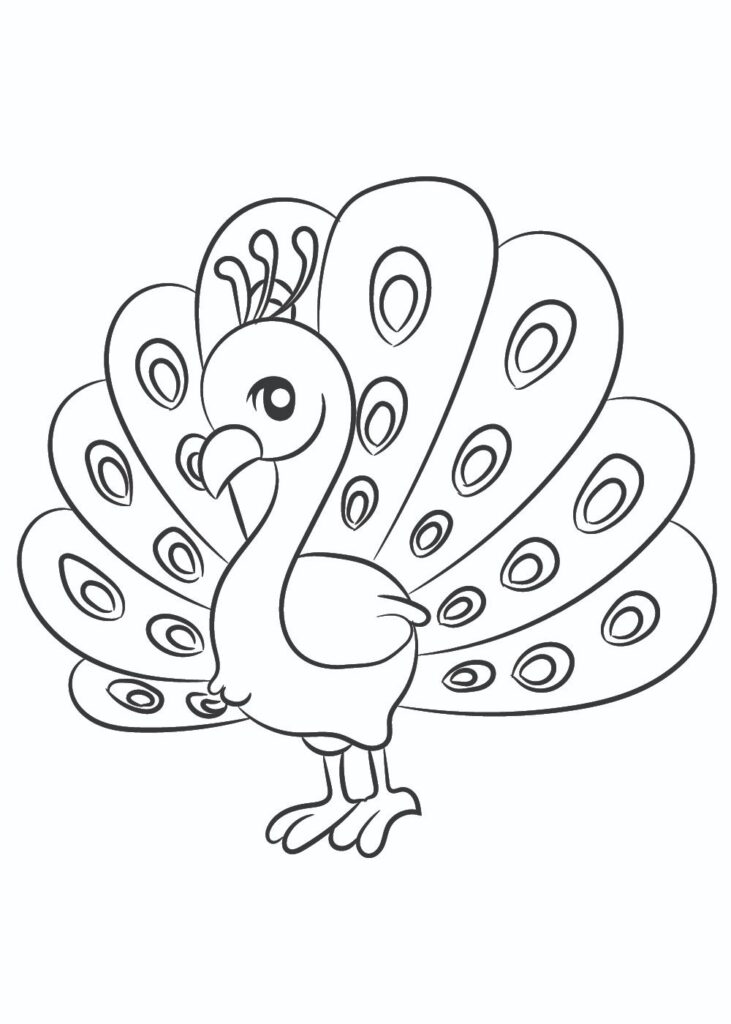
Step 13:- Color the drawing as shown in picture.
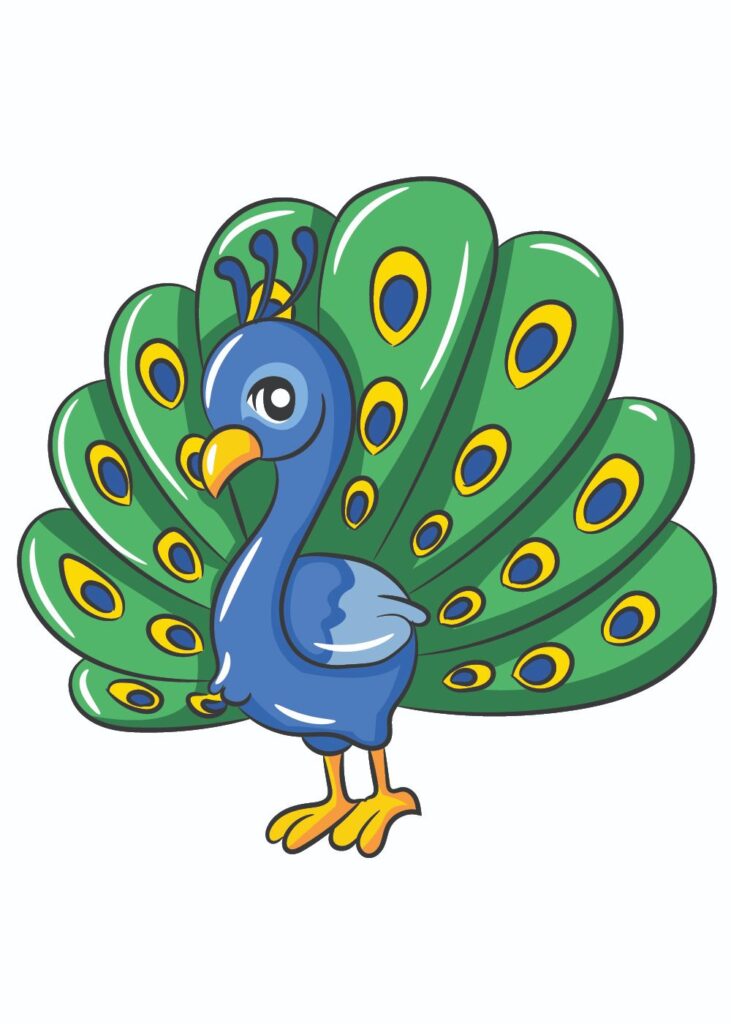
Hey kids did you like this How to Draw a Peacock step by step- Easy Drawing? Practice it and you will see your drawing is improving in every attempt, also share your view in the comment box, and don’t forget to share this art with your friends on Social Media so they can also enjoy it. For more such drawings keep visiting Storiespub.com.
More Drawing Tutorials


