Summarize this Article with:
How to Draw a Knight Helmet – Easy Drawing
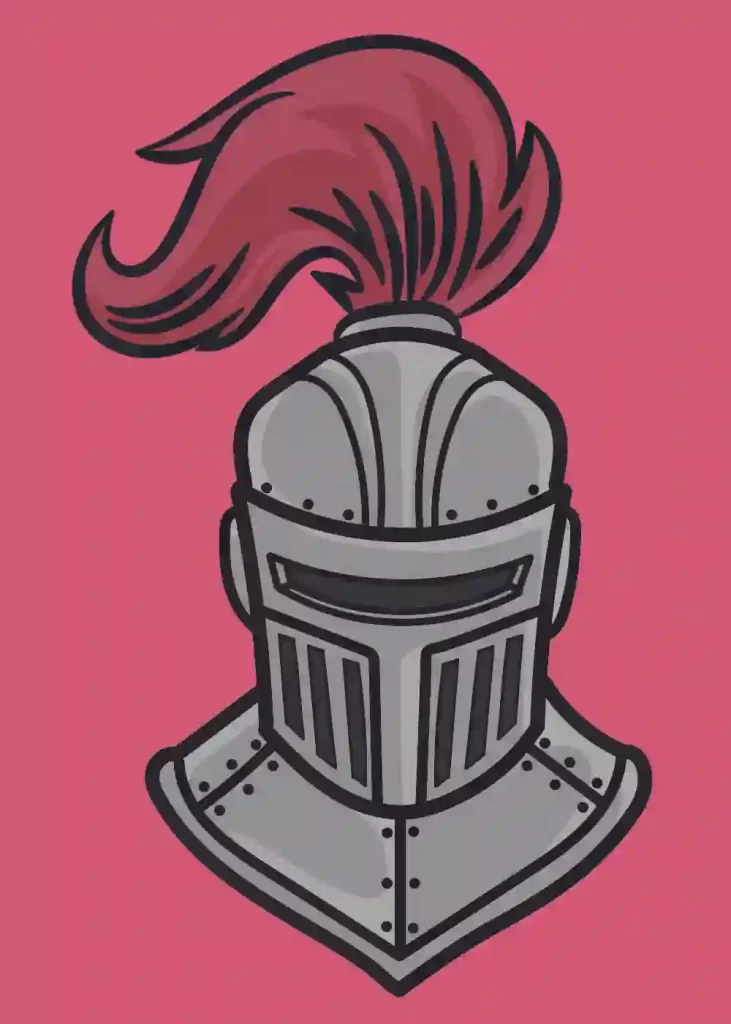
Follow the below steps to draw a Knight Helmet.
Step 1: Start by drawing the front of the helmet. Extend a curved line from the bottom of the “U” shaped line. Make sure the lines on each side meet in a point. This will be the visor of the helmet.
Step 2: Now, draw the back portion of the helmet. Begin by drawing a curved line that starts at either side of the bottom of the “U” shaped line. These lines should meet in a point at the top. This forms the back peak of the helmet.
Step 3: To finish off the knight’s helmet, extend two curved lines downward from either side of the bottom of the “U” shaped line. Allow these lines to meet in a point at the bottom center.
This forms the neck guard of the knight’s armor ! You have drawn a Knight Helmet!
Step 1
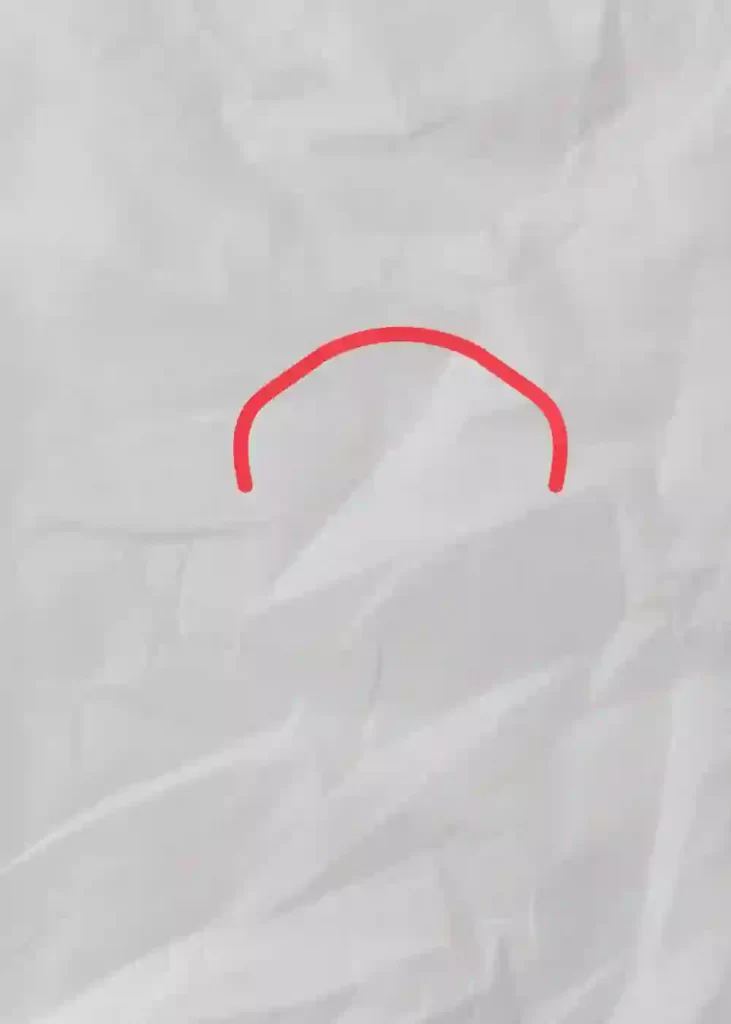
Step 2
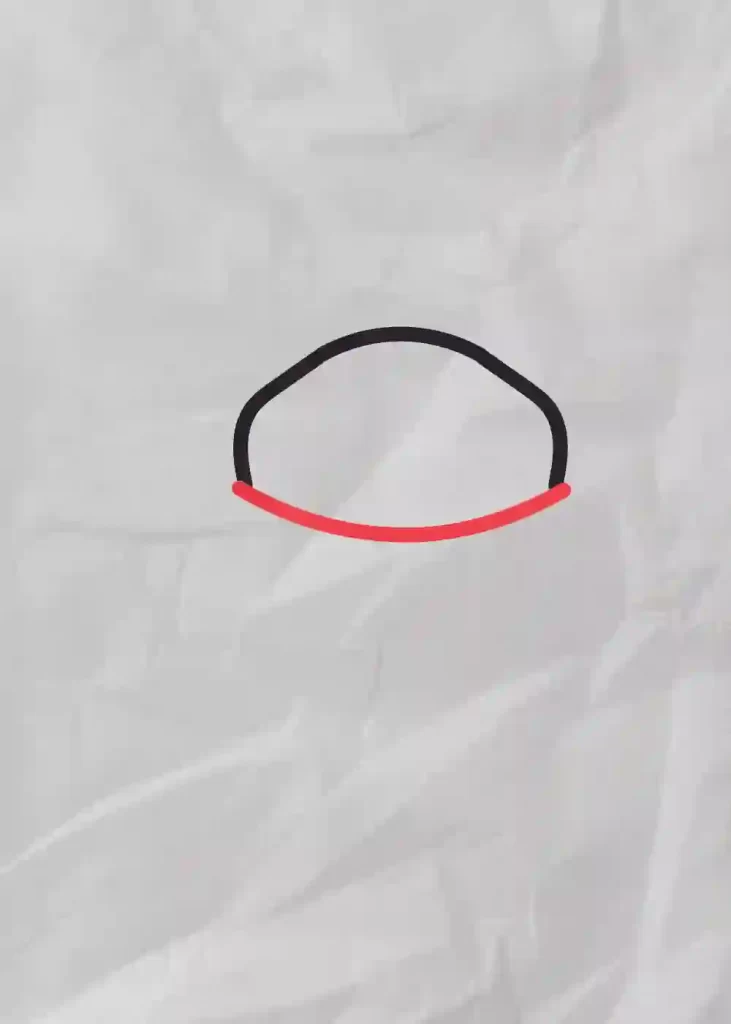
Step 3
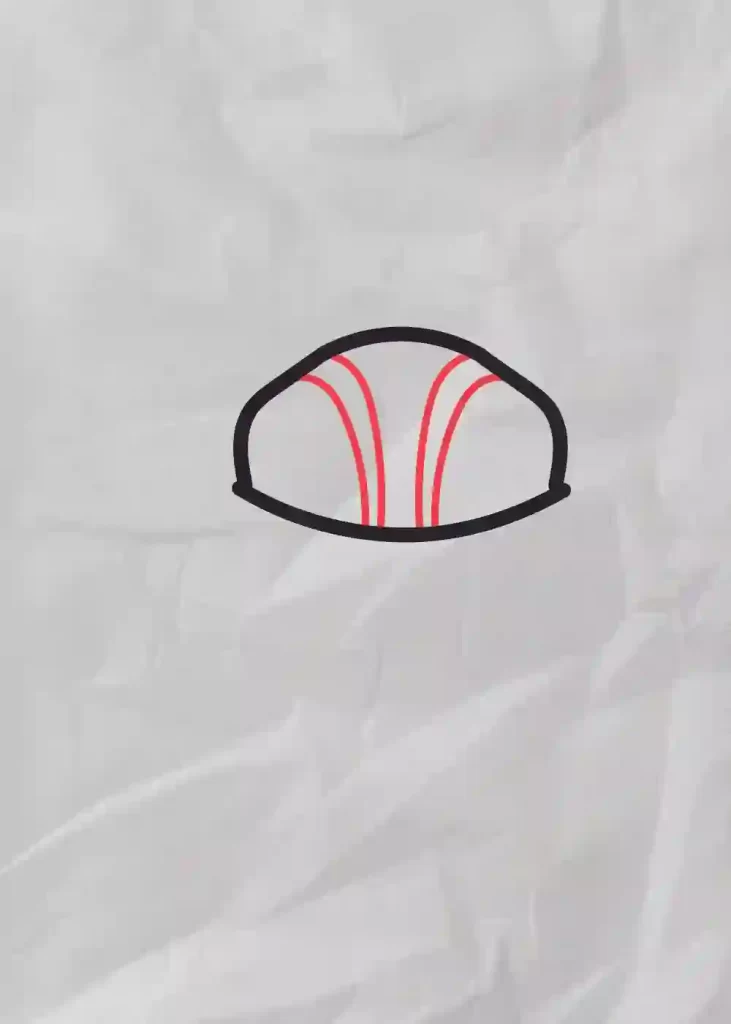
Step 4
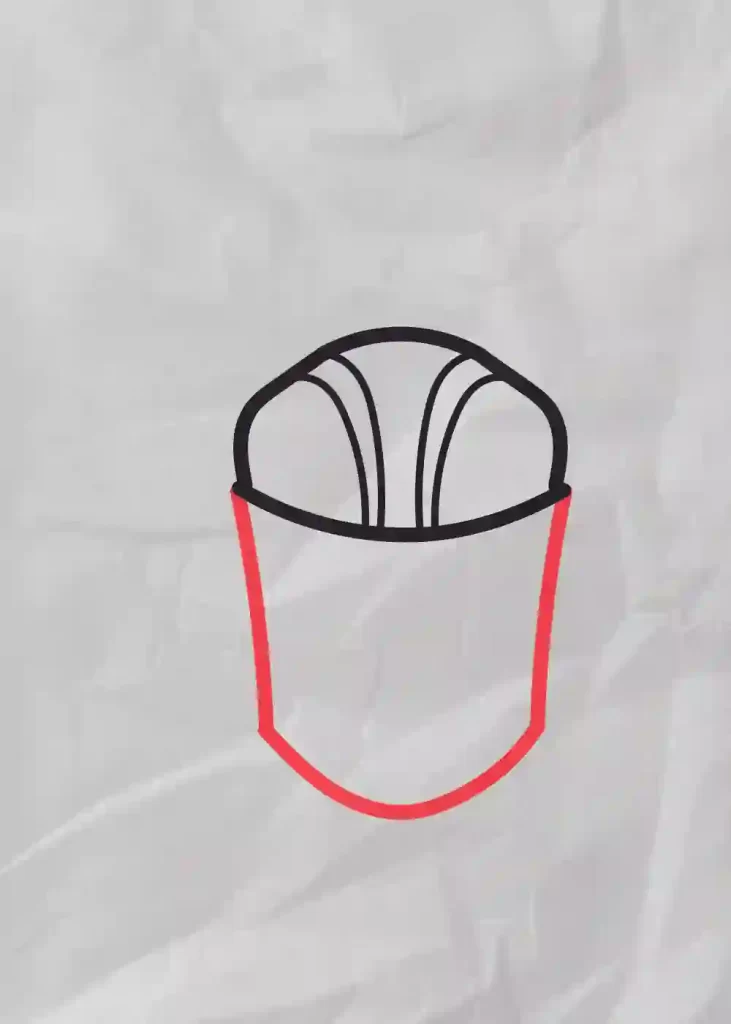
Step 5
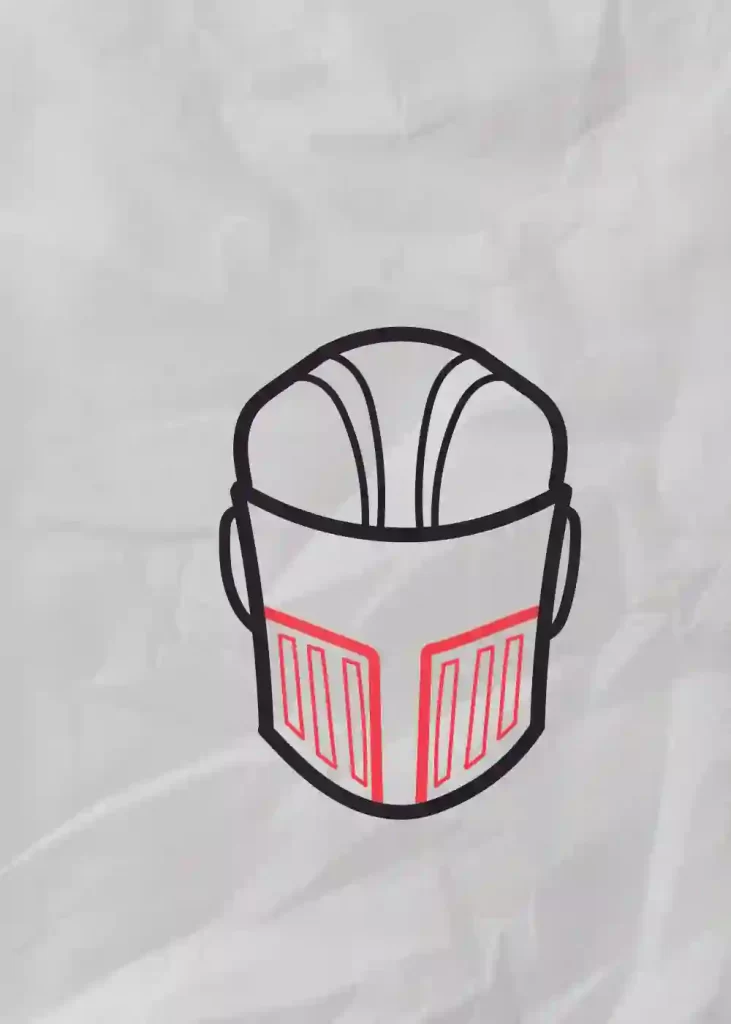
Step 6
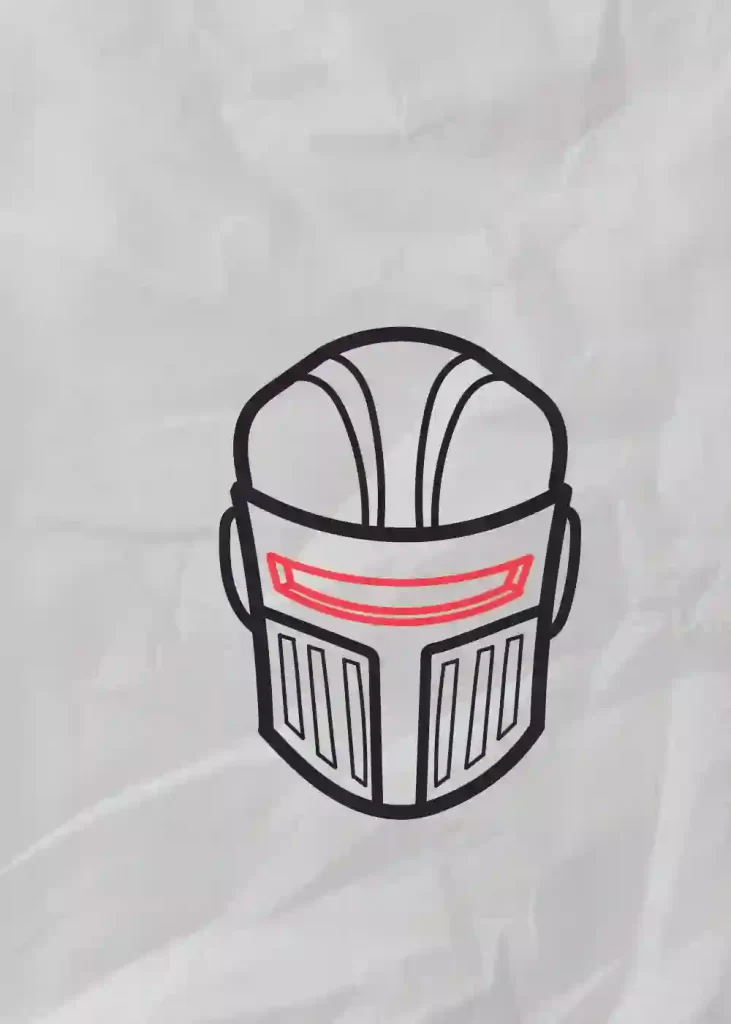
Step 7
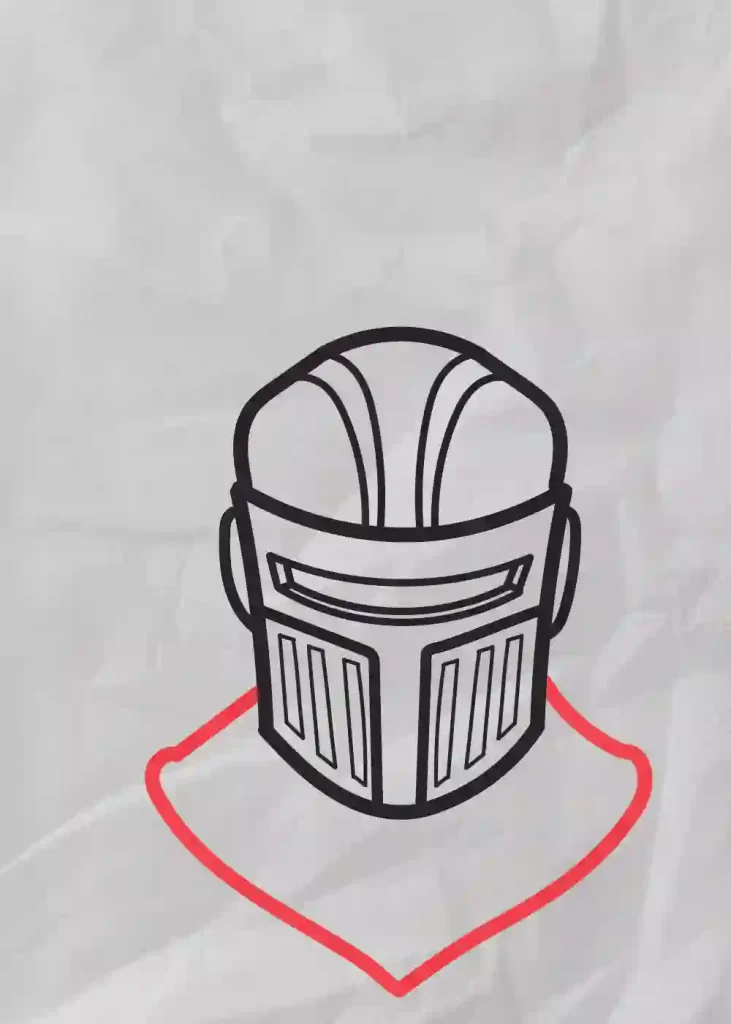
Step 8
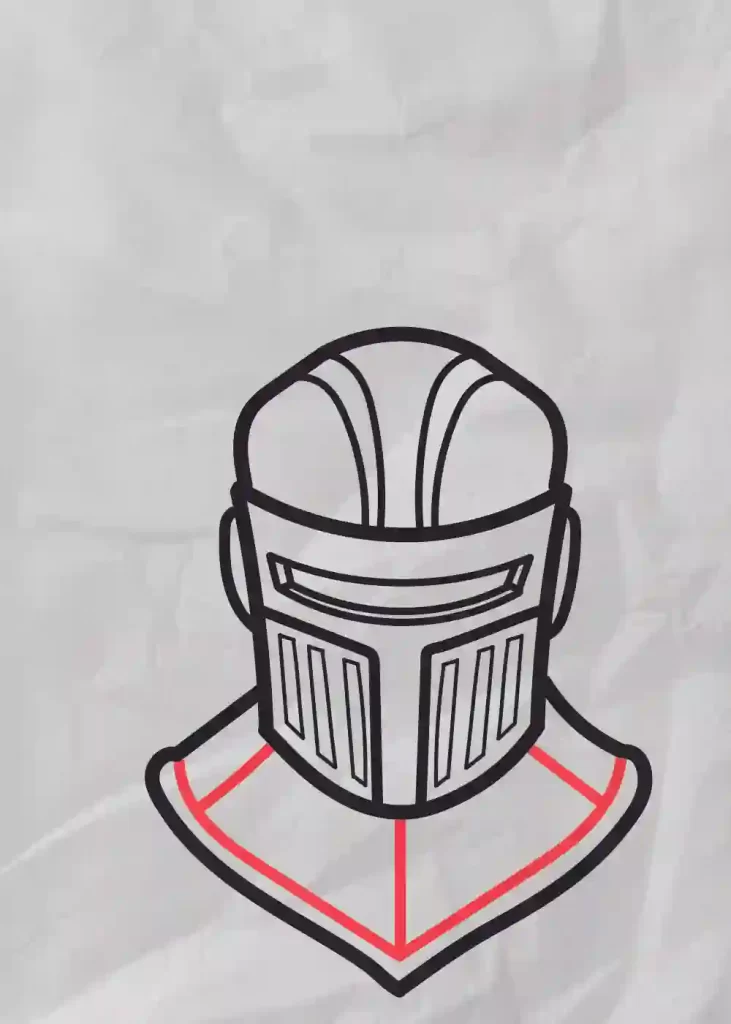
Step 9
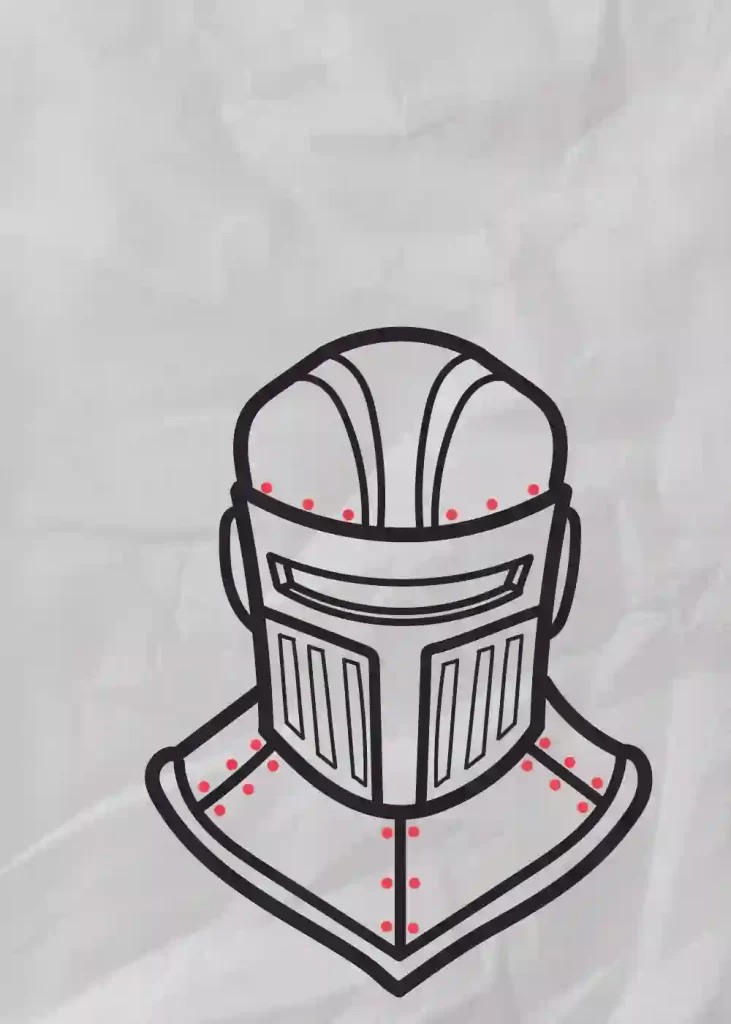
Step 10
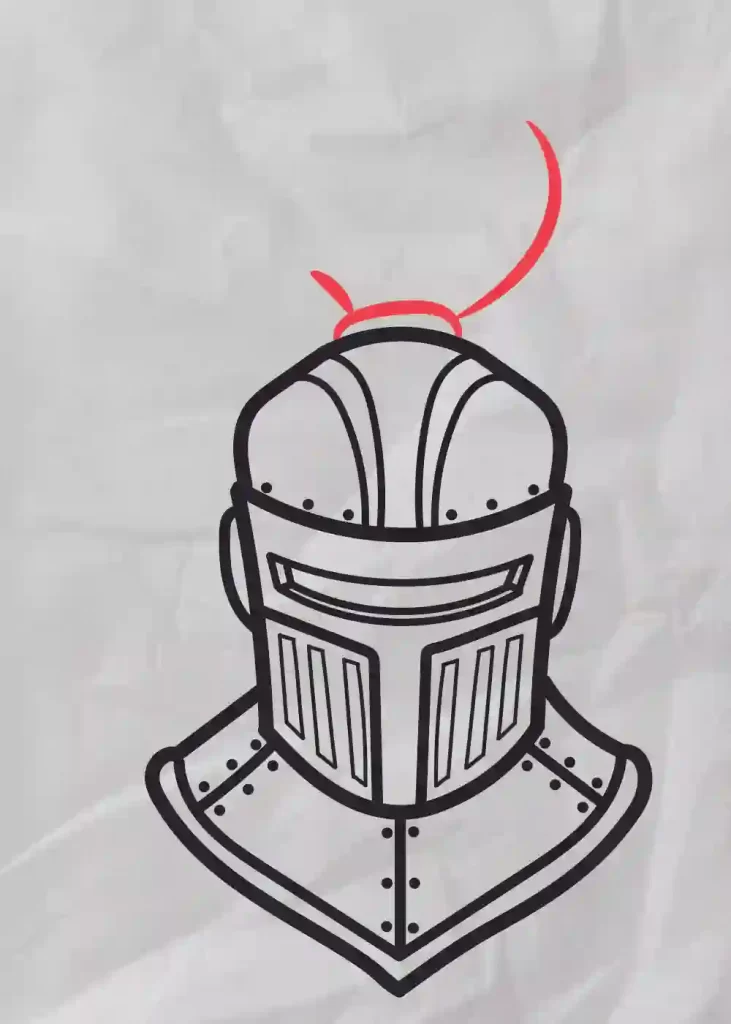
Step 11
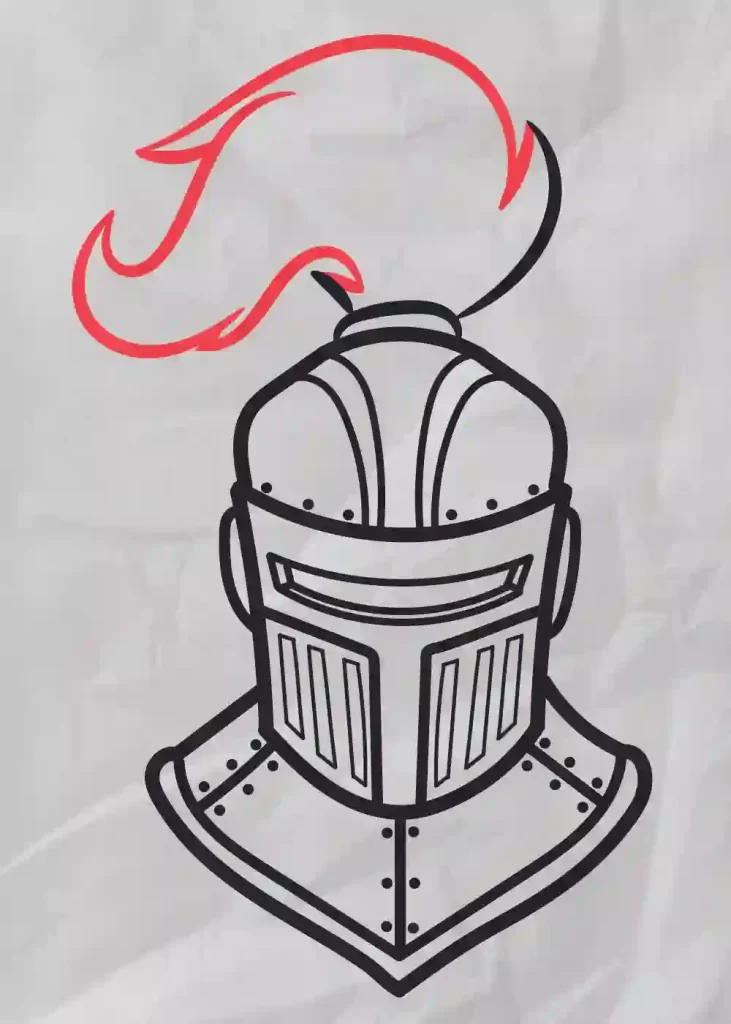
Step 12
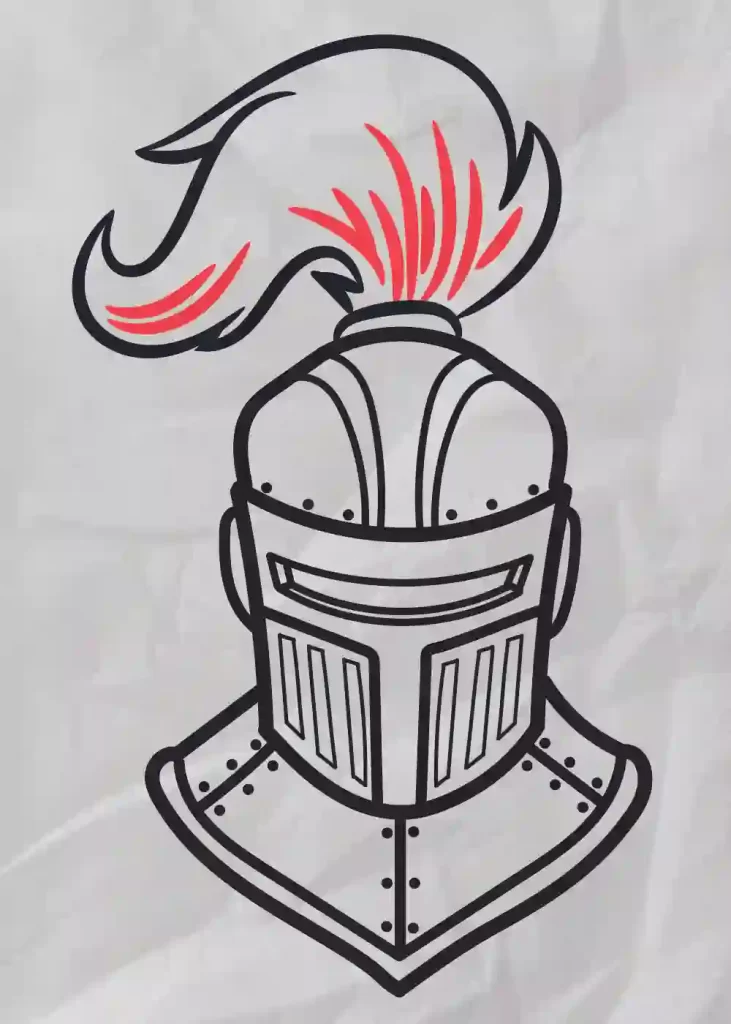
Step 13
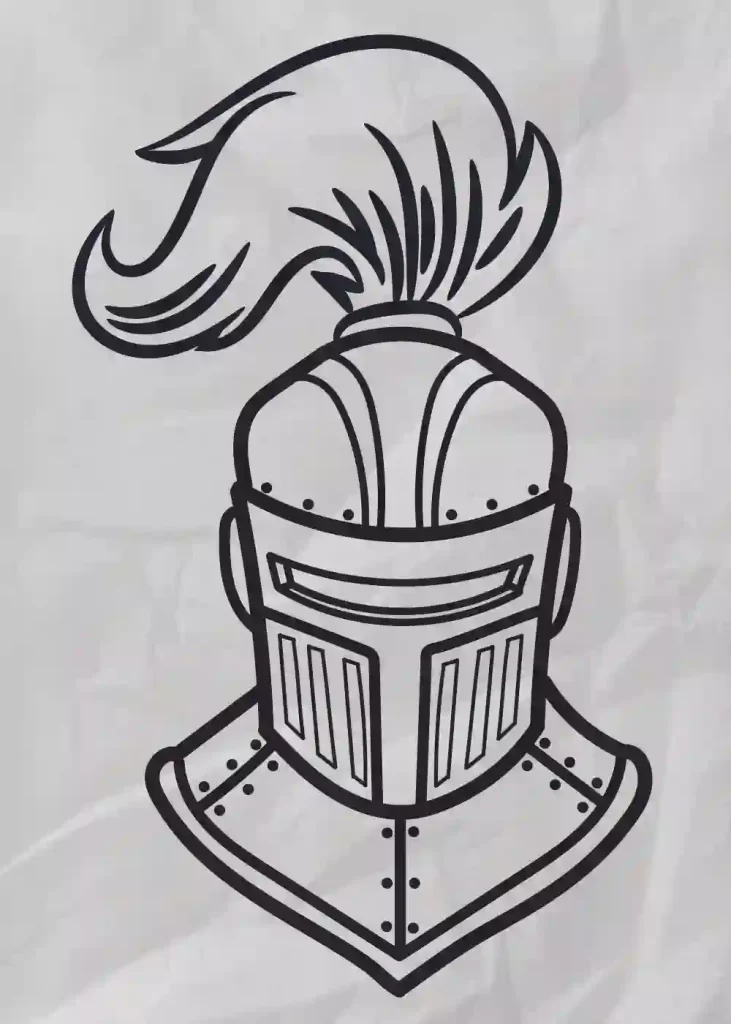
Step 14
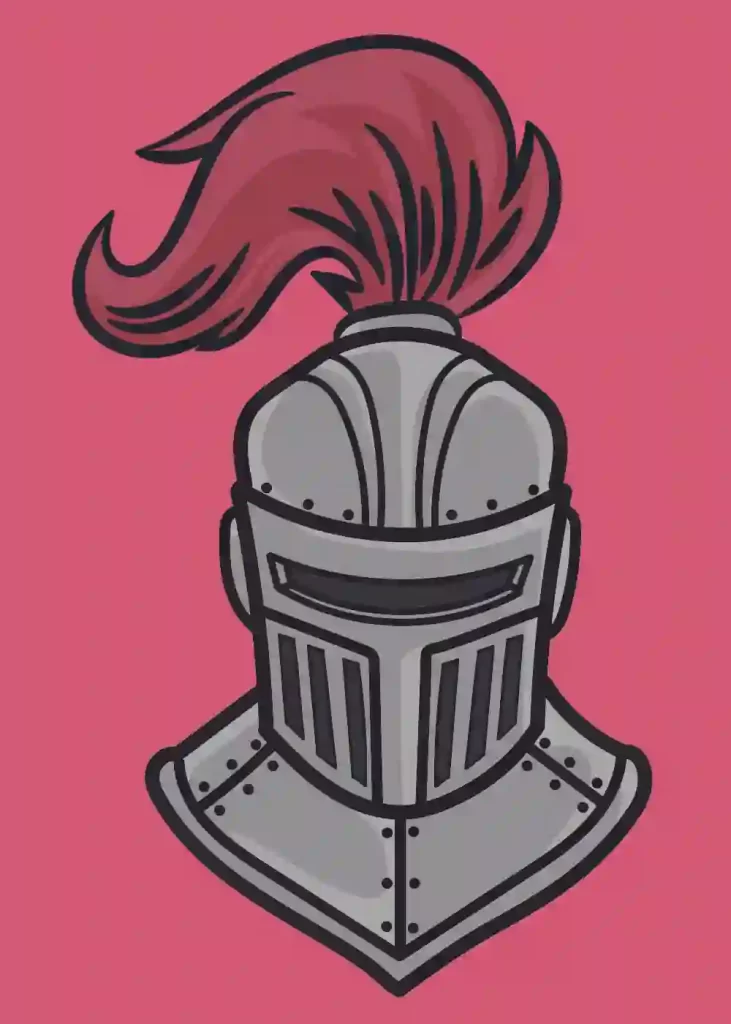
Hey kids did you like this How to Draw a Knight Helmet – Easy Drawing Tutorial? Practice it and you will see your drawing is improving in every attempt, also share your view in the comment box, and don’t forget to share this art with your friends on Social Media so they can also enjoy it. For more such drawings and How to draw keep visiting Storiespub.com.
More Drawing Tutorials


