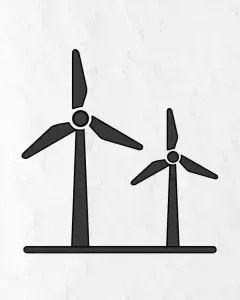
How to Draw Windmill in Simple and easy step by step guide
How to Draw Windmill in Simple and easy step by step guide While many of these are natural components, there are a few manufactured constructions that are worth admiring as well.However, few of these are as breathtaking as a beautiful windmill slowly whirling!Windmills are always fascinating to behold, and knowing how to draw one is a great way to recreate this stunning sight.If you adore these gorgeous structures, this will be an excellent tutorial for you! Shop Now Things required learning how to draw a windmill.1-Paper2-Pencil3-Marker4-ColorLet’s learn how to draw a windmill.Step 1: First we will draw the blades of the windmill. Step 2-Make a small cricle. Step 3: Now we’ll draw the windmill’s central section. Step 4: Make a small box as shown in the drawing. Step 5-Make a small replica of the big one. Step 6-Our drawing is ready. Hey kids did you like this How to Draw Windmill