How to Draw Fire – Step by Step

learning how to draw fire is a skill that can come in handy in a number of situations. Whether you’re trying to add some flair to your art or you need to know how to draw fire for survival purposes, it’s always good to have this skill in your toolkit.
In this blog post, we’ll walk you through a few different ways to draw fire. Whether you’re looking for something realistic or stylized, we’ve got you covered. So grab your pencil and paper and let’s get started!
1. Begin by drawing a basic shape in pencil. This can be a oval, circle, or any other shape you like.
2. Next, start adding some flames around the outside of the shape. Make them look realistic by making them come out at different angles and sizes.
3. Once you have the basic flames drawn in, start working on adding details like sparks and smoke. Use light pencil strokes to create these small details.
4. To finish up, go over your entire drawing with a darker pencil or pen to make the fire stand out. Add any final details that you want and then erase any unwanted pencil lines
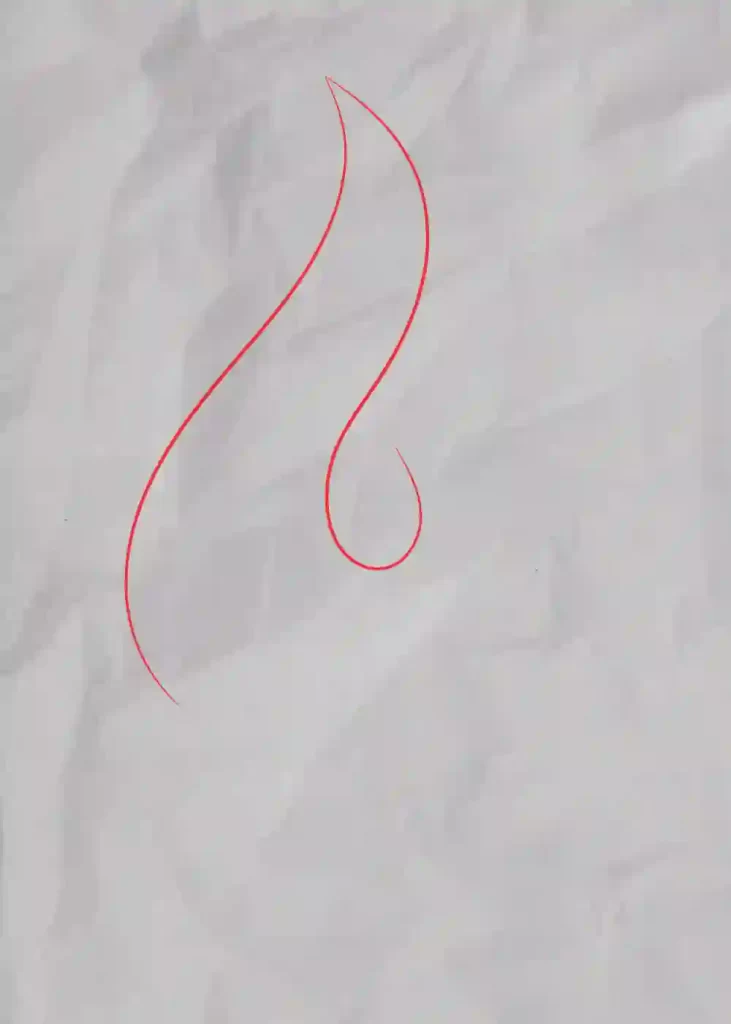
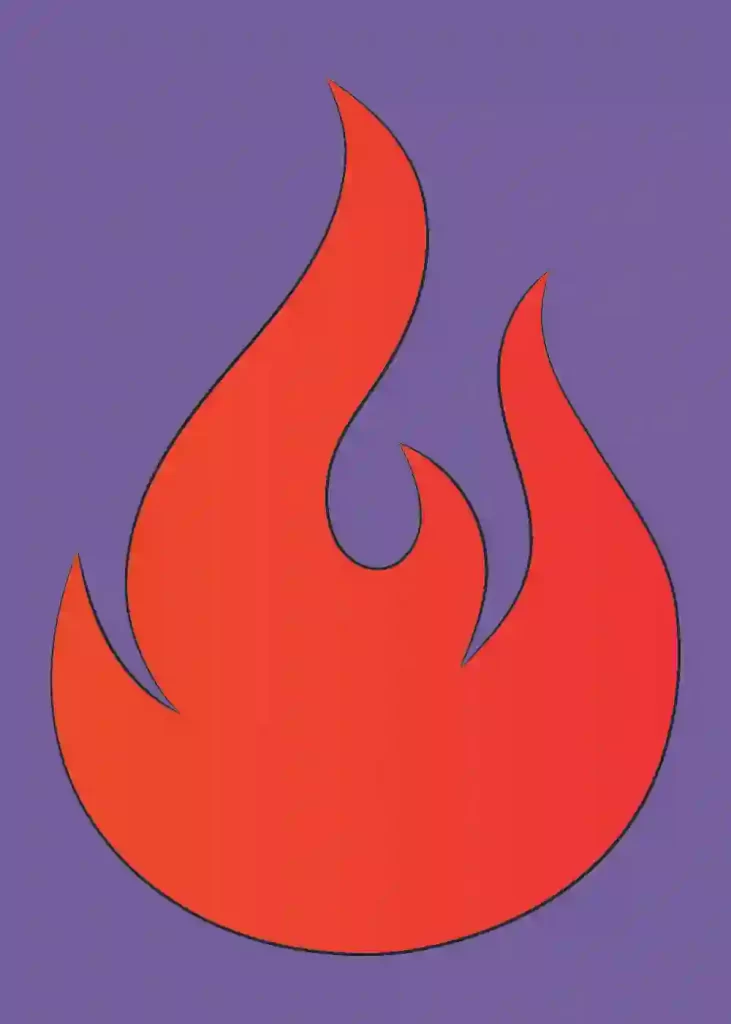
Step 1
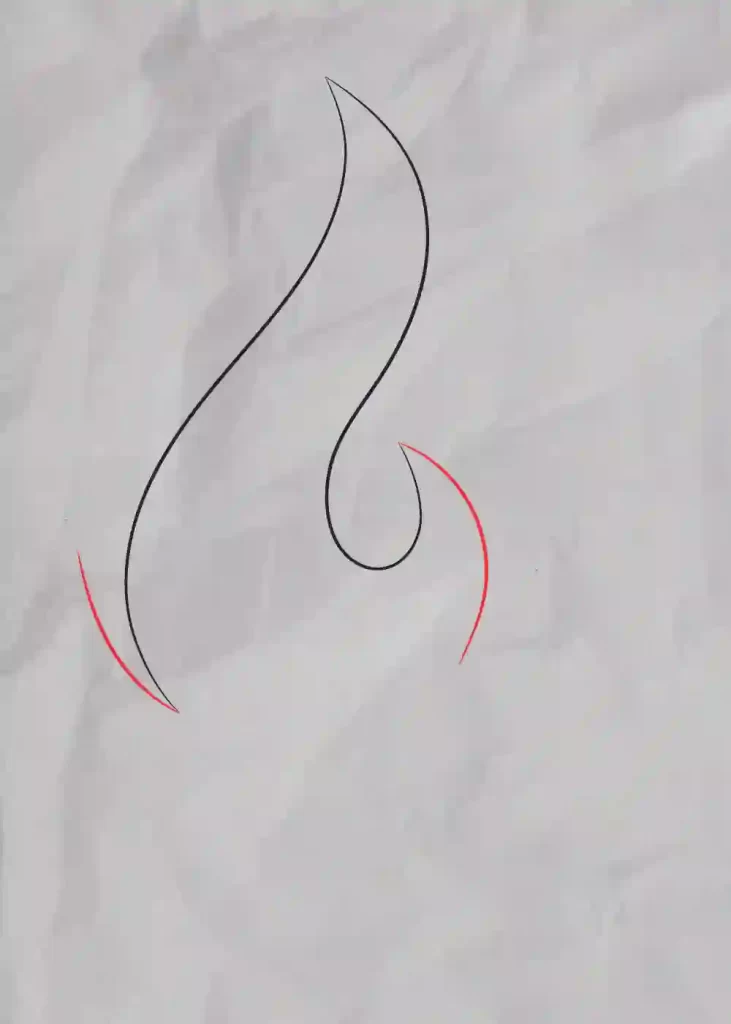
Step 2
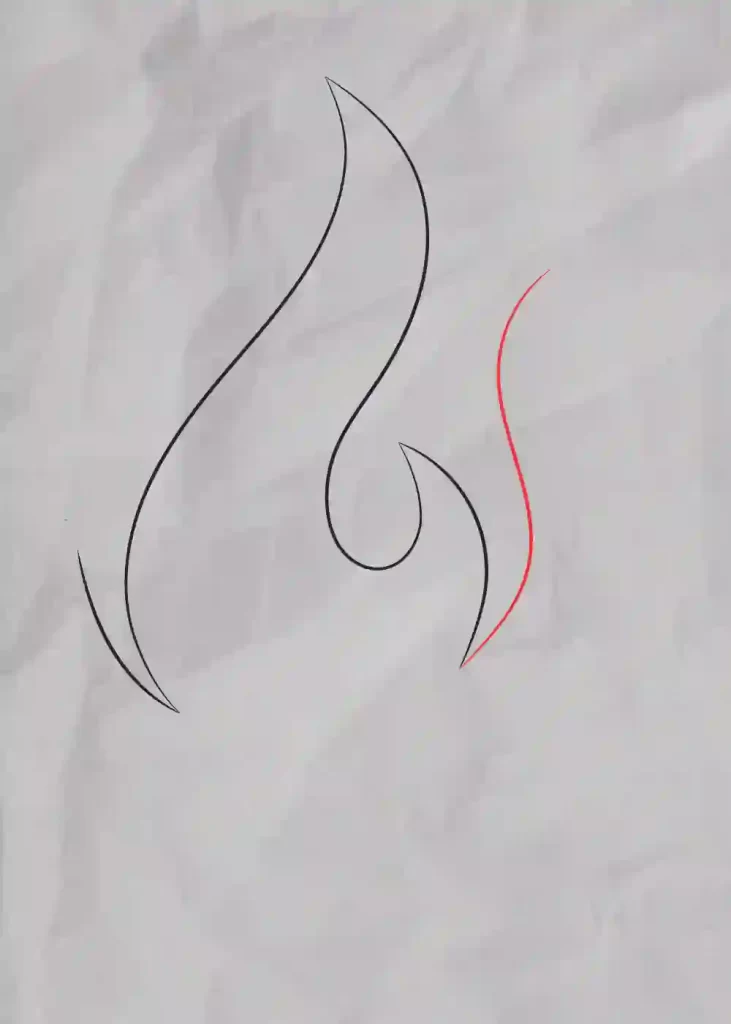
Step 3
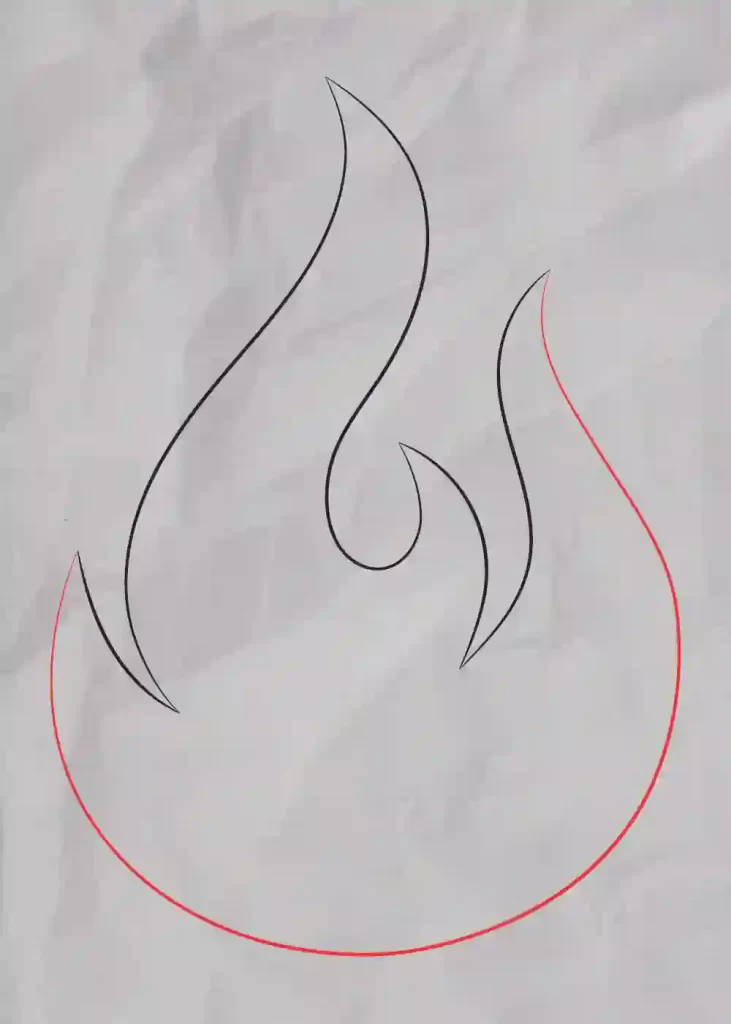
Step 4
Step 5
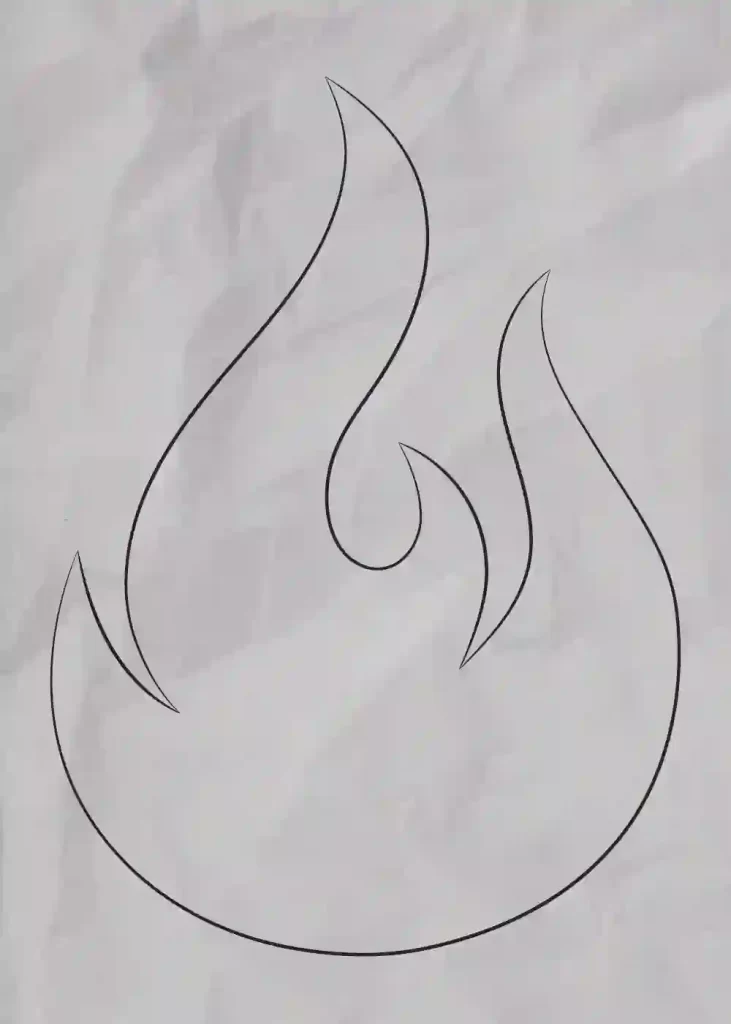
Step 6
Hey kids did you like this How to Draw Fire – Step by Step Tutorial? Practice it and you will see your drawing is improving in every attempt, also share your view in the comment box, and don’t forget to share this art with your friends on Social Media so they can also enjoy it. For more such drawings and How to draw keep visiting Storiespub.com.
More Drawing Tutorials