Summarize this Article with:
How To Draw Naruto | Step by Step
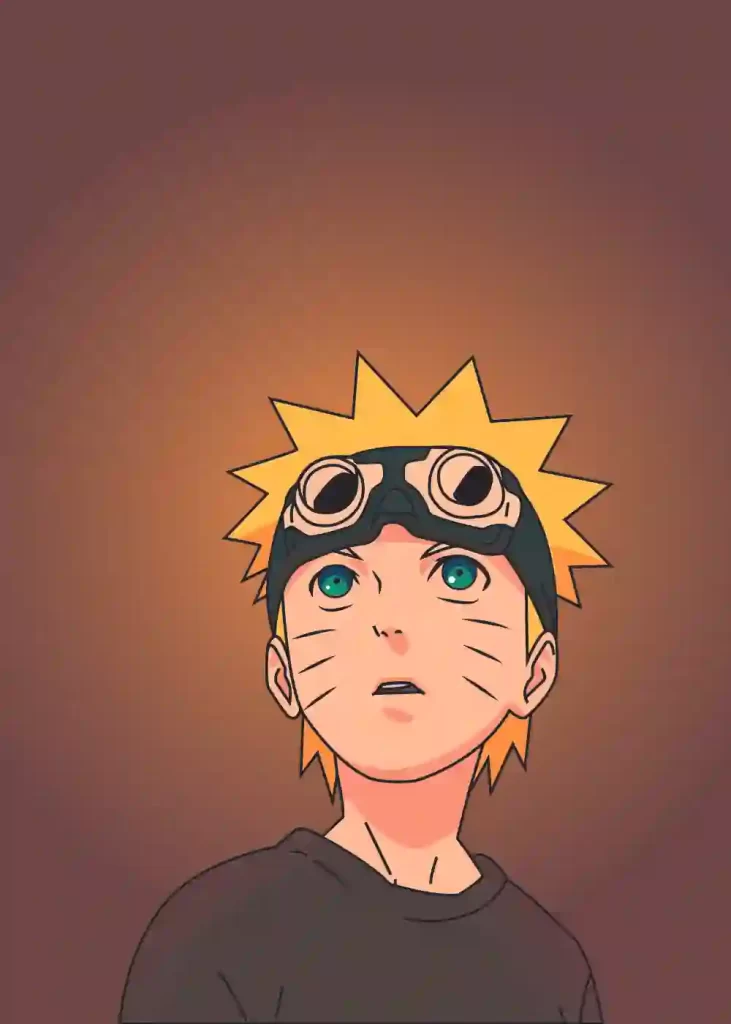
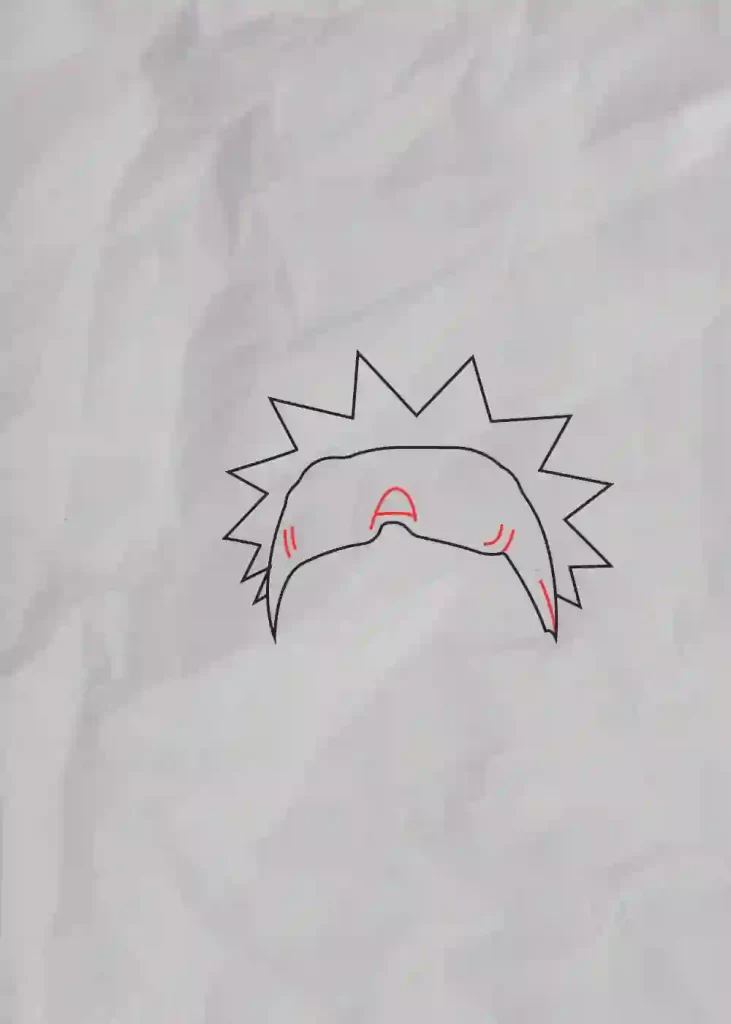
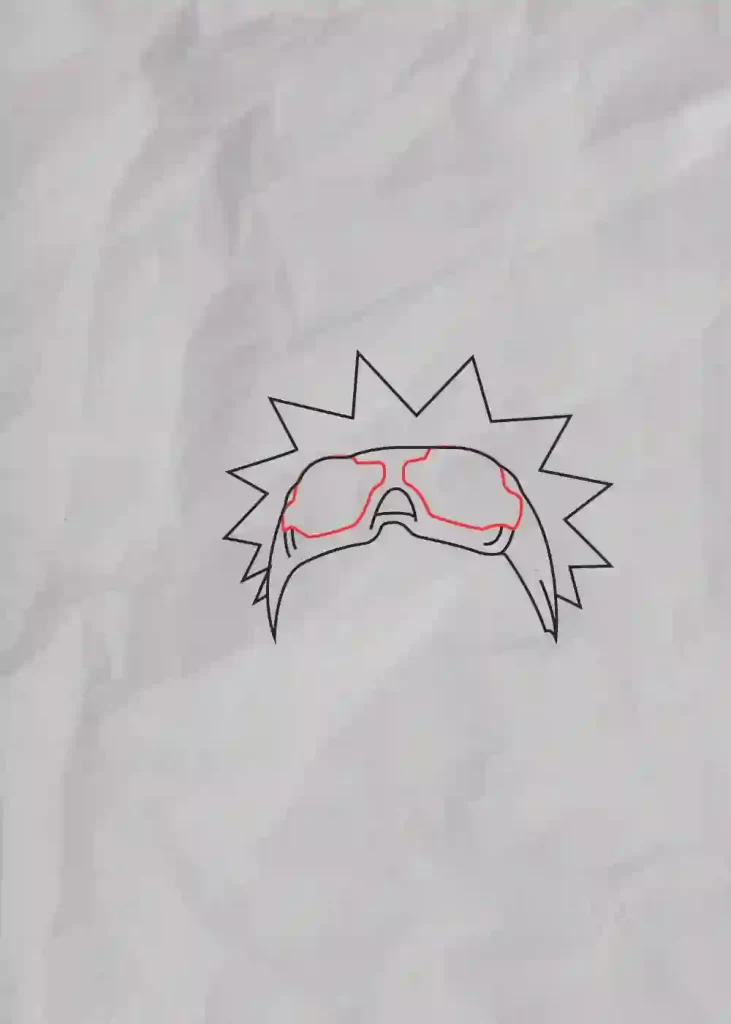
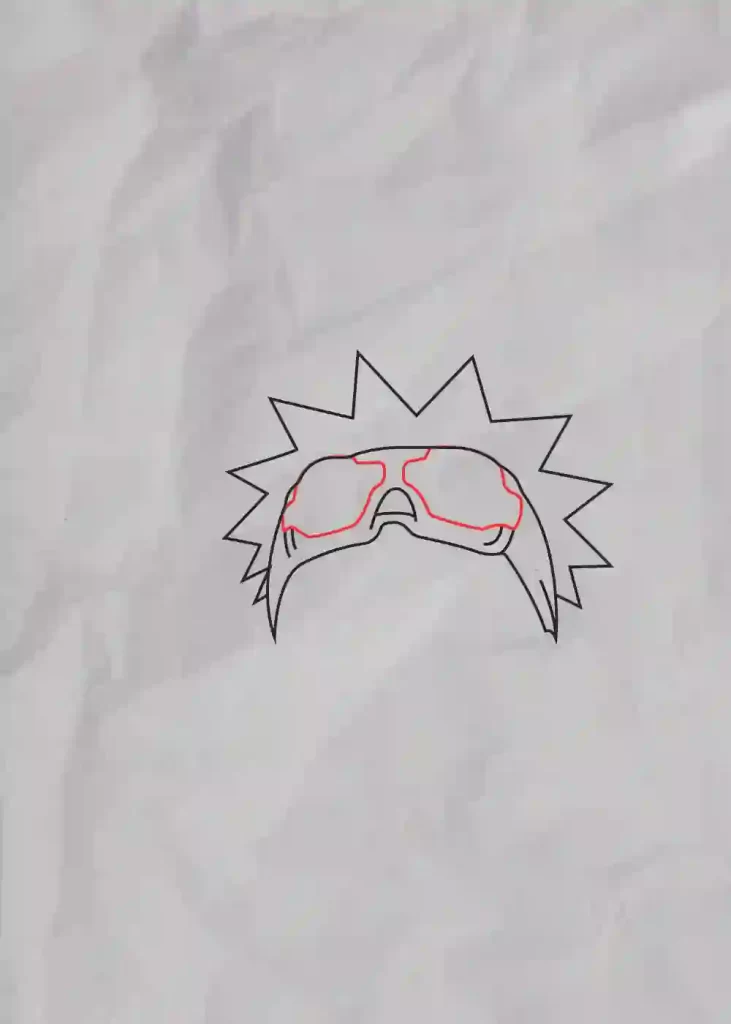
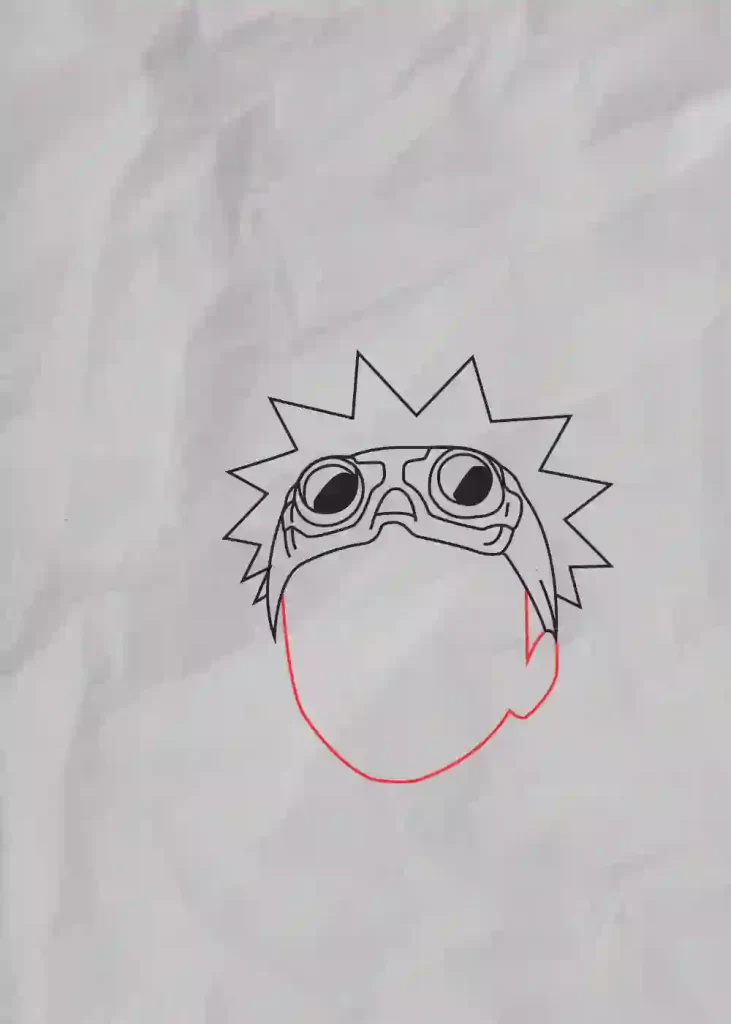
In this article, we’ll show you how to draw Naruto. We’ll start with a basic sketch of his head and face, then add some details to bring him to life. With a little practice, you’ll be able to draw Naruto just like the pros!
Start by sketching a circle for his head. Then add two smaller circles for his eyes. Draw a curved line for his nose and another line for his mouth. Next, add some lines to his hair. Start with a couple of lines coming down from the top of his head, then add some zig-zaggy lines around the sides.
Now it’s time to add some color! For Naruto’s skin, use a light brown color. For his hair, use a darker brown or black. And for his eyes, use blue or green. Finally, give him an orange shirt and a black cloak.
There you have it! You’ve drawn Naruto!
1. Begin by sketching out the basic shape of Naruto’s head and face.
2. Next, draw Naruto’s trademark whisker marks on either side of his face.
3. Then, draw Naruto’s eyes, nose, and mouth. Be sure to make his eyes wide and expressive!
4. Now add some detail to his face by drawing his eyebrows and adding definition to his cheeks and jawline.
5. Finally, give Naruto his distinctive spiky hair by drawing a series of jagged lines coming out from the top and back of his head.
Step 1
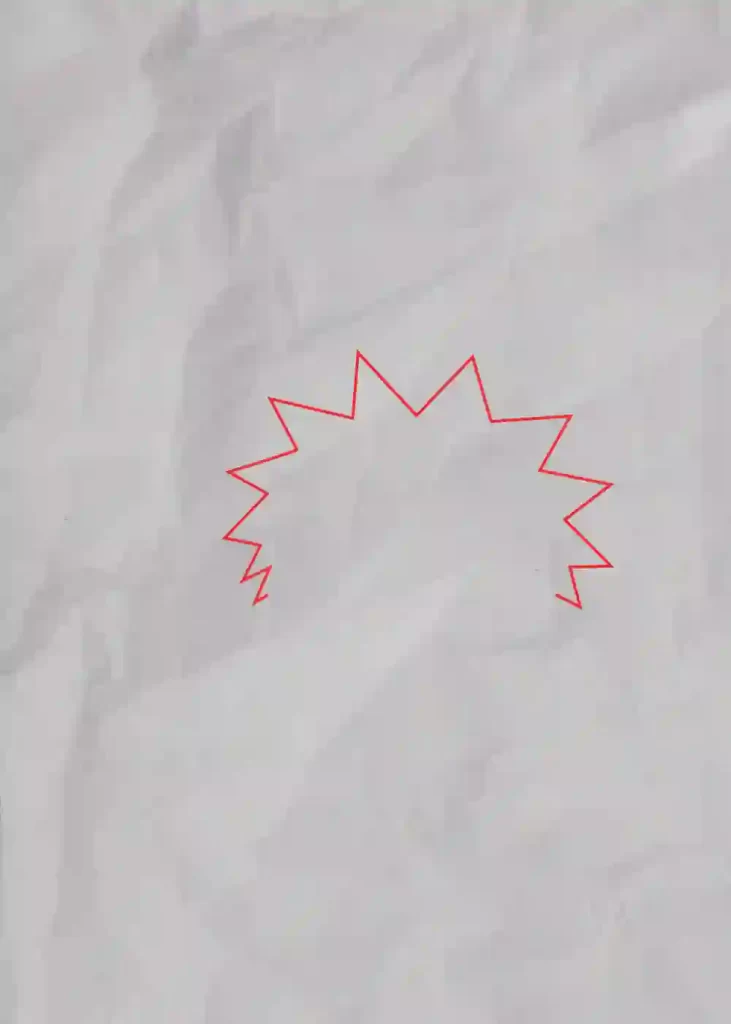
Step 2
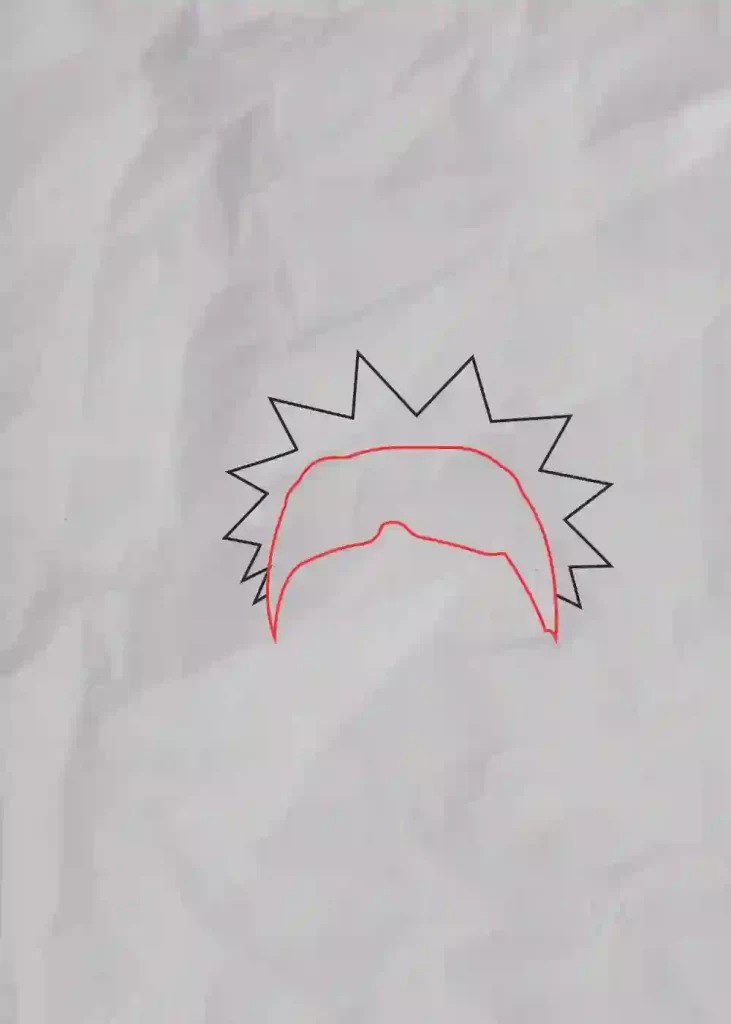
Step 3
Step 4
Step 5
Step 6

Step 7
Step 8

Step 9
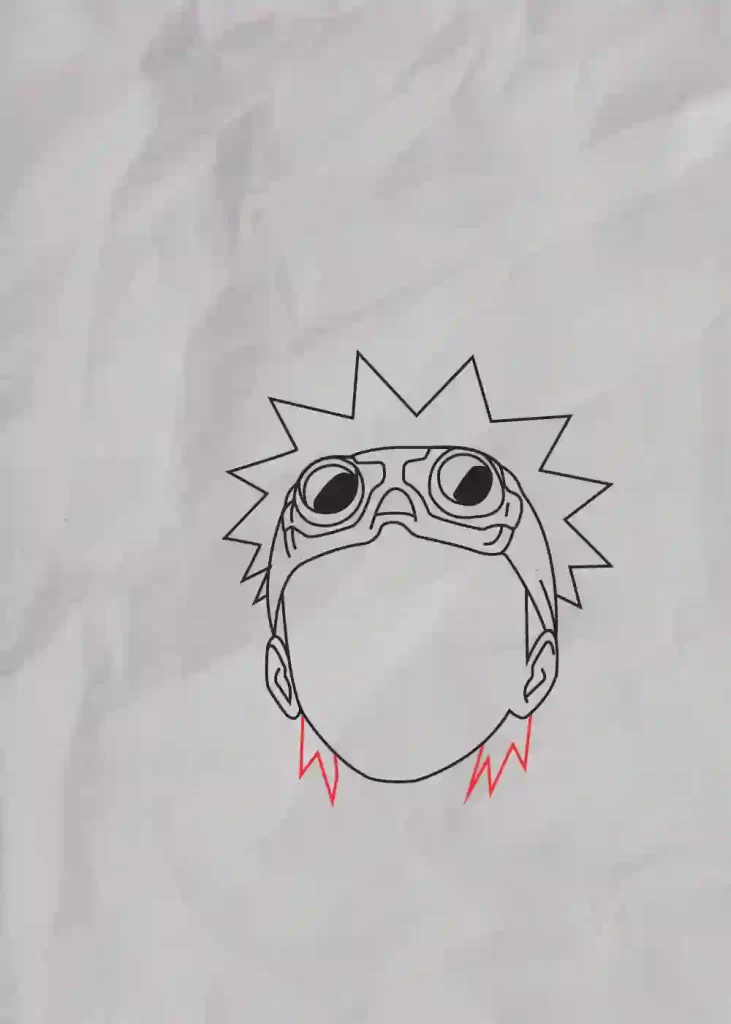
Step 10
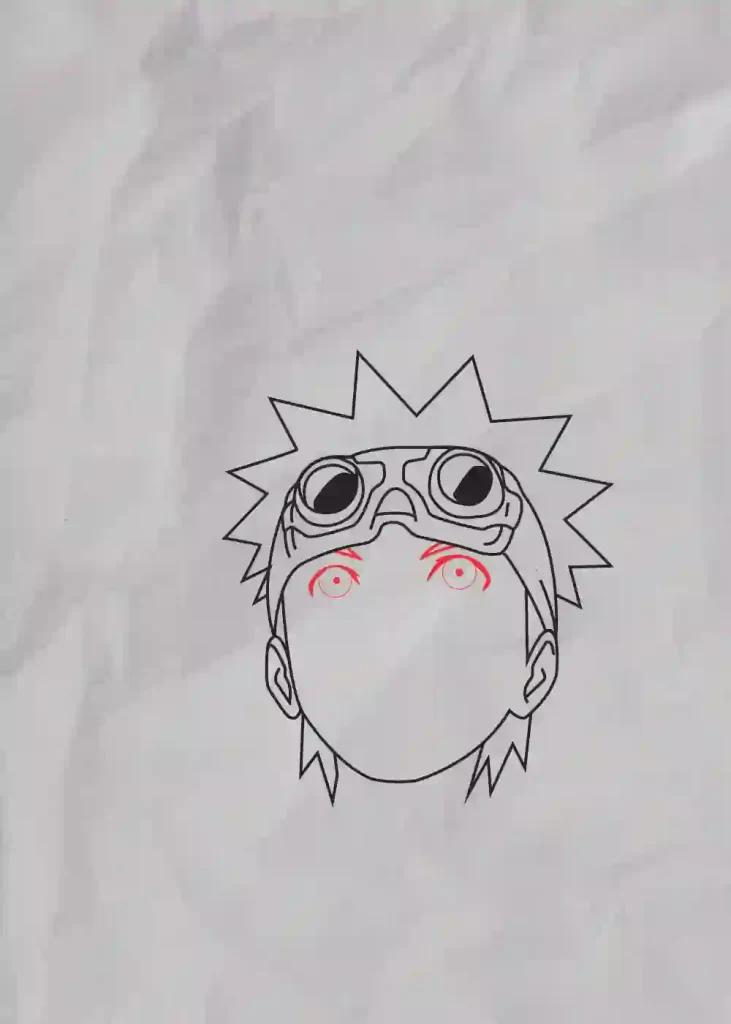
Step 11
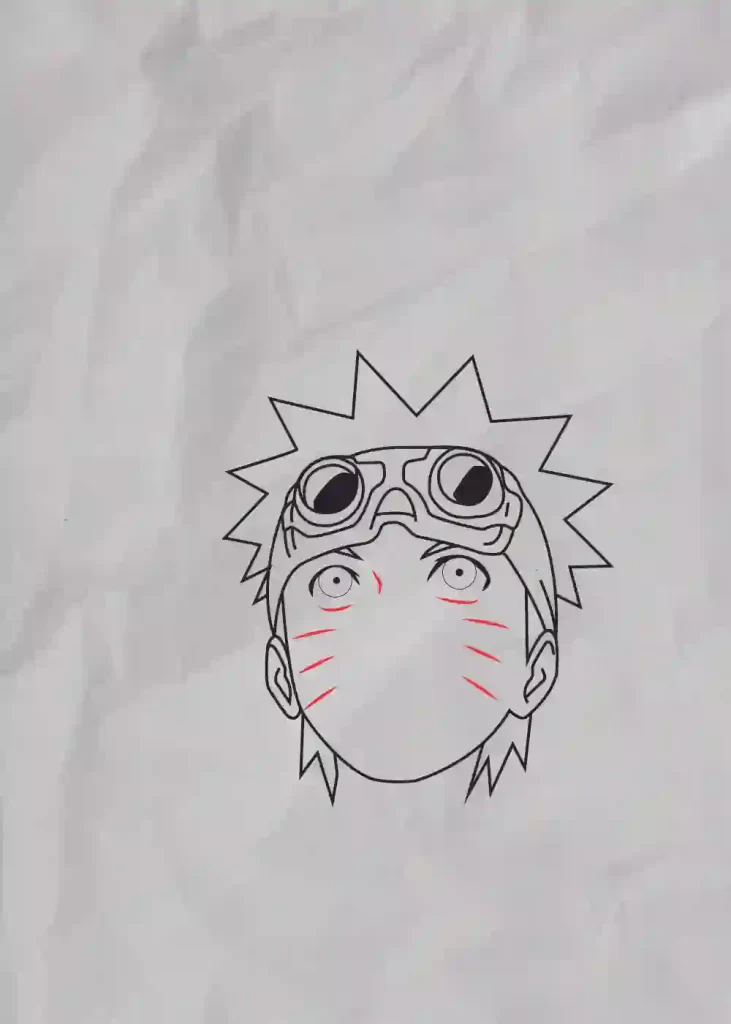
Step 12
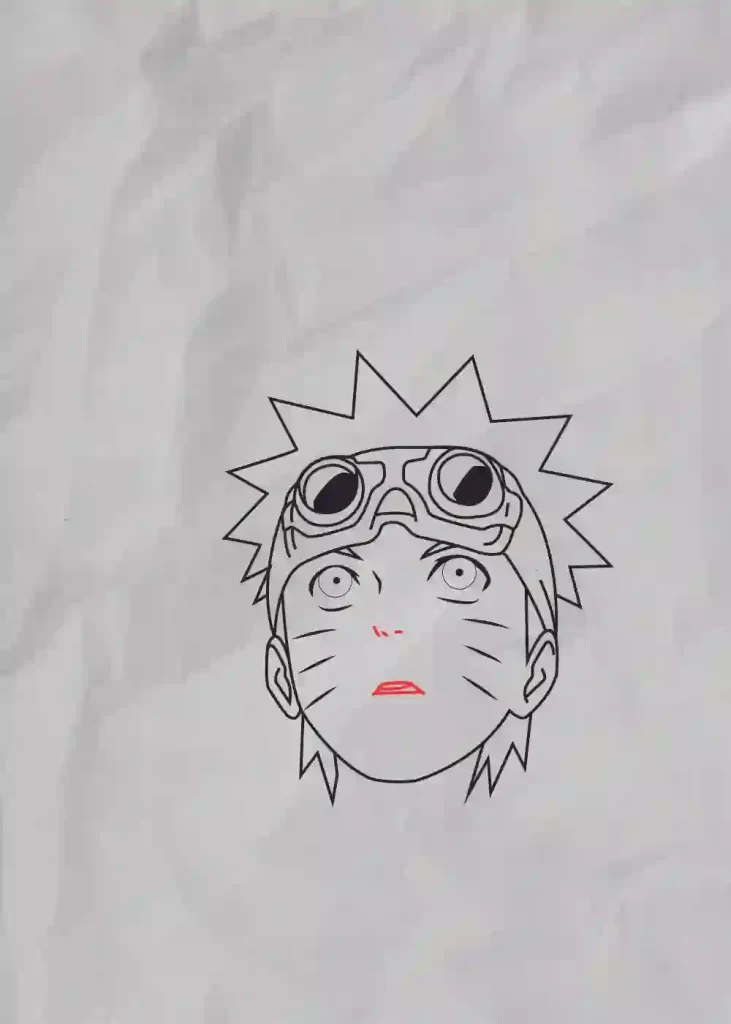
Step 13
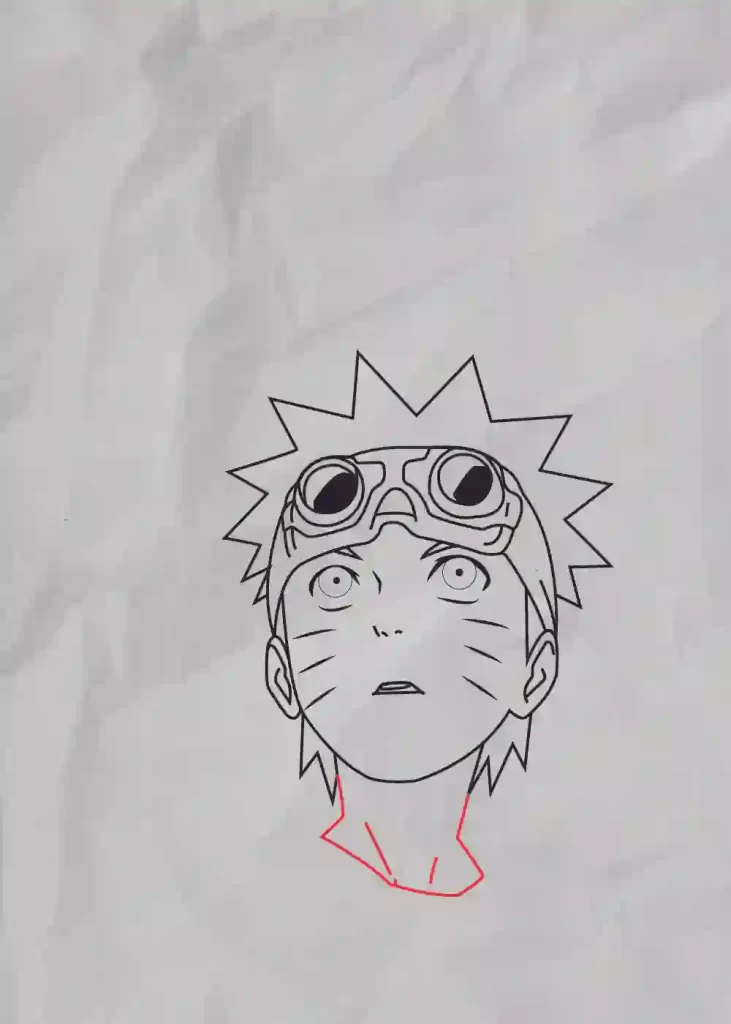
Step 14
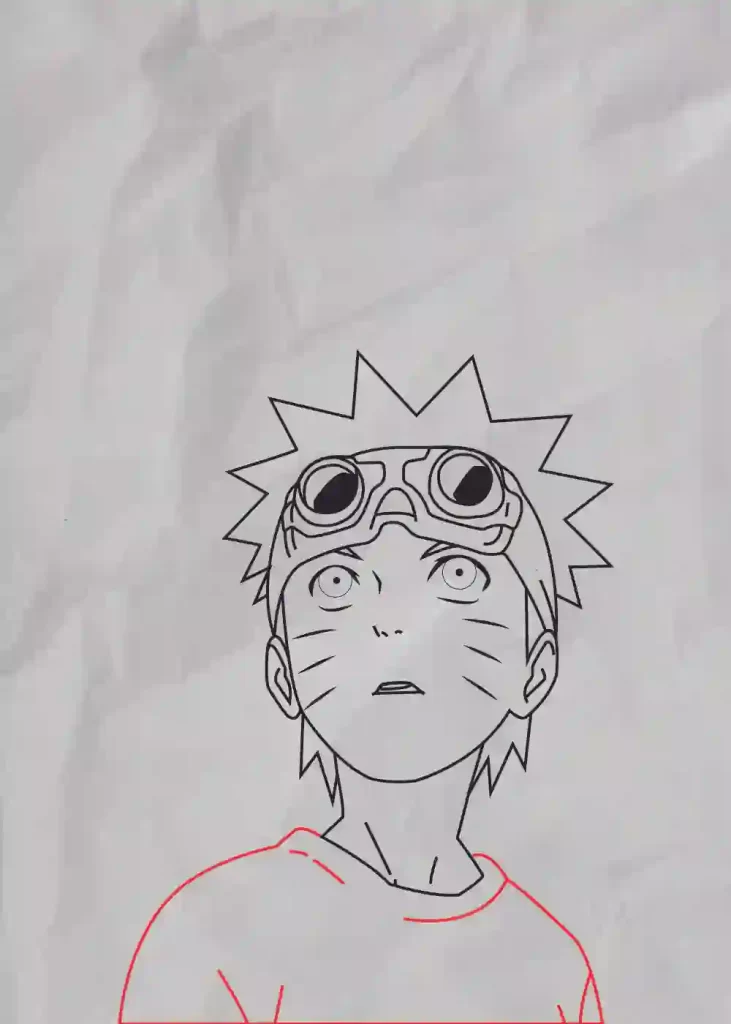
Step 15

Step 16
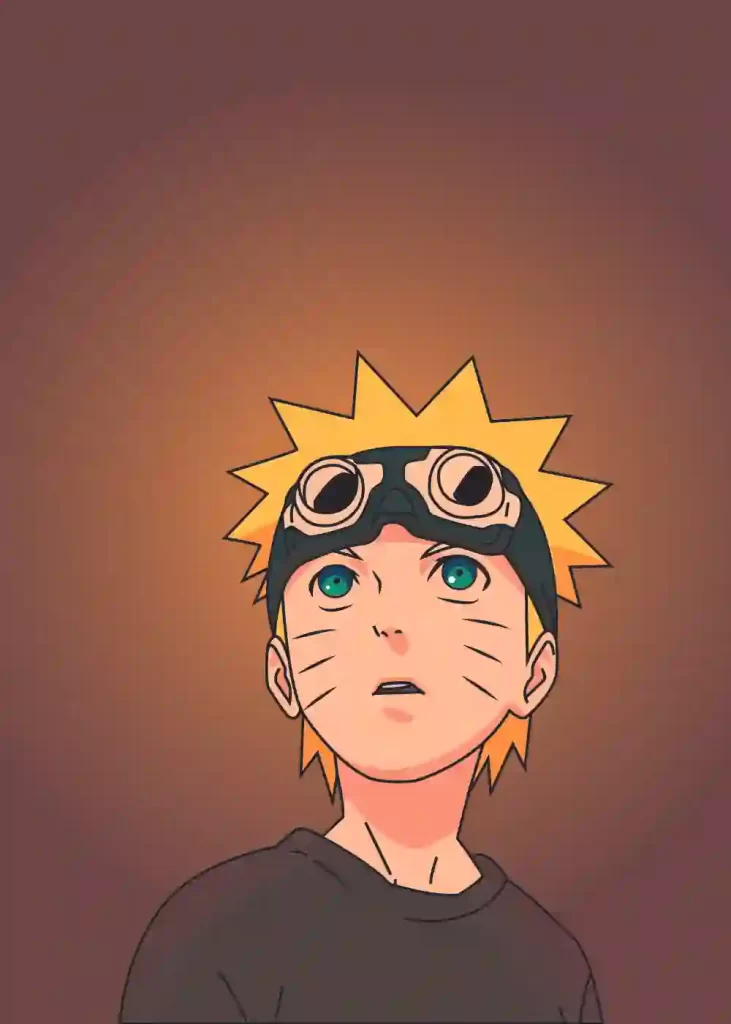
Naruto Mobile Wallpaper
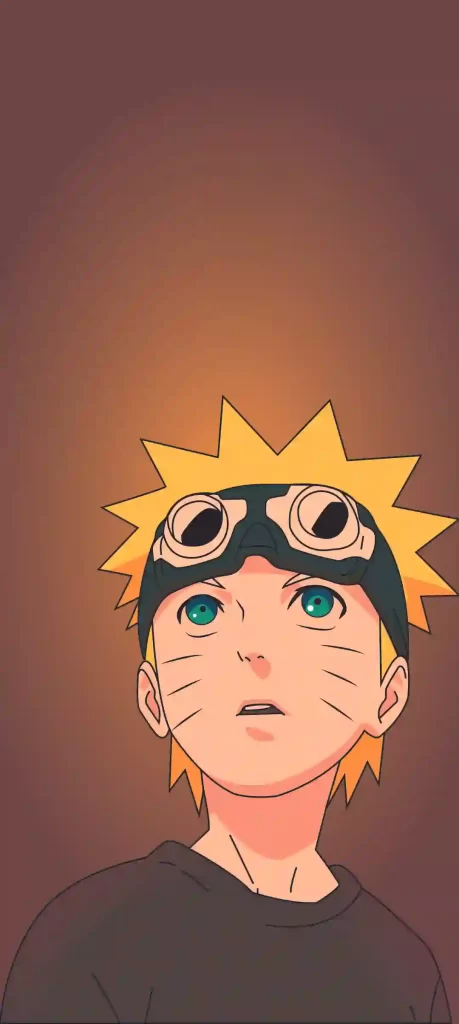
Thanks For Reading This How To Draw Naruto | Step by Step Drawing tutorials
Hey kids did you like this How To Draw Naruto | Step by Step? Practice it and you will see your drawing is improving in every attempt, also share your view in the comment box, and don’t forget to share this art with your friends on Social Media so they can also enjoy it. For more such drawings and stories keep visiting Storiespub.com.
- How to draw Volleyball
- How to draw Naruto
- How to draw bed
- How to draw bangs
- How to draw abs
- How To Draw Stairs
- How to draw graduation cap
- How to draw


