How To Draw Jiraiya | Step by Step

In this section, we will be learning how to draw Jiraiya from the anime series Naruto. For those of you who are not familiar with Jiraiya, he is a ninja who is also known as the “Toad Sage”. He is one of the main characters in Naruto and he is also one of the members of the legendary Sannin.
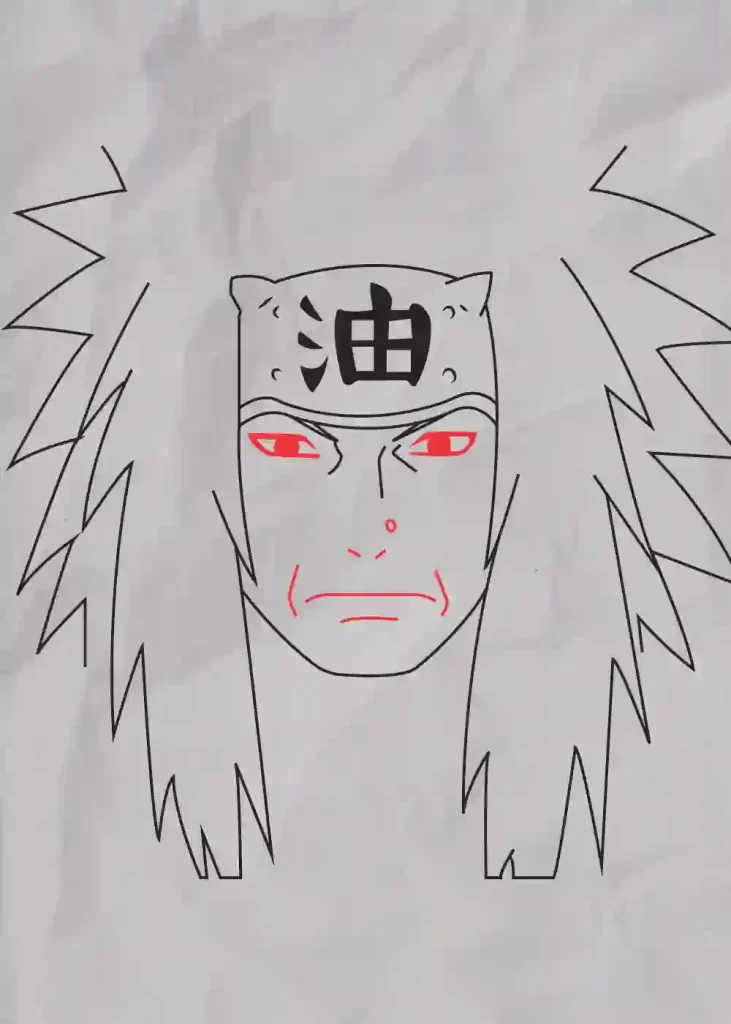
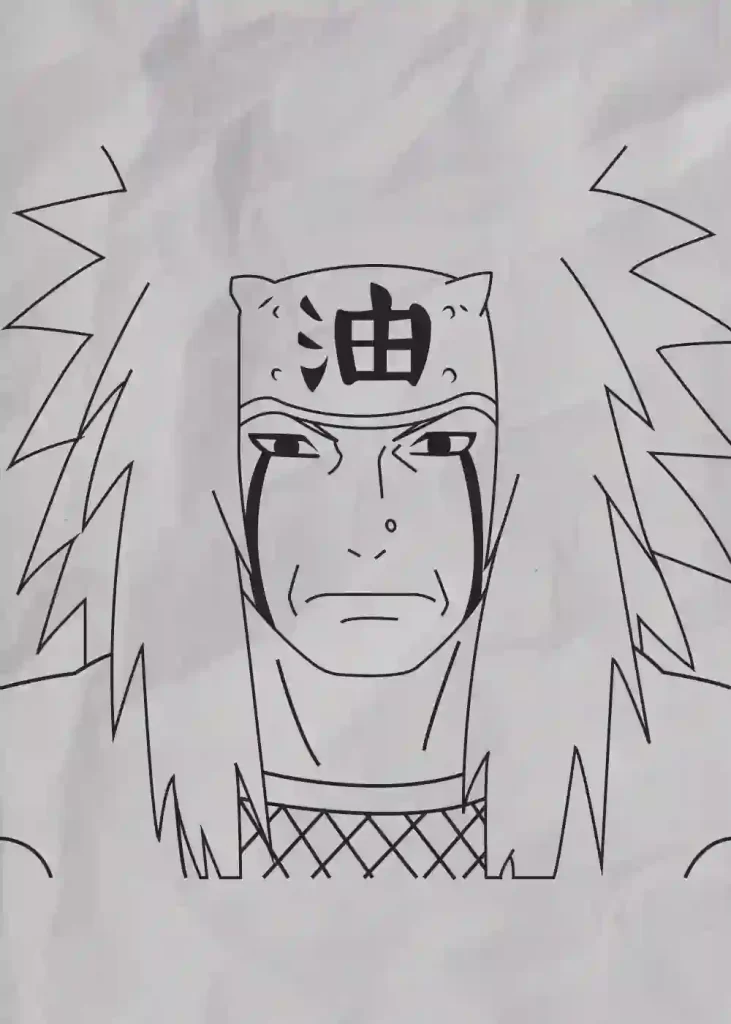
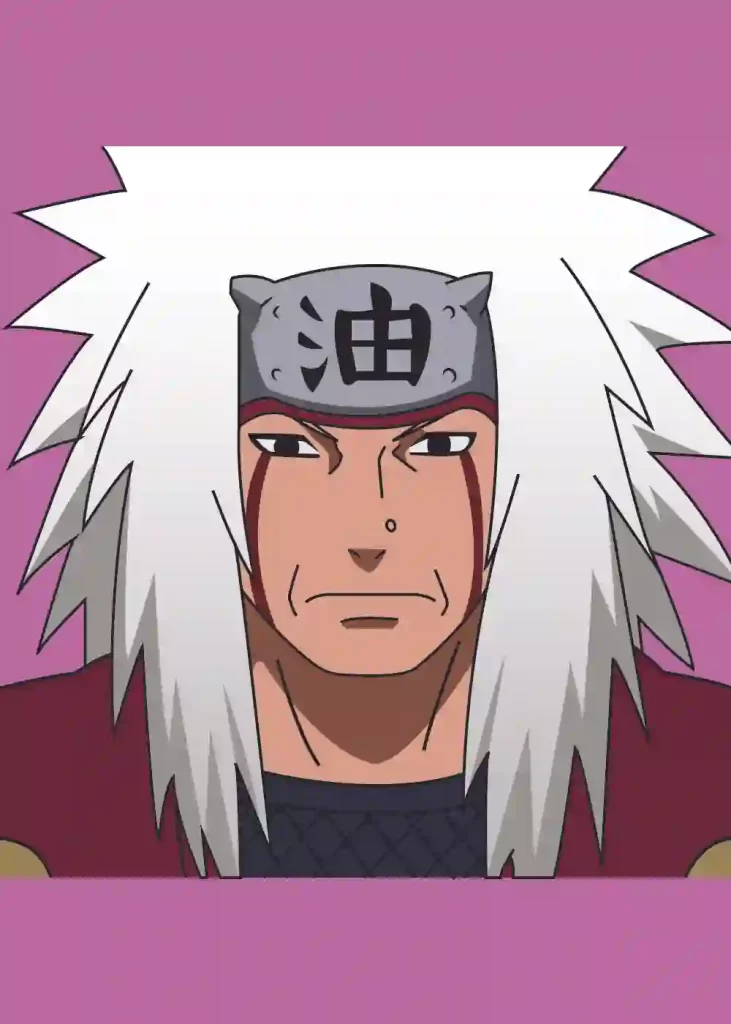
Jiraiya is a very unique character and his appearance reflects that. He has long white hair which he keeps in a ponytail. He also has a very large nose. And let’s not forget about his most distinctive feature – his toad-like eyes.
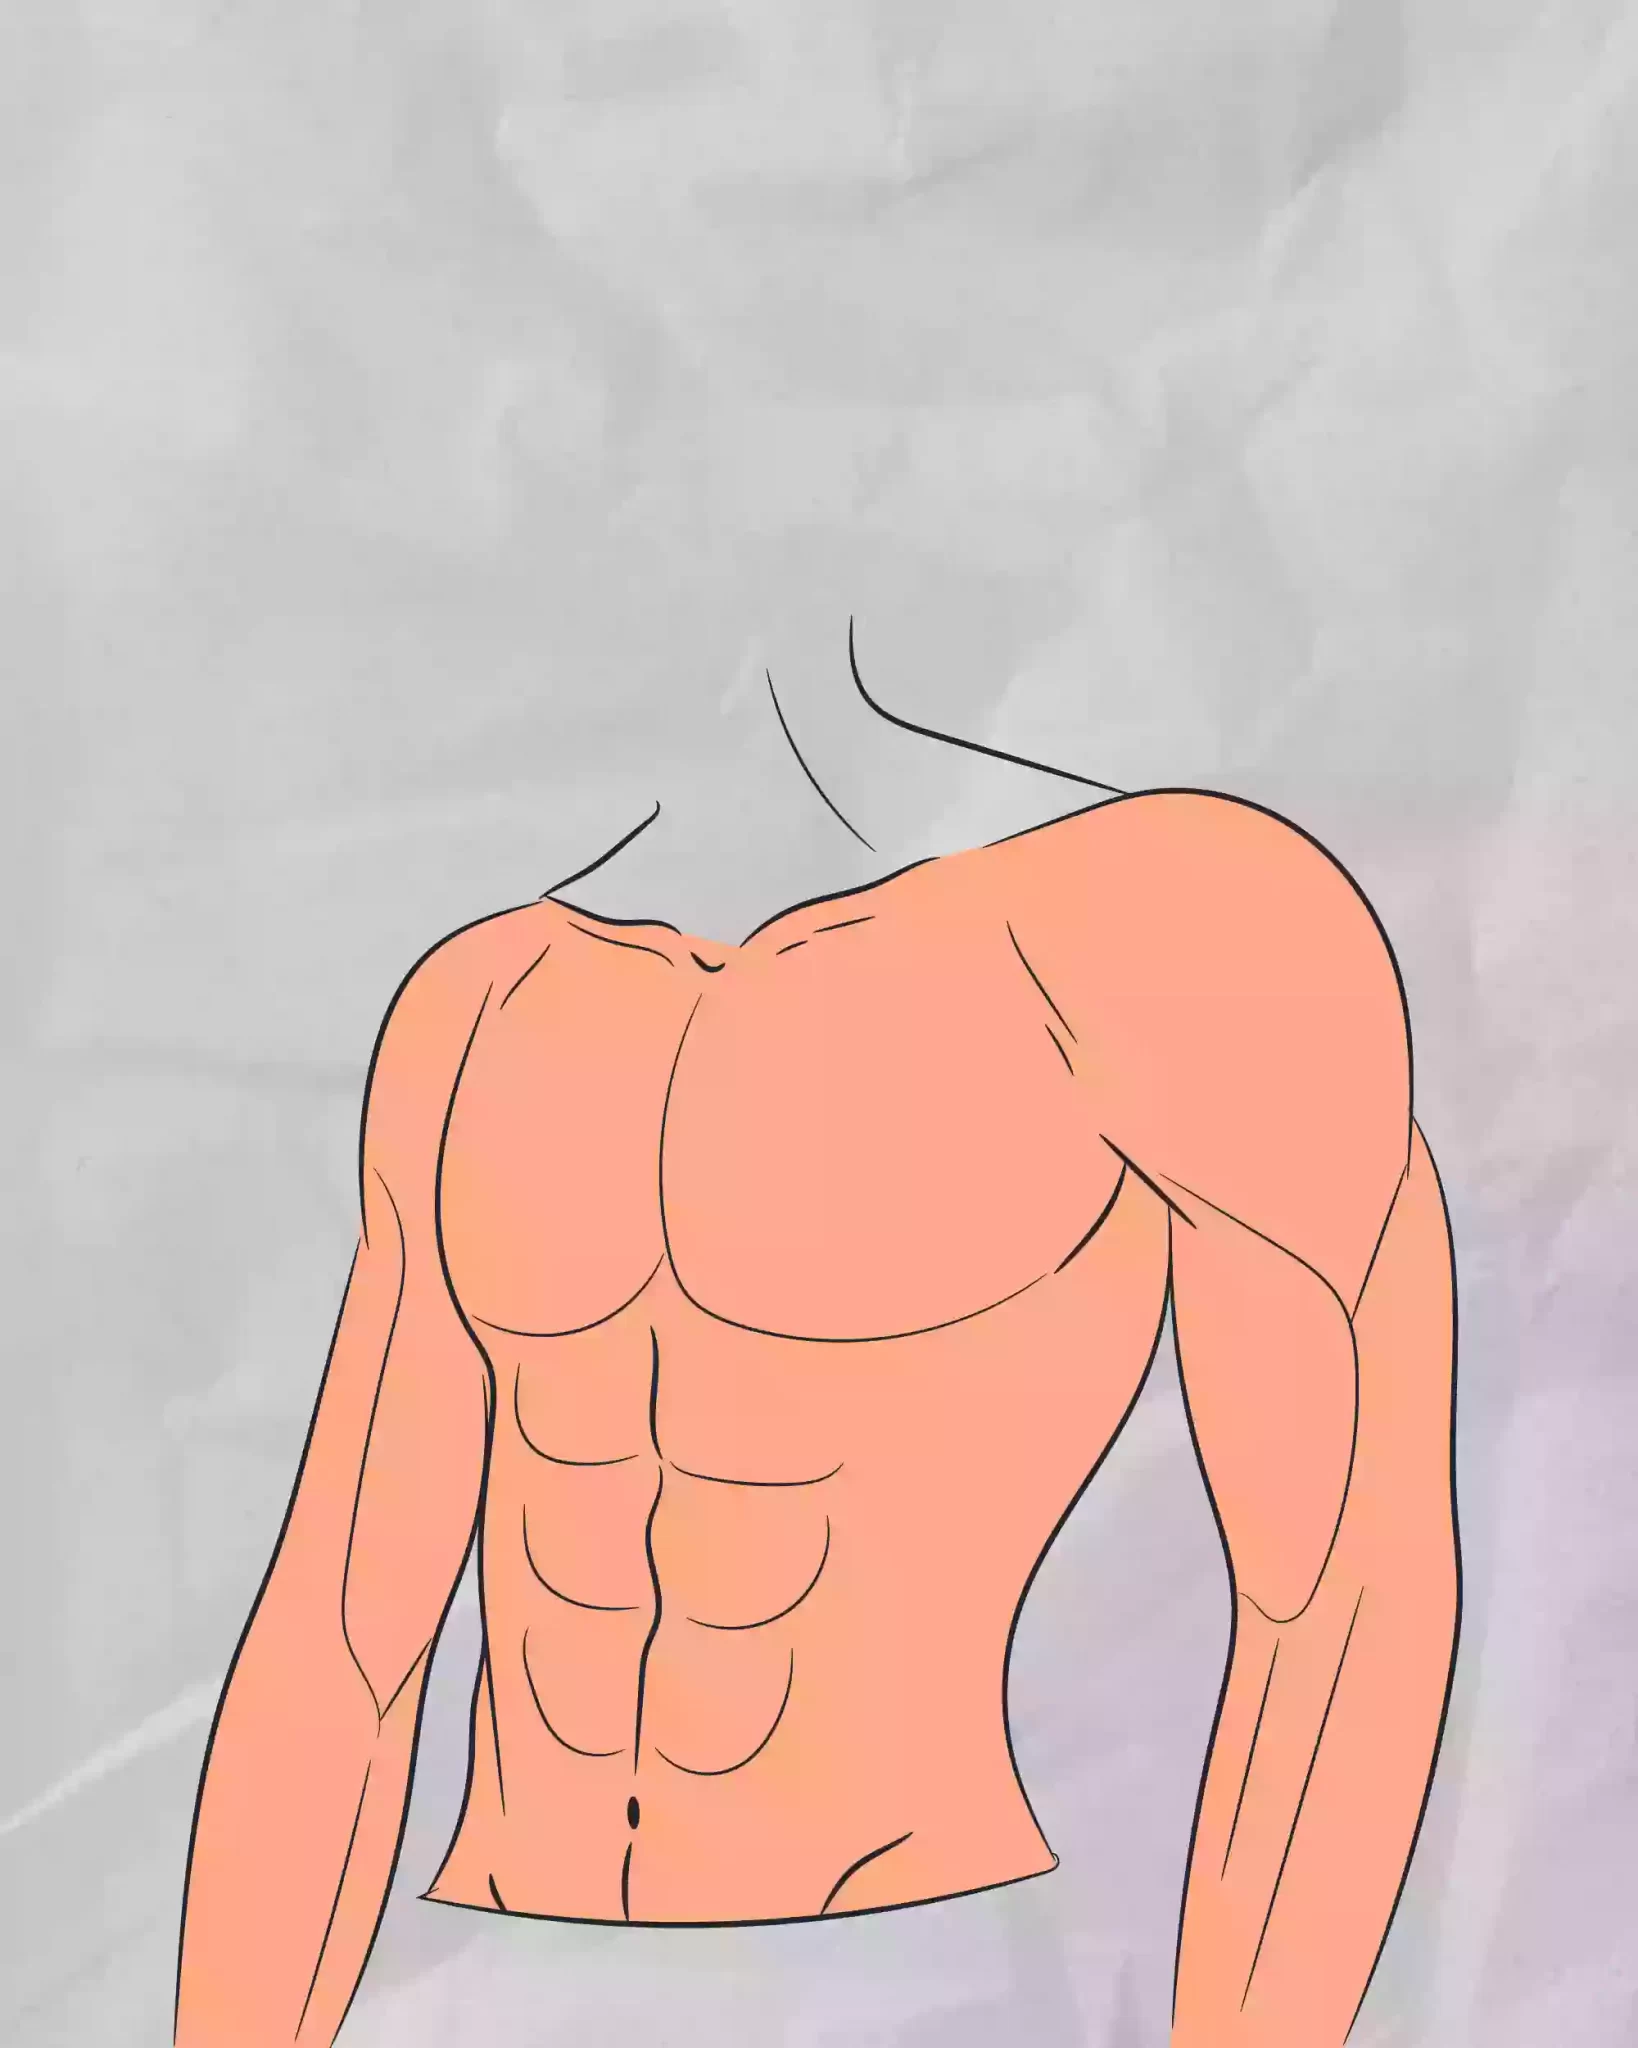
When drawing Jiraiya, start with his head and then work your way down to his body. For his head, start with a circle and then add the details of his face. For his body, start with a rectangle and then add his arms and legs. Remember to make his arms and legs muscular! And don’t forget to add his trademark tattoos on his arms.
To finish up, give Jiraiya his signature orange coat and black pants. And there you have it! You have now learned how to draw Jiraiya from Naruto.
Assuming you would like a step-by-step guide on how to draw Jiraiya from the Naruto series:
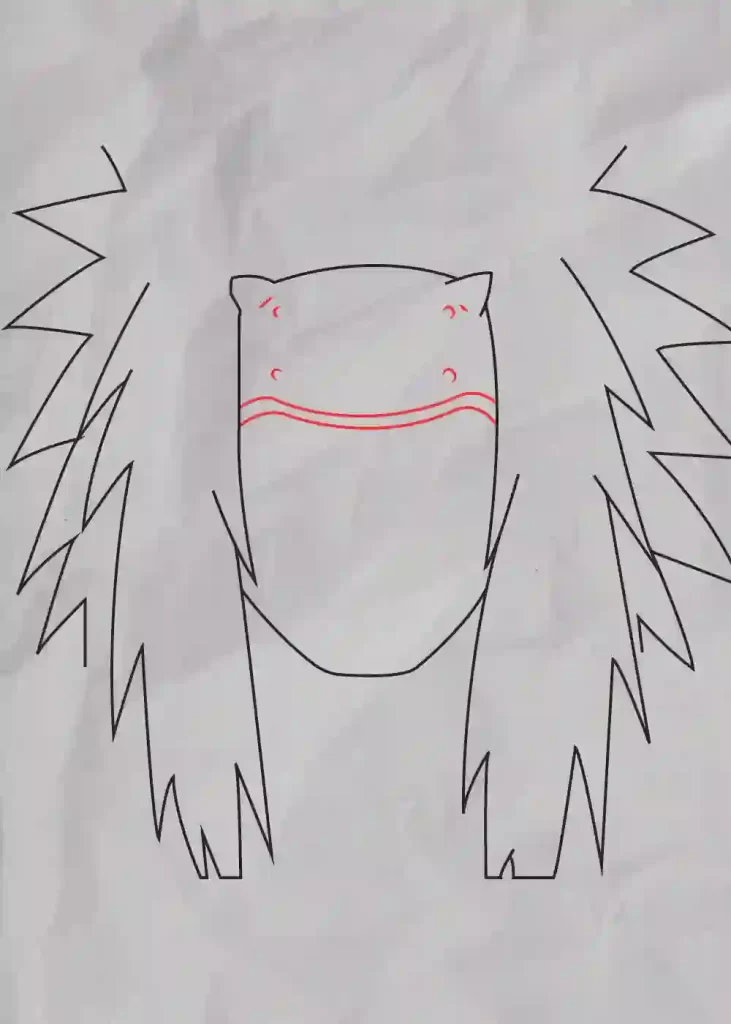
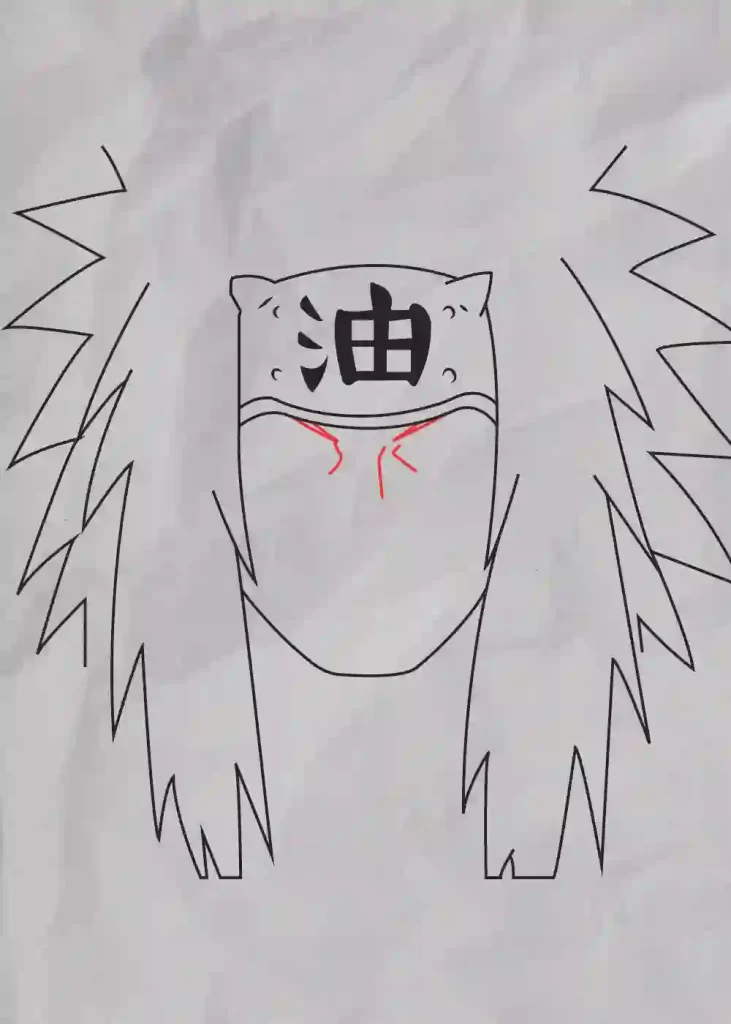
1. Begin by drawing Jiraiya’s head and upper body. Use a light pencil so that you can erase easily if needed. His head is sort of oval-shaped with pointy ears. Draw a horizontal line across the oval near the bottom for his mouth and add his nose just below that. Just above the nose, draw two small dots for his eyes (make them fairly close together), and then give him some thick eyebrows.
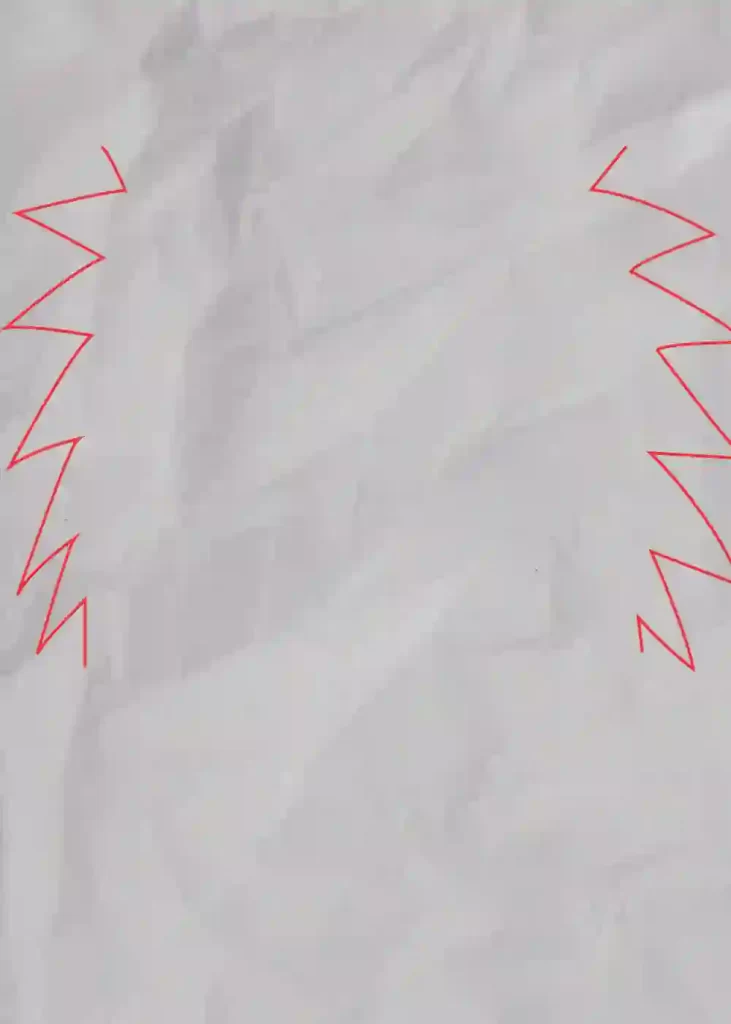
2. Next, draw Jiraiya’s hair which is wild and spiky. Start at the top of his head and make zigzag lines coming down each side of his face. Make the lines progressively shorter as you come down his face.
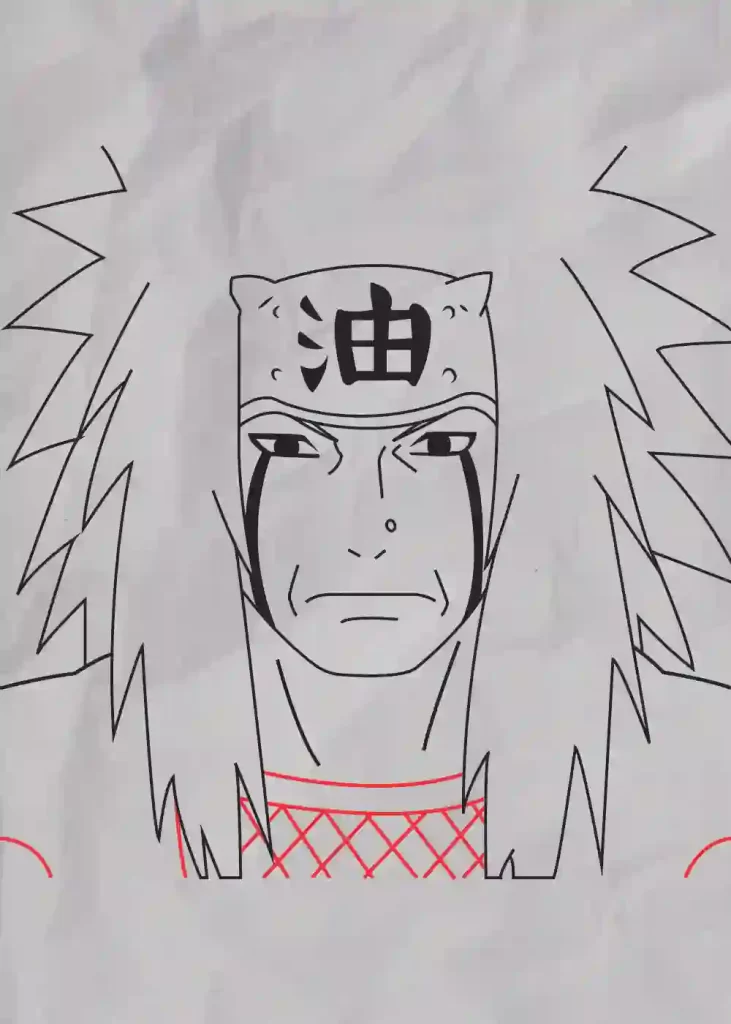
3. Now you can start working on his clothing. He wears a traditional Japanese outfit consisting of a haori (a kimono-like shirt) over an undershirt, pants, and sandals with tabi socks. For the haori, first, draw a rectangle that goes from under his chin to below his waistline.
Then divide this rectangle into four sections with vertical lines – two on each side of the center line. This will be where you place the different colors of fabric in Jiraiya’s haori later on.
4. To finish up Jiraiya’s
Step 1
Step 2

Step 3

Step 4

Step 5
Step 6

Step 7
Step 8
Step 9

Step 10

Step 11
Step 12
Step 13
Thanks For Reading This How To Draw Jiraiya | Step by Step Drawing tutorials
Hey kids did you like this How To Draw Jiraiya | Step by Step? Practice it and you will see your drawing is improving in every attempt, also share your view in the comment box, and don’t forget to share this art with your friends on Social Media so they can also enjoy it. For more such drawings and stories keep visiting Storiespub.com.