Summarize this Article with:
How to Draw Angel Wings – A Step by Step Guide

If you’re looking to learn how to draw angel wings, there’s no better place to start than with this step-by-step tutorial. Whether you’re a beginner or an experienced artist, these tips will help you create wings that are both realistic and beautiful.
First, start by drawing a basic outline of the angel’s wings using a thin pencil or pen. Don’t worry about getting the lines perfectly precise at this stage; you’ll refine the design later on. Next, use a light brush to add some basic highlights and shadows to the wings. Be sure to vary the intensity of these shadows and highlights so that they look as though they’re realistically reflecting off of the feathers themselves.
Next, it’s time to begin filling in the details of your angel’s wings. Start by outlining each feather with a light pencil or pen. Then, use a thicker brush to paint in each individual feather and give them a realistic appearance. Be sure to experiment with different brushstrokes and techniques to get the look that you want.
Finally, add some finishing touches to your angel’s wings by adding extra highlights and shadows around the edges of the feathers. This will help bring out their natural beauty and realism.
Step 1
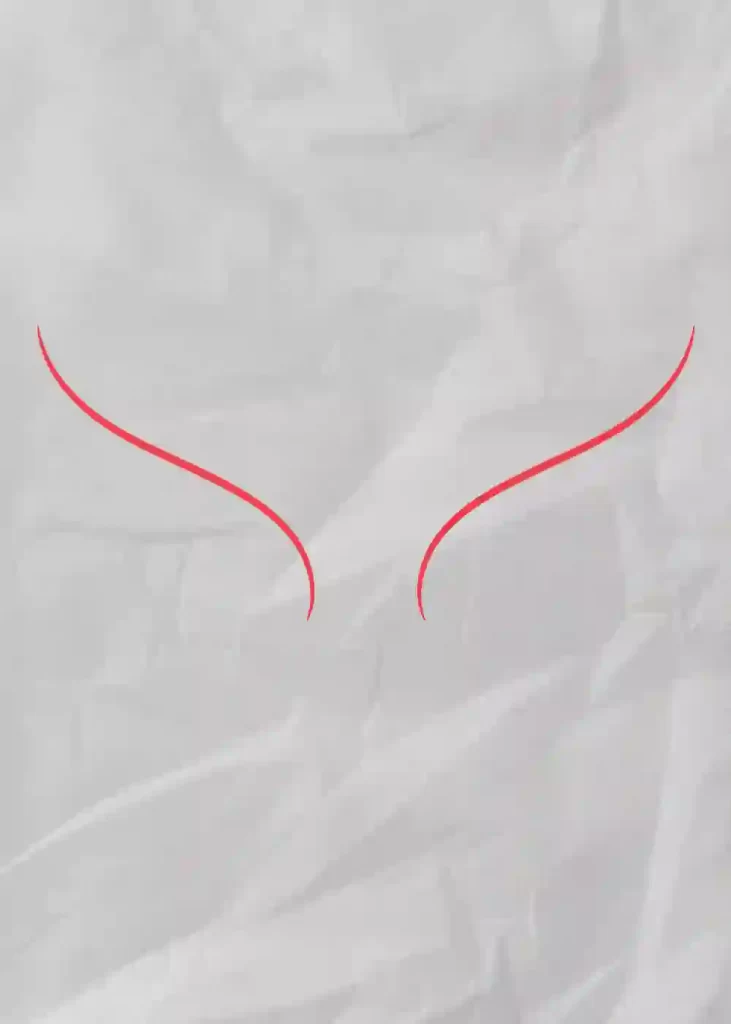
Step 2
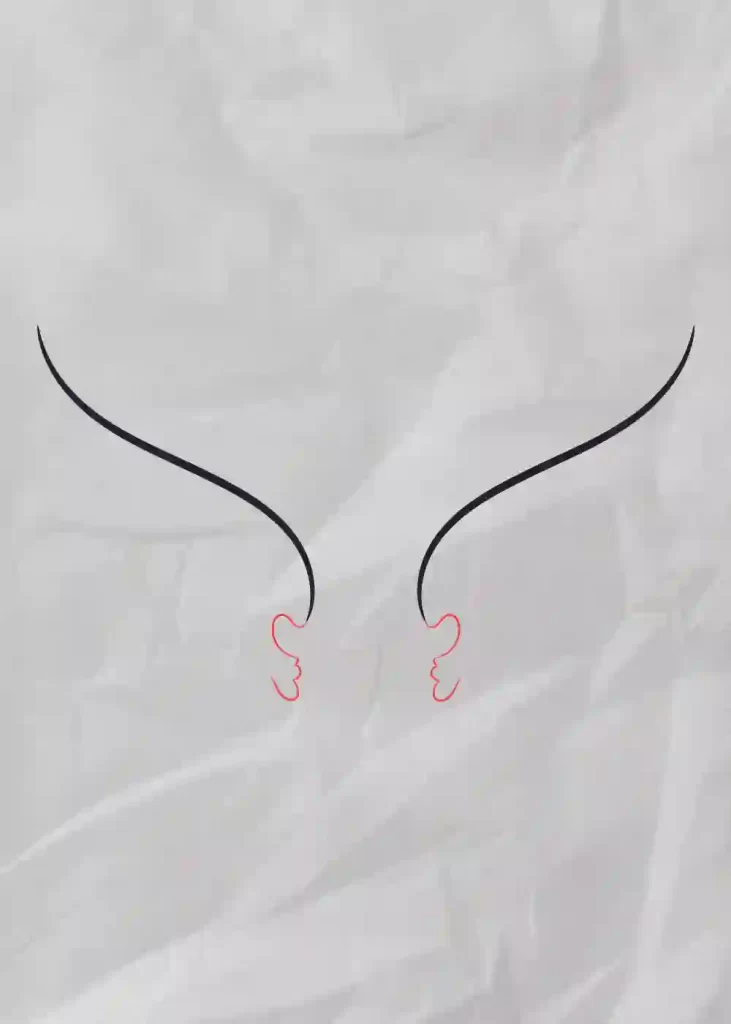
Step 3
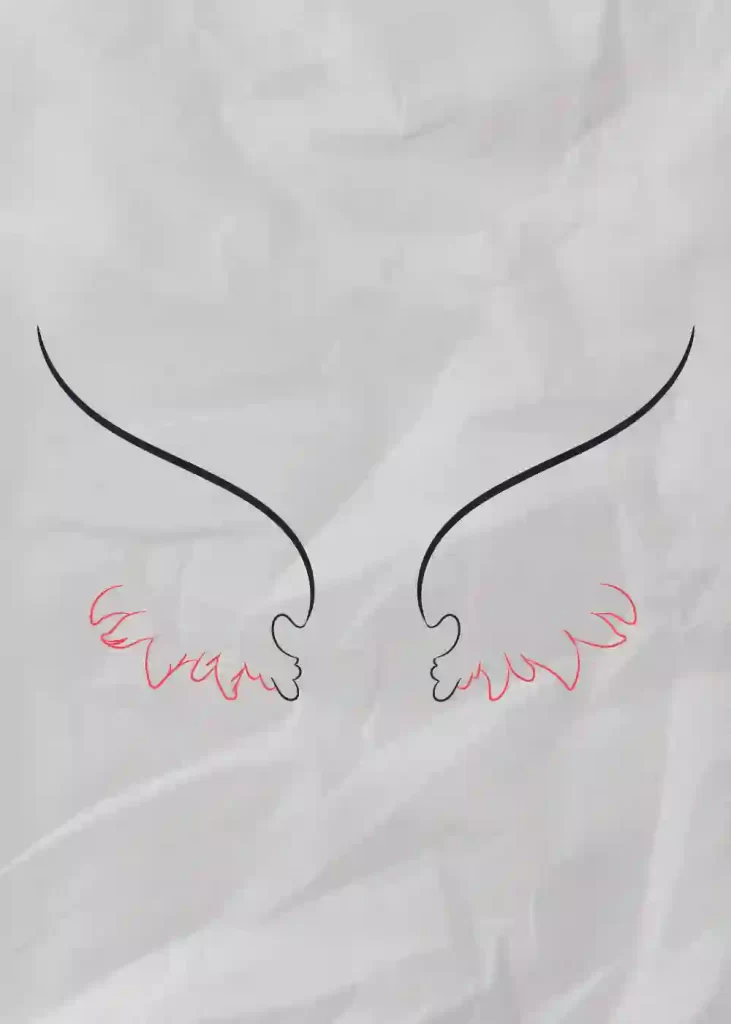
Step 4
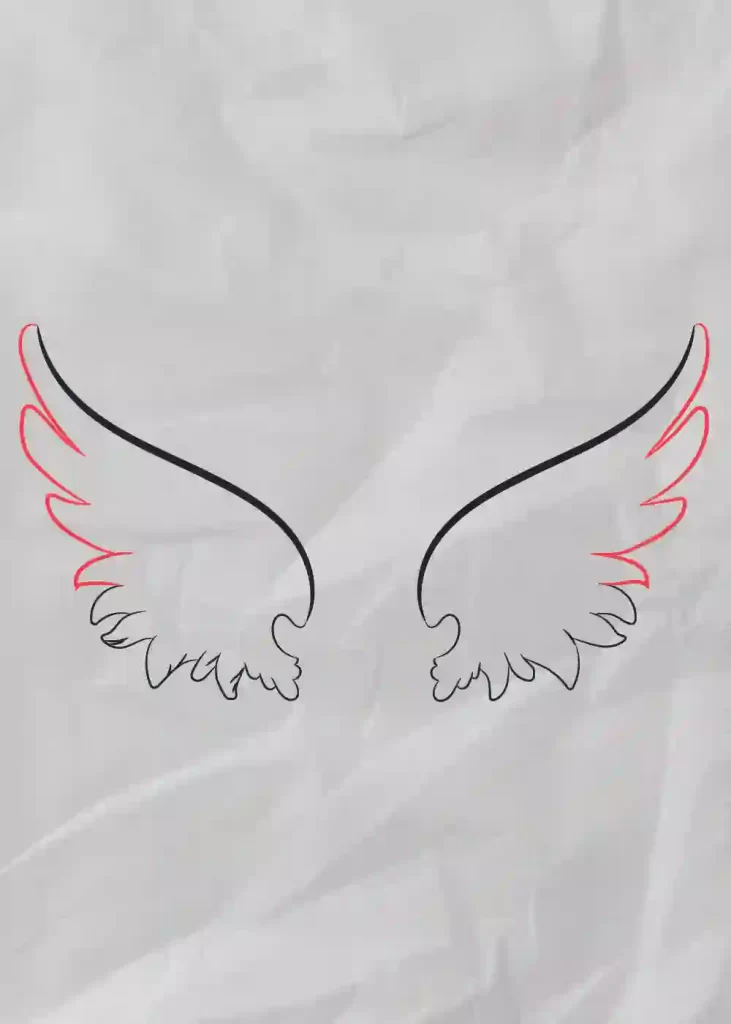
Step 5
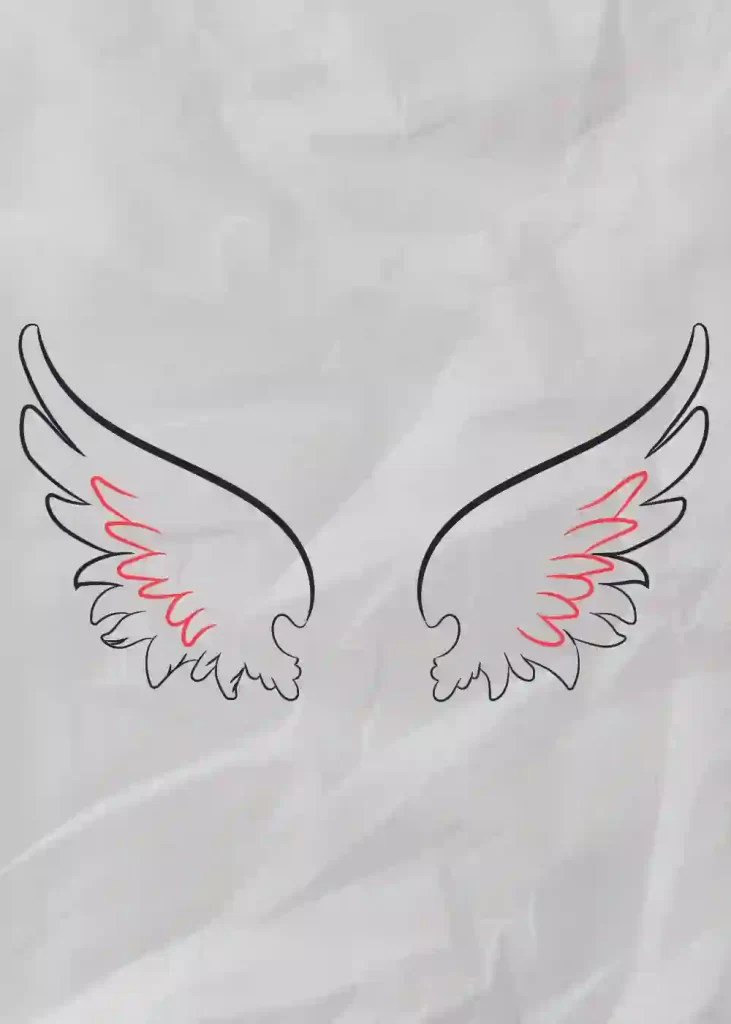
Step 6
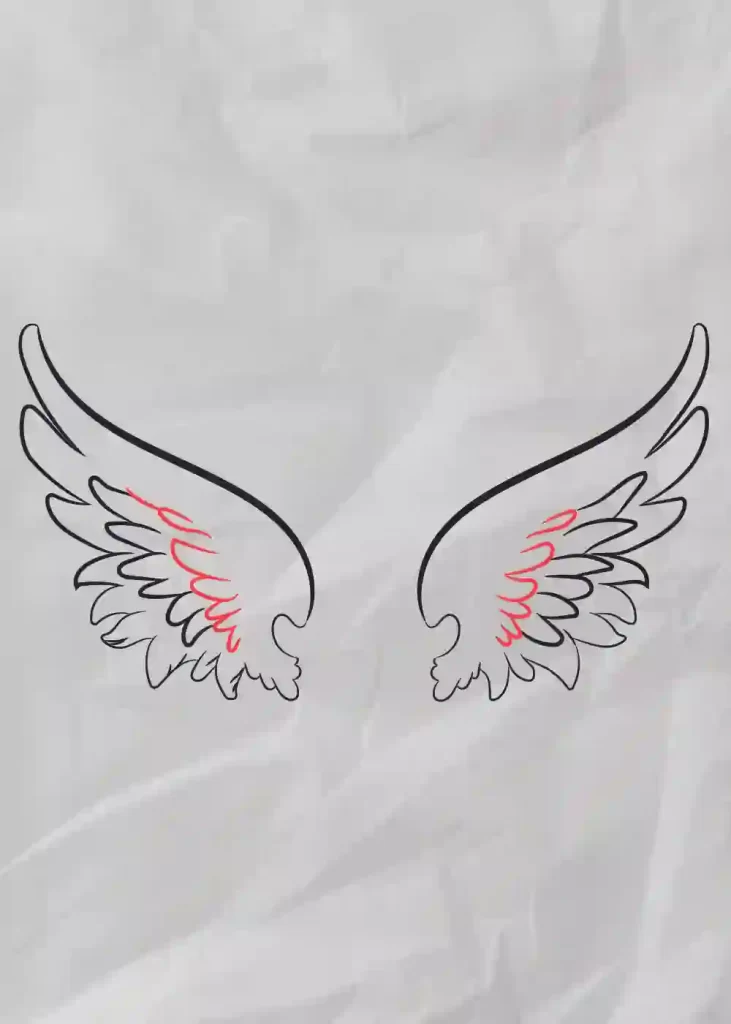
Step 7
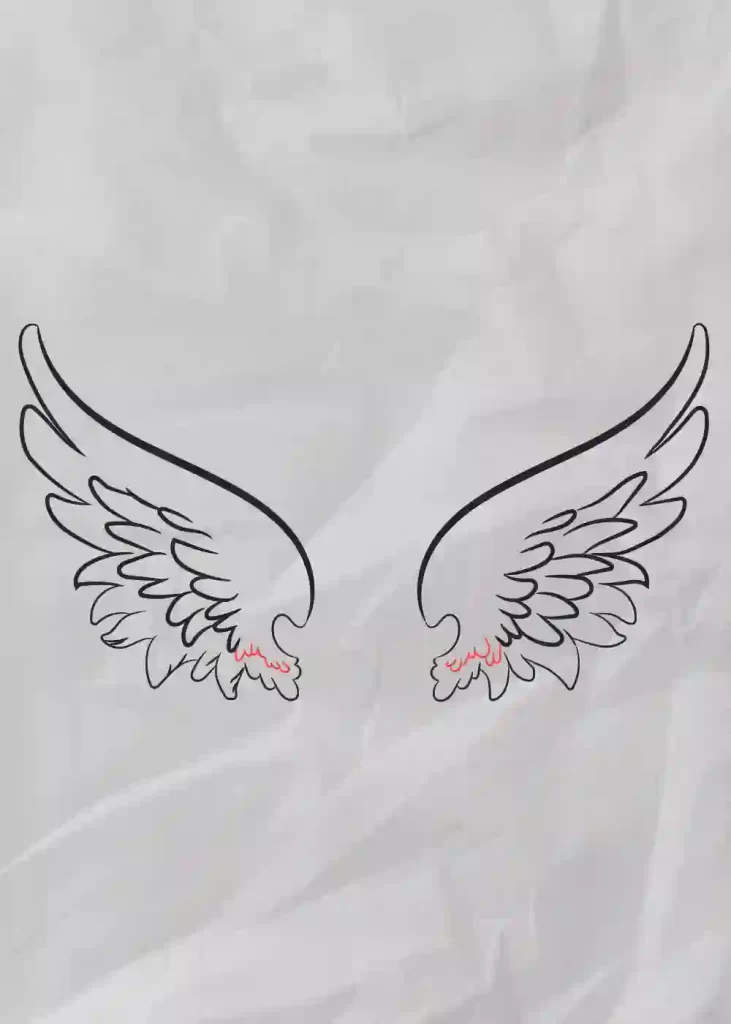
Step 8
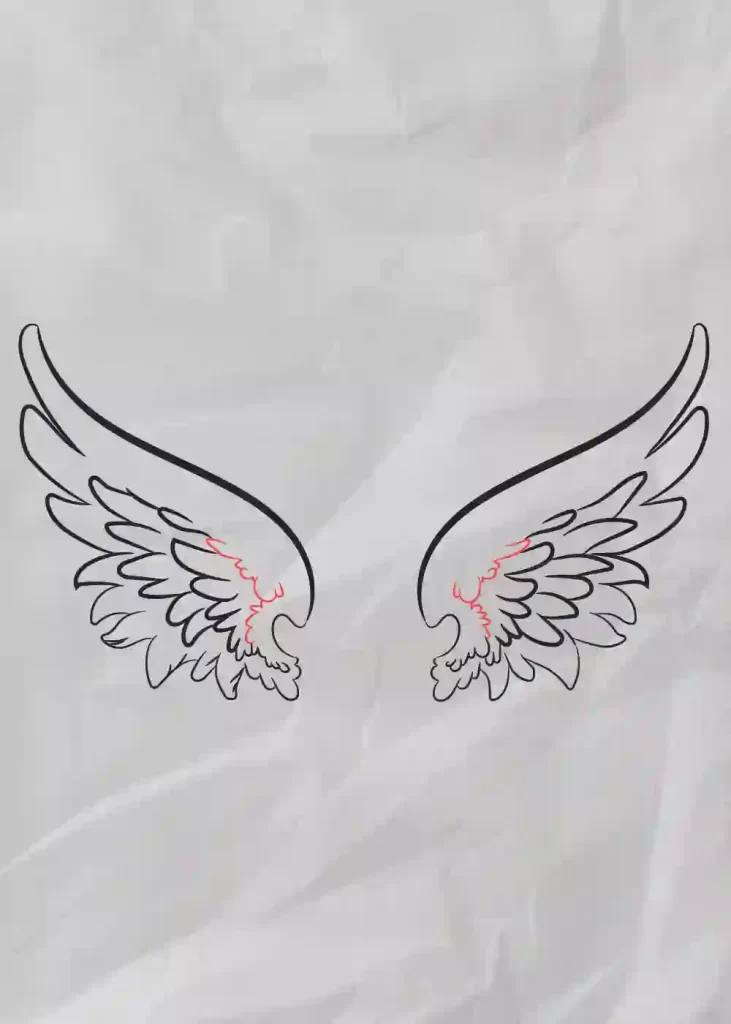
Step 9
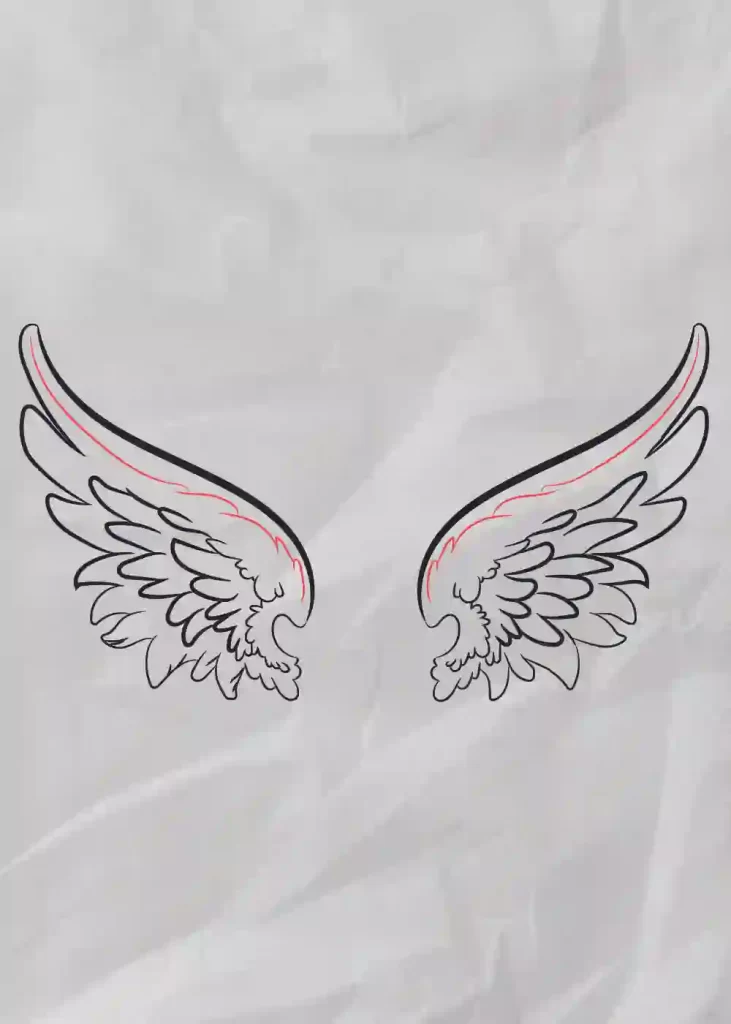
Step 10
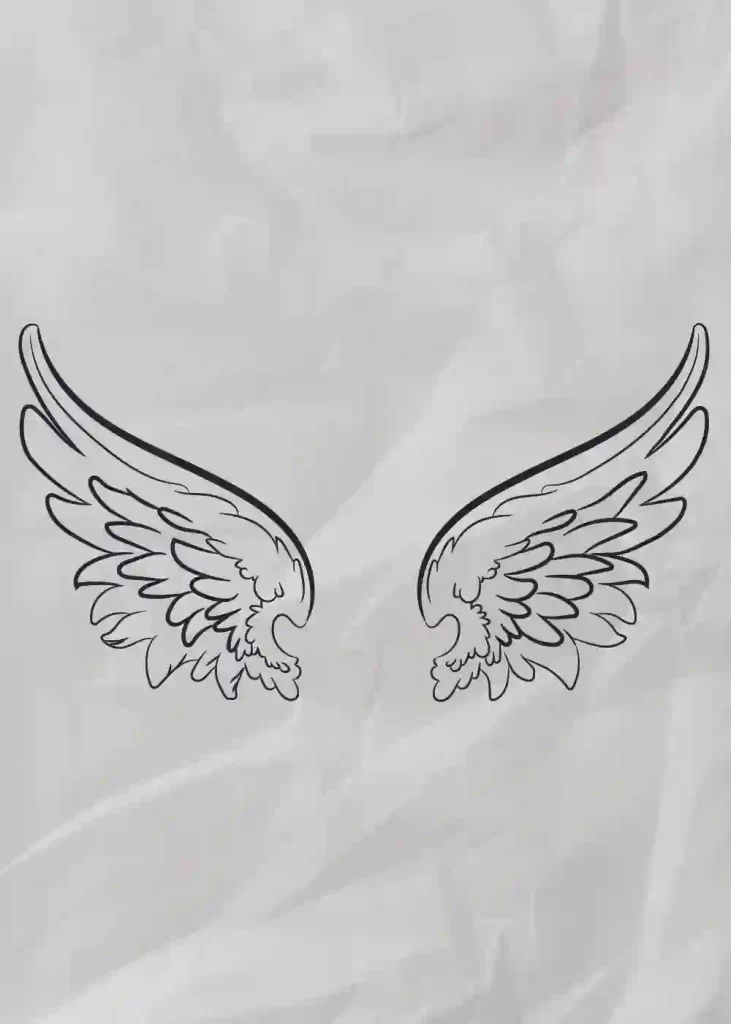
Step 11

Hey kids did you like this How to Draw Angel Wings – A Step by Step Guide Tutorial? Practice it and you will see your drawing is improving in every attempt, also share your view in the comment box, and don’t forget to share this art with your friends on Social Media so they can also enjoy it. For more such drawings and How to draw keep visiting Storiespub.com.
More Drawing Tutorials


