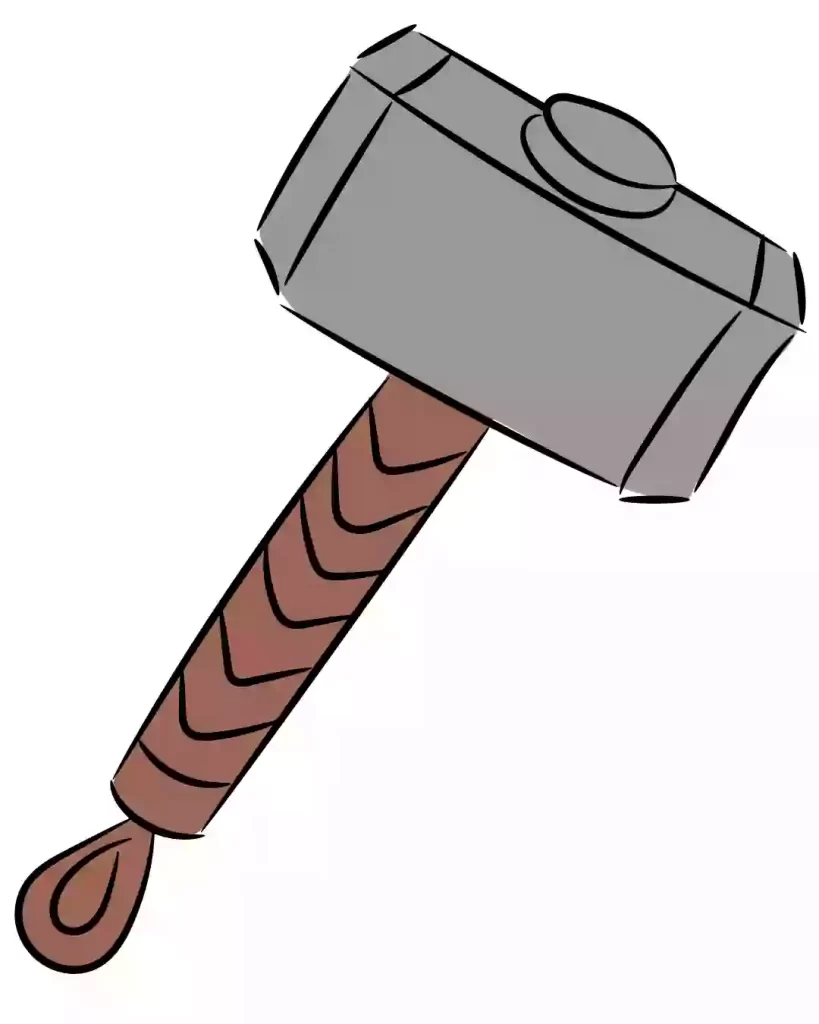
How to Draw Thor Hammer in Simple and Easy Steps

With easy, step-by-step directions and a video tutorial, you can draw a fantastic Thor’s Hammer. Excellent for children and inexperienced painters!
Thor is a “common deity among all early Germanic peoples, a great warrior shown as a red-bearded, middle-aged man of immense strength.”
He was a good God who cared about people. His hammer, Mjollnir, symbolizes thunder and lightning, and his name meant “thunder.” When thrown, the hammer would return to Thor like a boomerang.
Thor’s hammer was allegedly seized by a giant named Thrym in one Norse story. They held the hammer in return for the goddess Freyja’s hand in marriage.
Thor transformed himself as the goddess and took the giant’s hammer when it was brought out to be used in the wedding ceremony when she refused.
He then used the hammer to destroy all of the giants. Thor’s hammer is unable to destroy the head of a gigantic monster in another myth.
Thor was the most frequently worshiped god in ancient Europe. He has been represented in carvings, paintings, and fictional stories for millennia.
He is best known now as a Marvel Comics character thanks to appearances in the children’s film. Stan Lee, a comic book writer, created the character of Thor Odinson in the 1960s.
His hammer is a popular feature or item, with replicas appearing in many children’s toys.
Even today, some people follow the ancient Norse religion. As a mark of their faith, some people wear a pendant of Thor’s hammer.
What if I told you that “Thor’s day” is the direct translation of the word “Thursday.” It was called after the Roman god Jupiter, whom Thor is said to resemble.
Do you want to make a drawing of Thor’s hammer? This simple, step-by-step drawing lesson will show you how to do it.
Things required to draw a Thor Hammer.
1 – Paper.
2 – Pencil.
3 – Marker.
4 – Color.
Let’s learn how to draw a Thor Hammer.
Step 1 – First we will make the top part of the hammer.

Step 2 – On one side of the hammer, draw short lines extending from all three corners.

Step 3 – Now we will make a circle on the top.

Step 4 – Draw two straight lines and downward arrows on them.

Step 5 – Draw the loop at the end which will be the handle of the hammer.

Step 6 – Now we will color the drawing as shown below. Our drawing is ready now

Thanks For reading.. How to Draw Thor Hammer in Simple and Easy Steps
Hey kids did you like this How to Draw Thor Hammer in Simple and Easy Steps? Practice it and you will see your drawing is improving in every attempt, also share your view in the comment box, and don’t forget to share this art with your friends on Social Media so they can also enjoy it. For more such drawings and stories keep visiting Storiespub.com.


