How to draw Mickey Mouse | Step by step Drawing tutorials
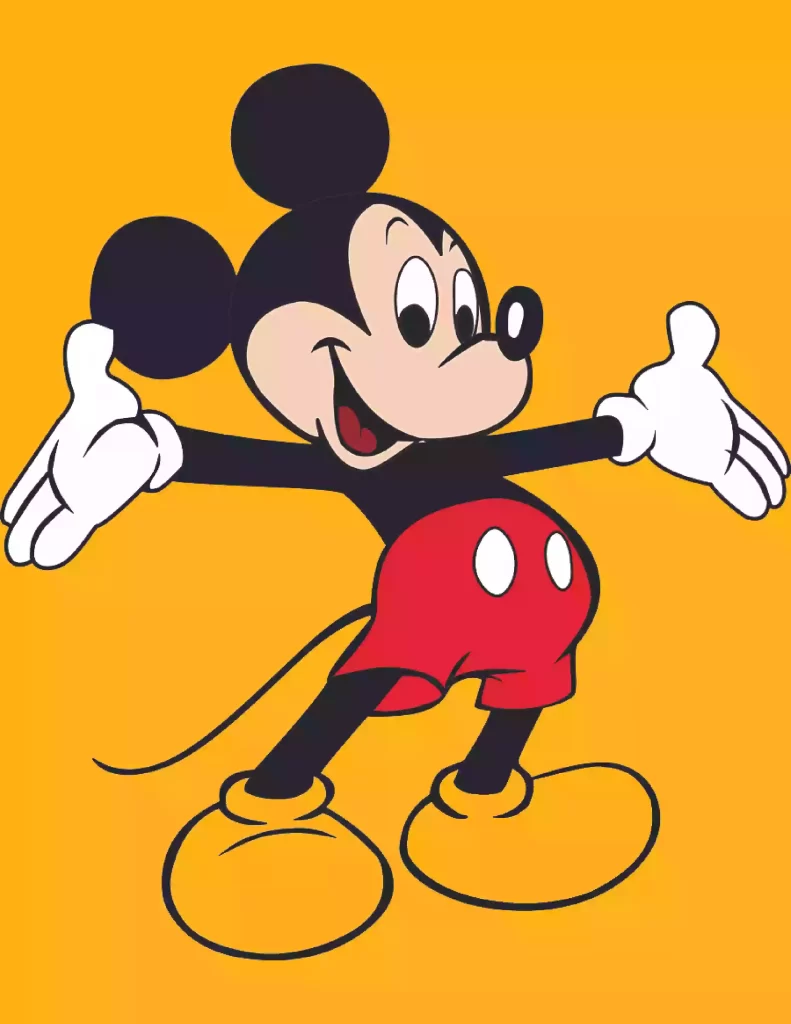
Mickey Mouse is one of Disney’s most recognizable characters, appearing in countless cartoons, video games, movies, and books over the years. He was first introduced to audiences in 1928, when he made his debut in Steamboat Willie. Since then, he has become one of the world’s best known cartoon characters.
Today, we’re going to look at some tips for drawing Mickey Mouse. These simple techniques can help you master the basics of character design so you can begin creating your own original characters.
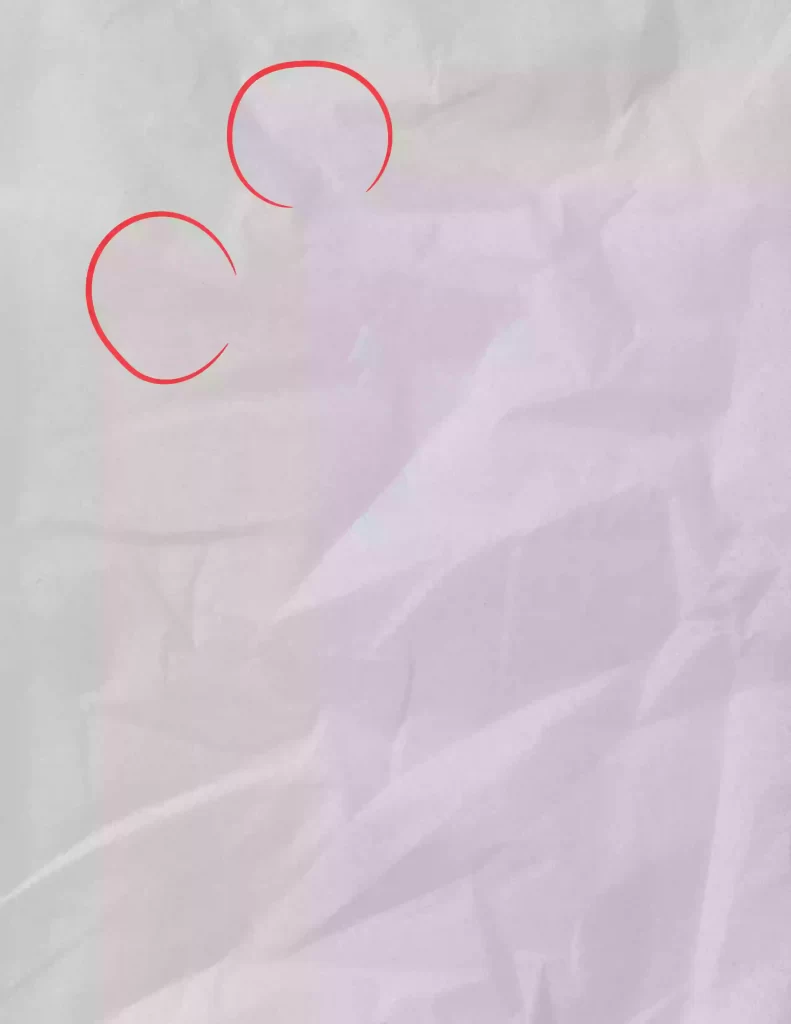
1) Start With Basic Shapes
Before moving onto specific details like eyes and ears, it’s helpful to understand basic shapes and proportions. When drawing Mickey Mouse, think about circles, squares, rectangles, triangles, ovals, and trapezoids.
You can find these shapes in different places throughout the body. For example, the head consists primarily of a circle, the chest is mostly square, and the arms are a combination of triangle and rectangle.
2) Add Details
Once you have a rough idea of the shape of your subject, add details like eyes, nose, mouth, hair, and clothing.
Start with the face. Draw a circle for the eye, then connect the dots inside the circle with lines to form the iris and pupil.
Next, draw a line across the outside edge of the eye to indicate the eyelid. Finally, sketch out the outline of the eyebrows.
Next, add the nose. First, draw a small oval for the nostril and then draw a slightly larger oval to represent the bridge between the nostrils.
Finally, draw the mouth. Begin by sketching in the lips, then add the teeth. Don’t forget to make sure the smile reaches the corners of the mouth!
Now that you have sketched out the features of Mickey Mouse, move on to the rest of his body. Sketch out the neck, torso, legs, arms, and hands.
3) Use Simple Pencil Lines
Use pencil lines to define areas of shading and detail. To shade the skin, lightly apply pressure to the side of the pencil lead and drag it along the surface. As you apply pressure, lift the pencil away from the paper. This creates a dark shadow on the page.
To add highlights to the skin, hold the pencil point perpendicular to the surface and rub the back of the lead against the paper.
Don’t worry too much about making every single stroke perfect; just focus on getting the overall effect right.
4) Avoid Overdrawing
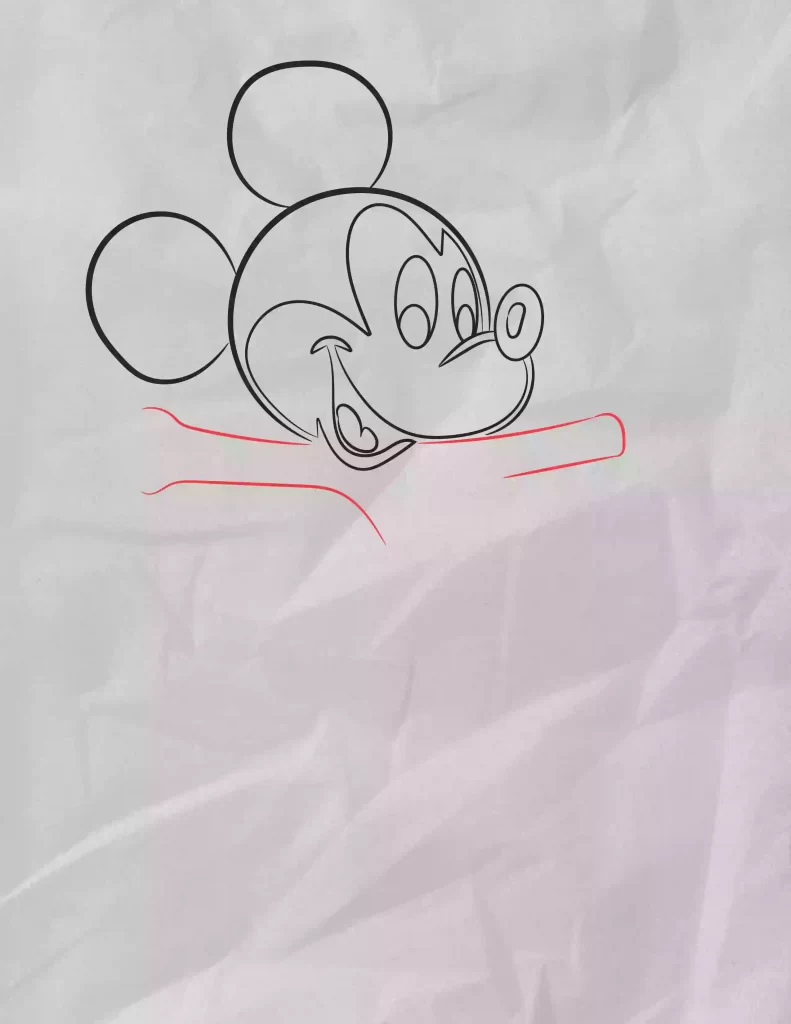
Step 1-
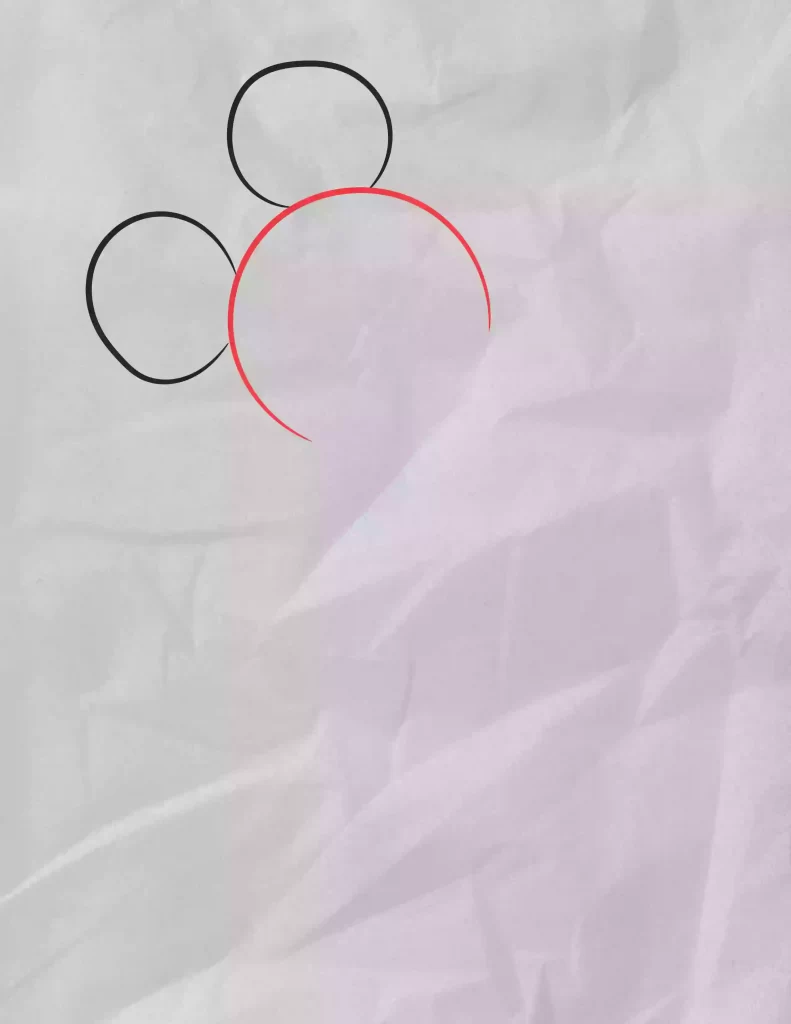
Step 2-
Step 3-

Step 4-
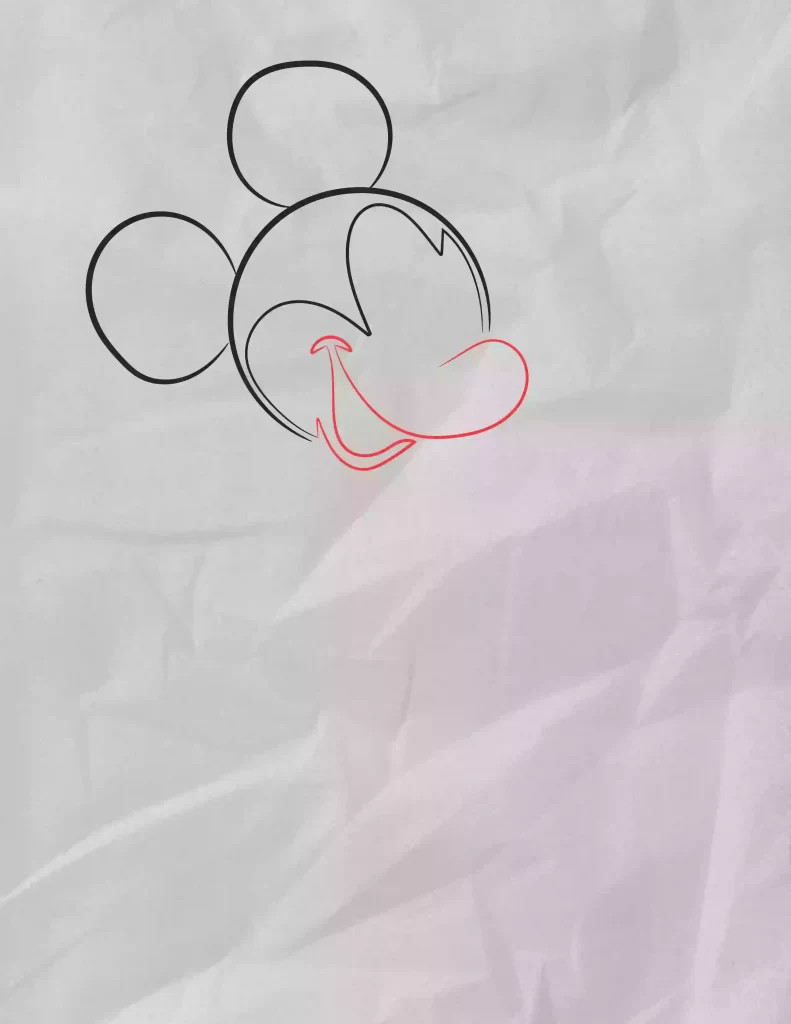
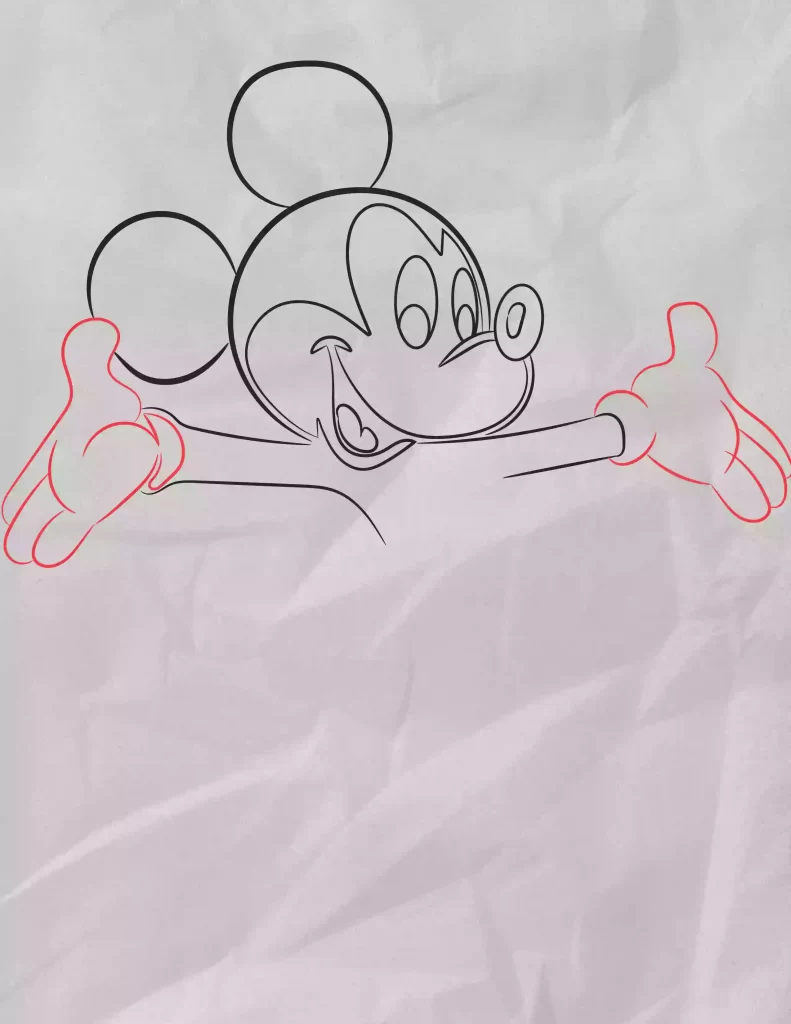
Step 5-
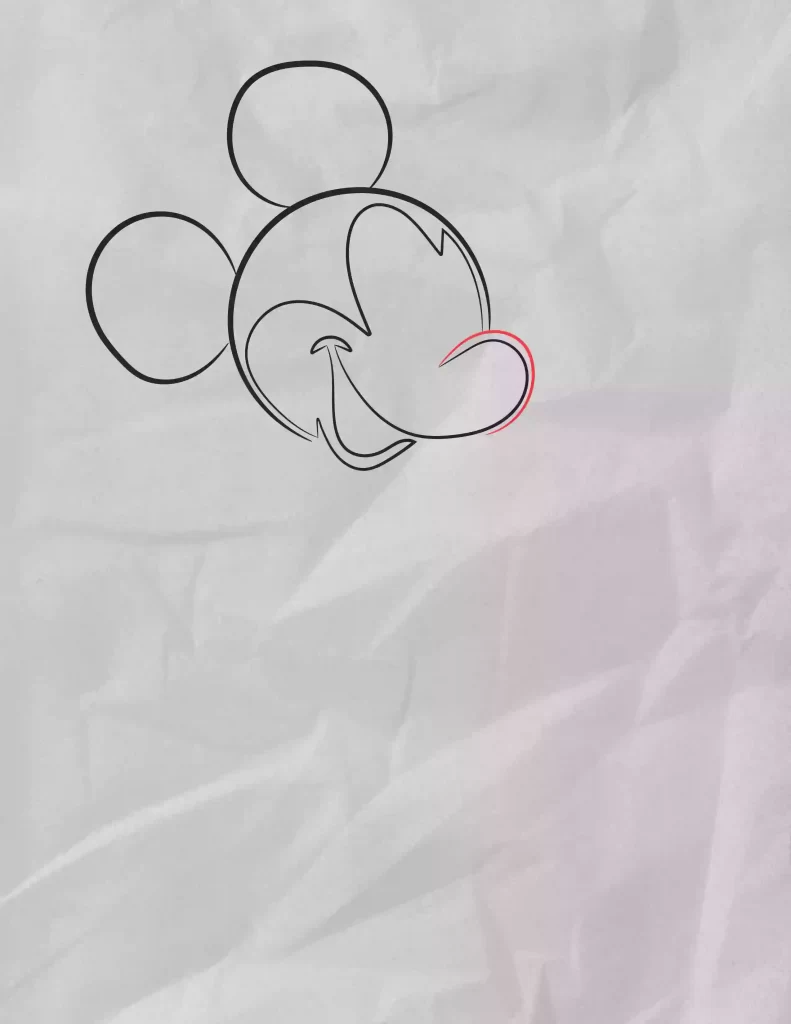
Step 6-

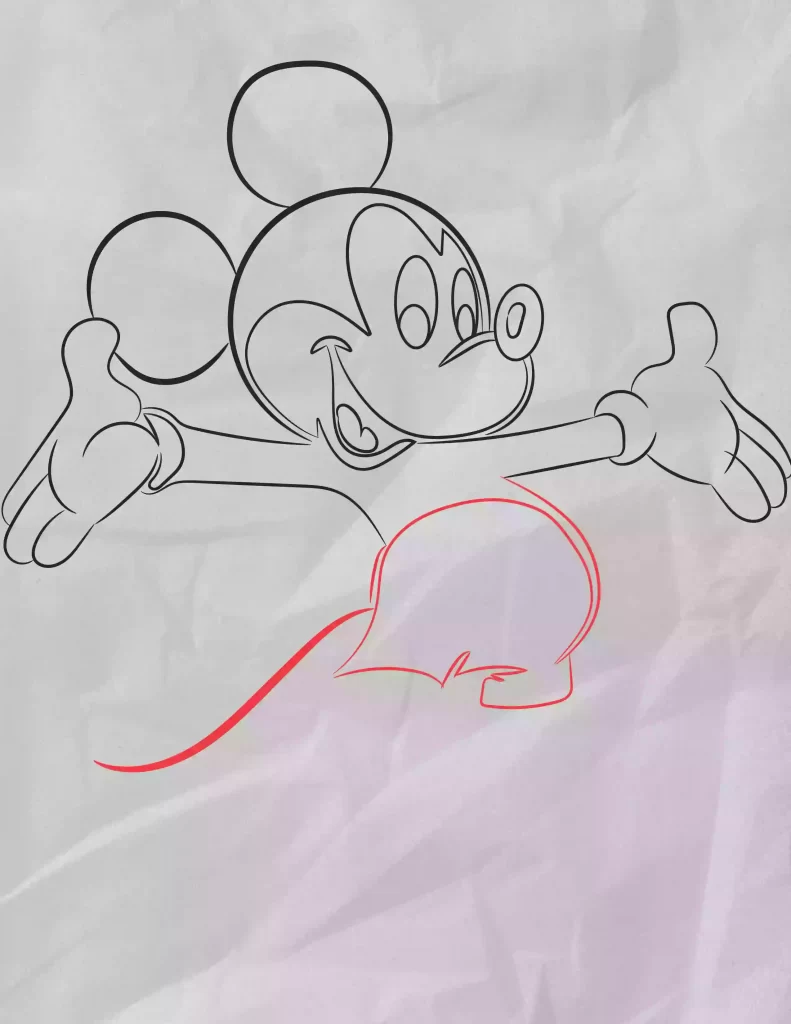
Step 7-
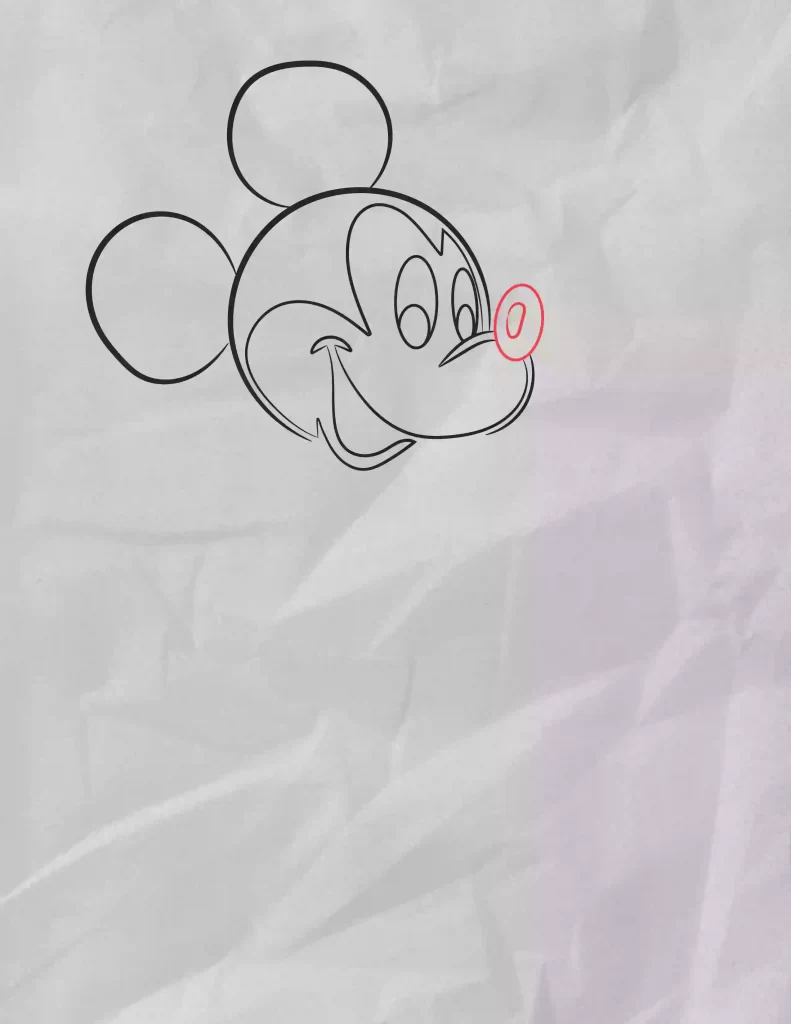
Step 8-
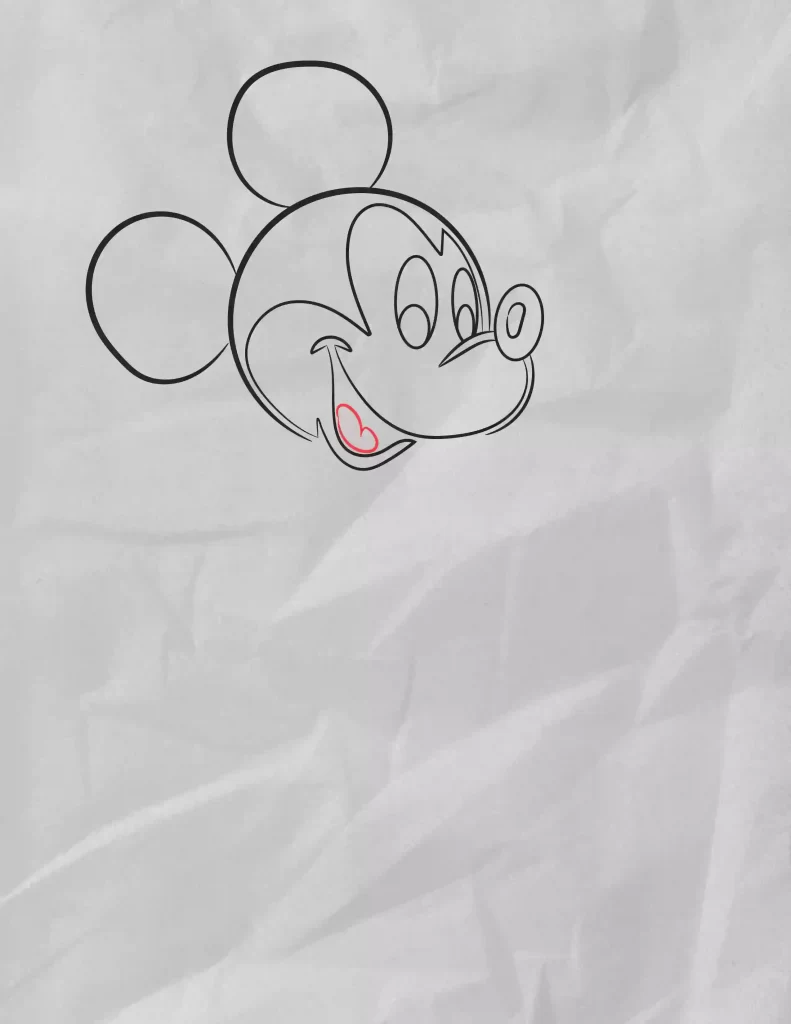
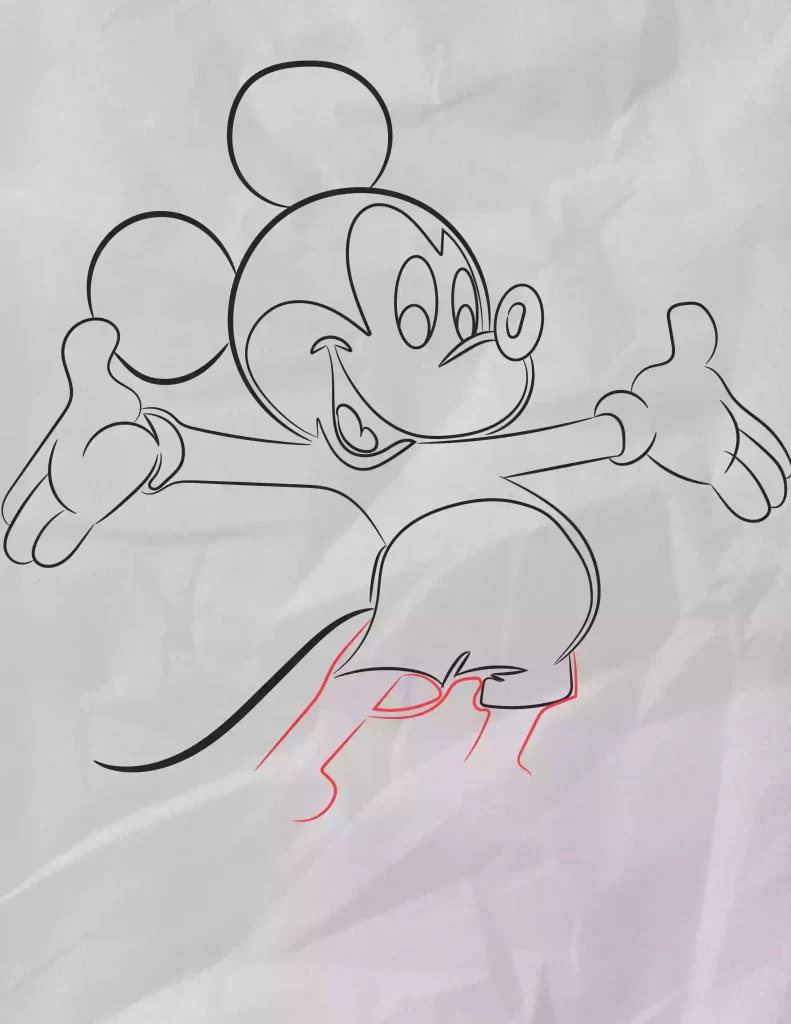
Step 9-
Step 10-
Step 11-
Step 12-
Step 13-
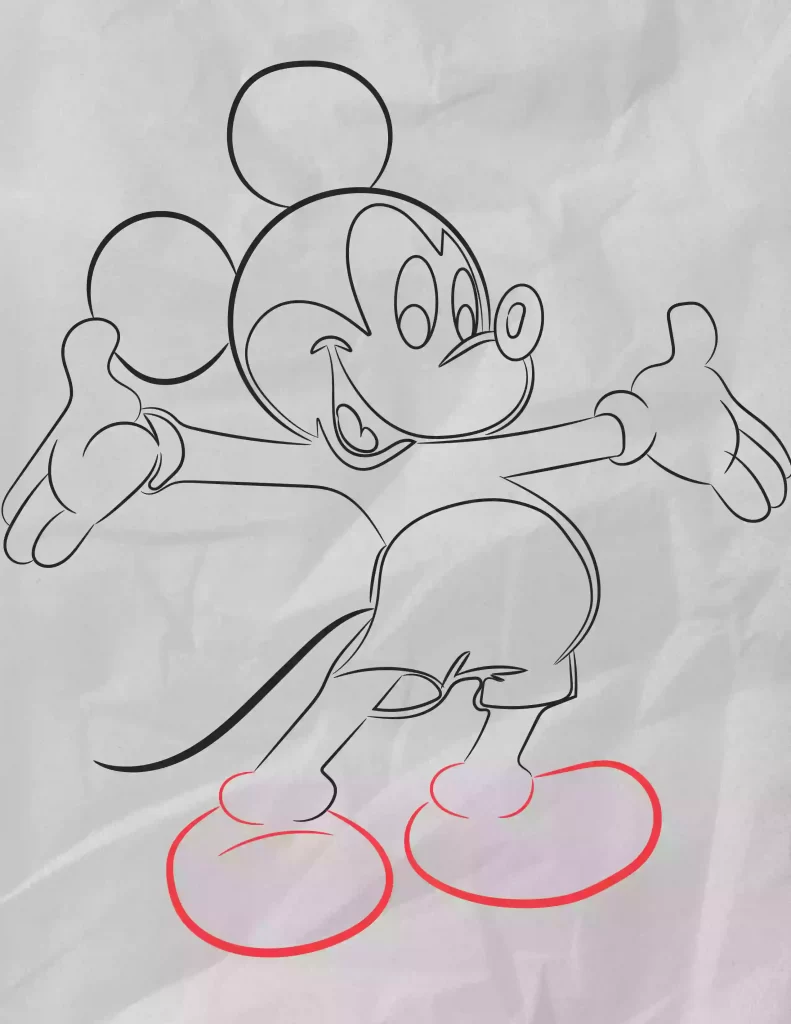
Step 14-
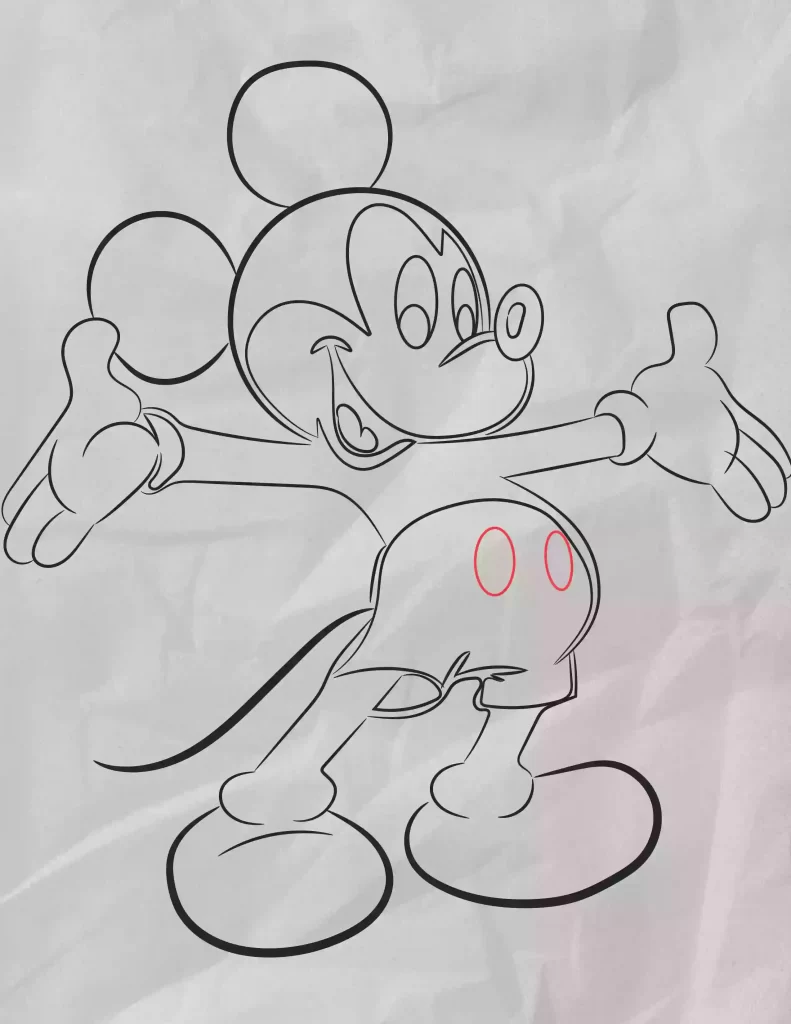
Step 15-
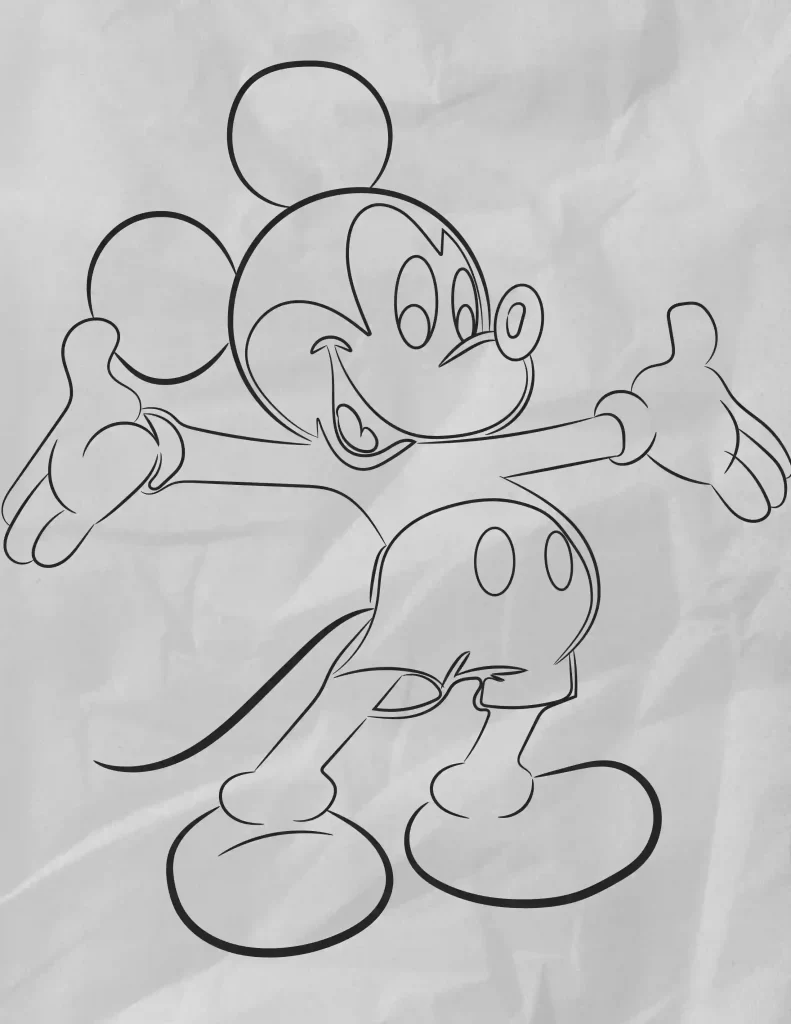
Step 16-
Hey kids did you like this How to draw Mickey Mouse | Step by step Drawing Tutorial? Practice it and you will see your drawing is improving in every attempt, also share your view in the comment box, and don’t forget to share this art with your friends on Social Media so they can also enjoy it. For more such drawings and How to draw keep visiting Storiespub.com.
More Drawing Tutorials