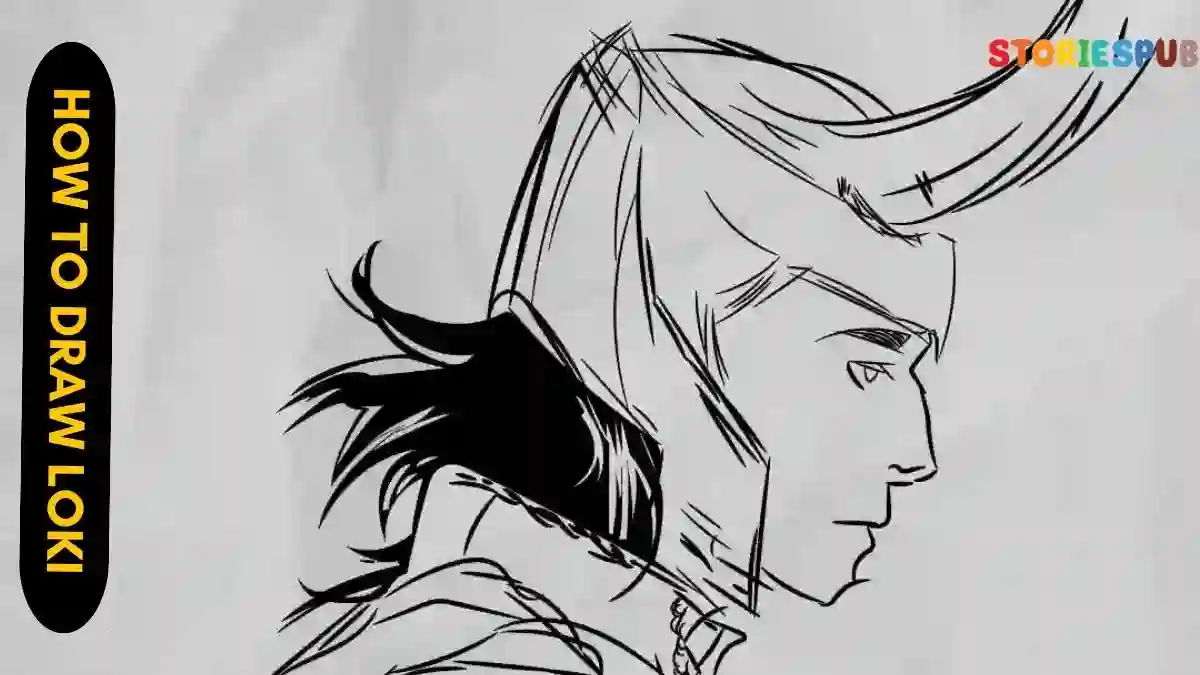
How To Draw Loki | Step by Step
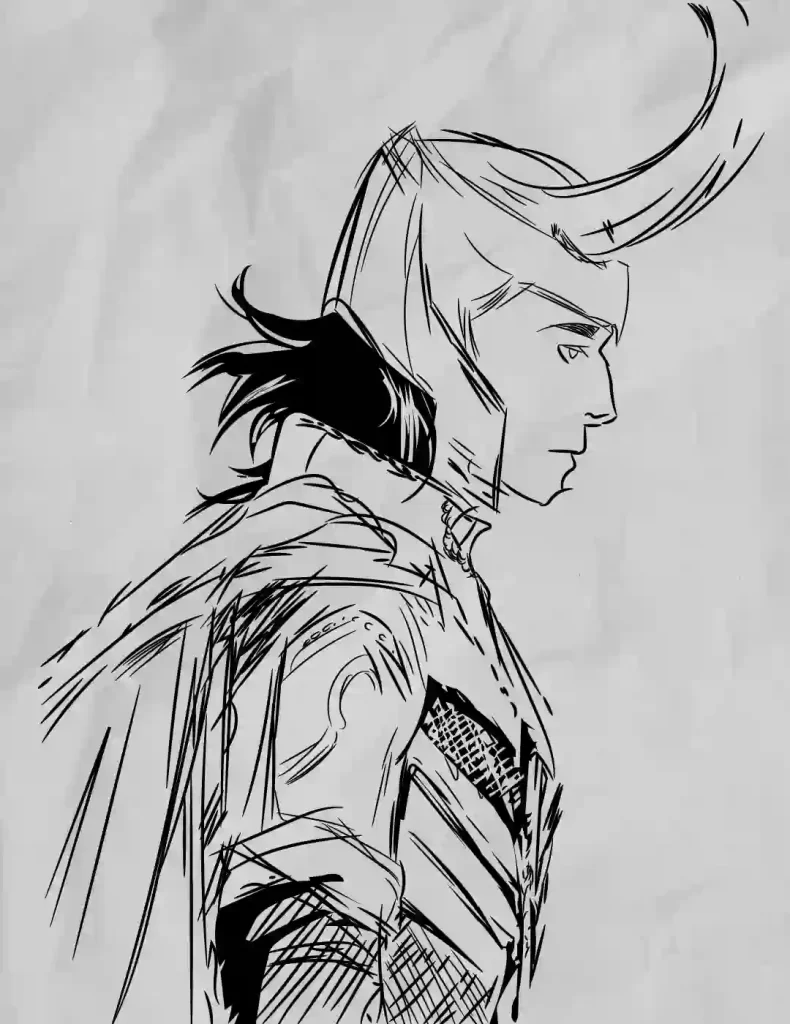
In this exciting “How to Draw loki” tutorial, kids will learn how to draw Loki, the mischievous Norse god from mythology and popular culture. This step-by-step guide will teach them the basics of drawing Loki’s iconic features, allowing them to create their own unique interpretation of this fascinating character. Kids will have a blast learning the art of drawing while unleashing their creativity and imagination.
Materials Required:
To participate in the “How to Draw Loki” tutorial, kids will need the following materials:
- Paper: Provide a blank sheet of paper for drawing. It can be plain white or any other preferred color or texture.
- Pencil: A regular pencil or mechanical pencil will be needed for sketching and outlining the drawing.
- Eraser: Keep an eraser handy to correct any mistakes or make adjustments to the drawing.
- Coloring Supplies (Optional): If desired, kids can also use coloring materials such as colored pencils, markers, or crayons to add color and bring their Loki drawing to life.
Encourage kids to gather these materials and get ready to embark on a fun and creative drawing session as they learn how to draw Loki!
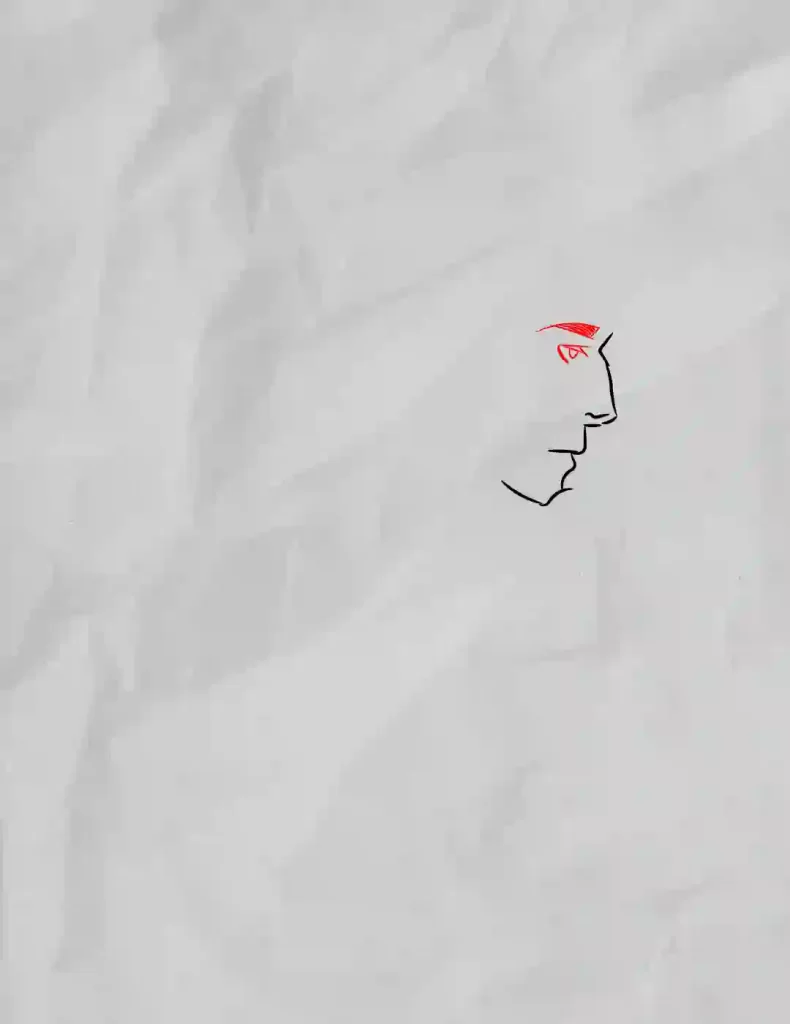
Step 1 :- Start by drawing the chin and nose.

Step 2 :- Now draw the eyes.
Step 3 :- Now draw his mask and helmet.
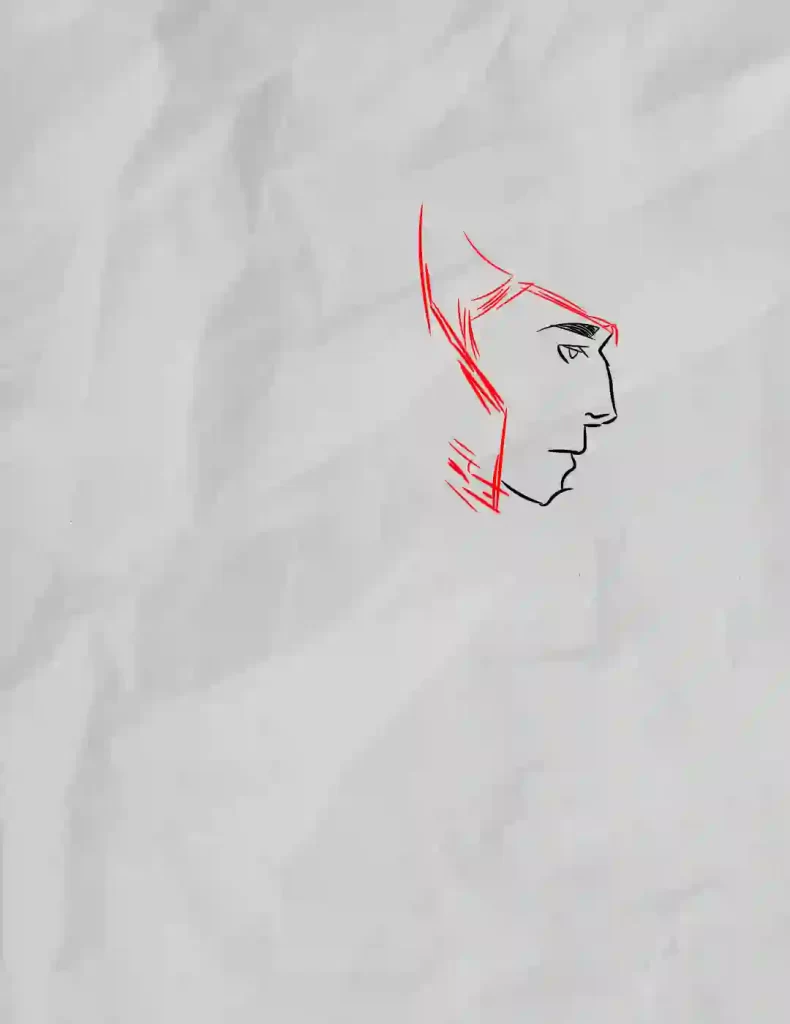
Step 4 :- Continue with the helmet.
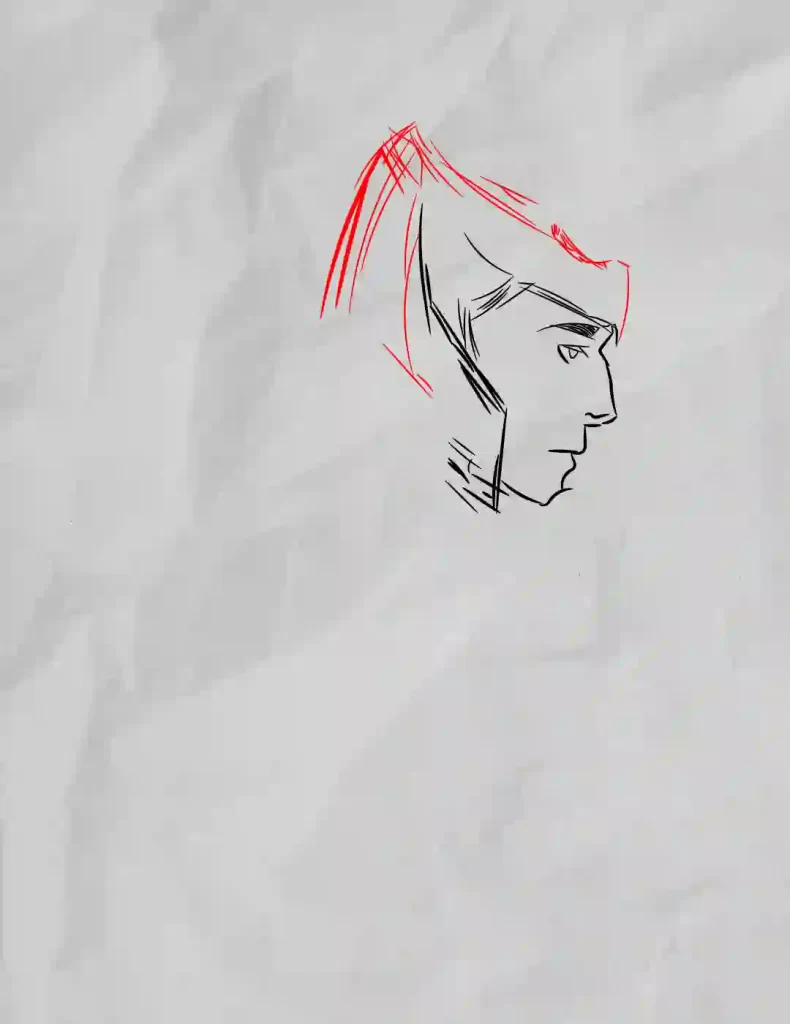
Step 5 :- Continue with his horned helmet.
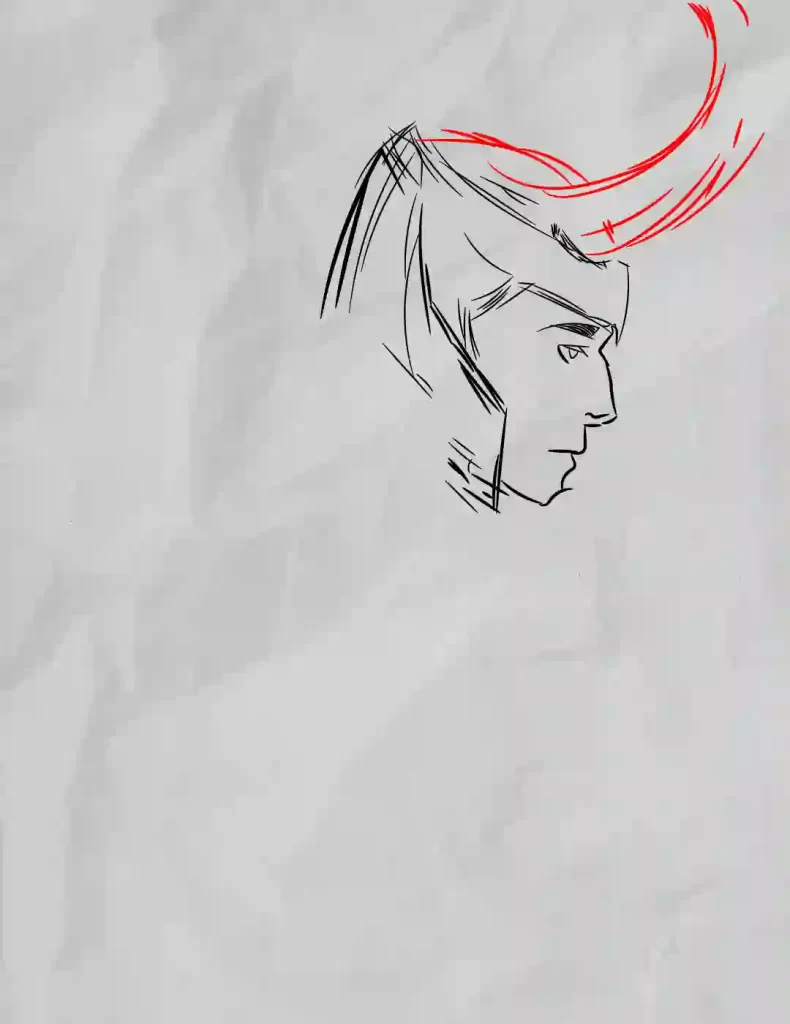
Step 6 :- Draw the back hair.
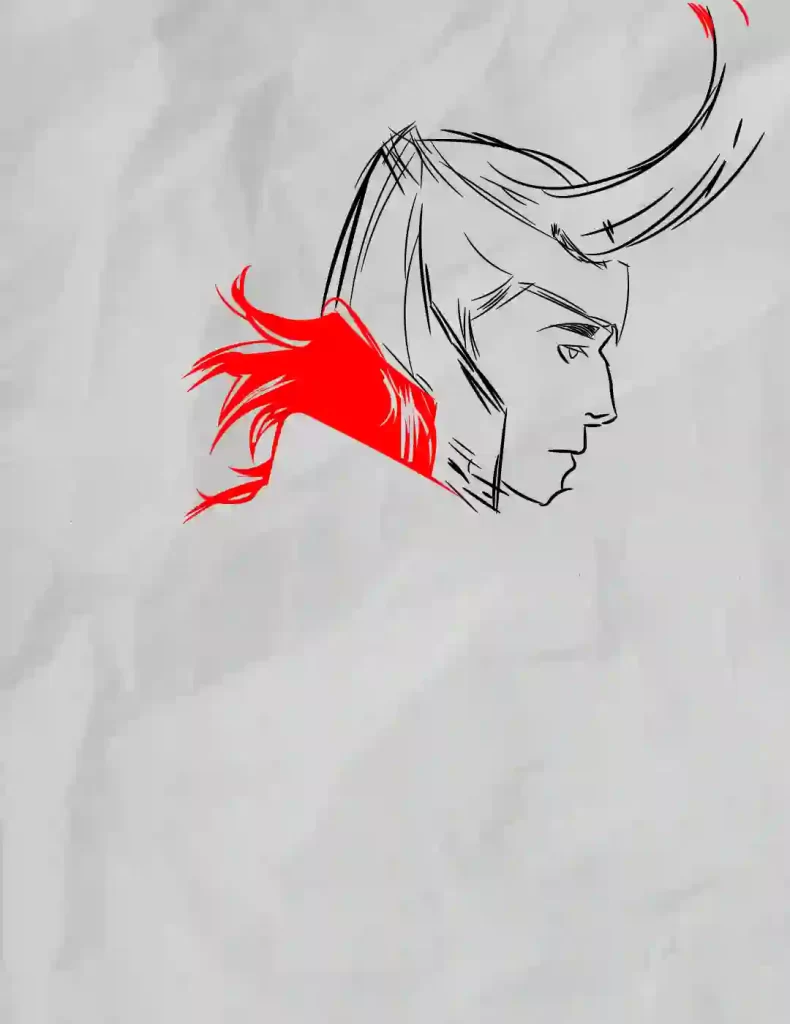
Step 7 :- Draw the cape of Loki.
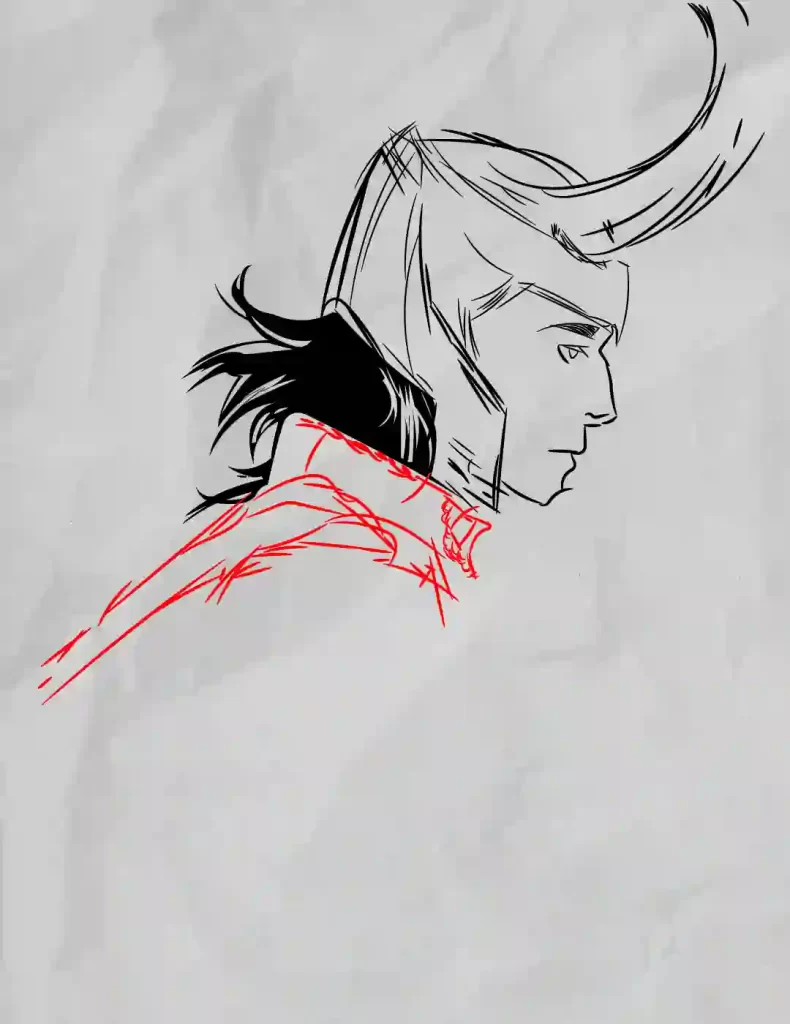
Step 8 :- Continue with the cape.
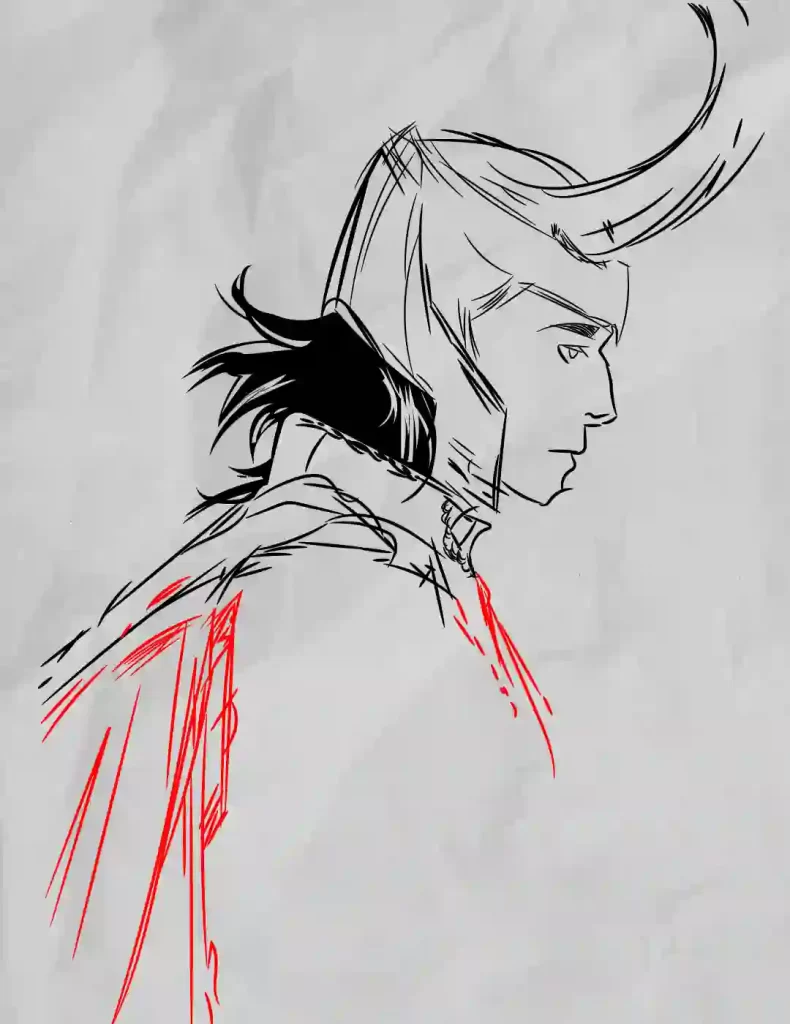
Step 9 :- Now draw his side arm

Step 10 :- Now draw his chest.
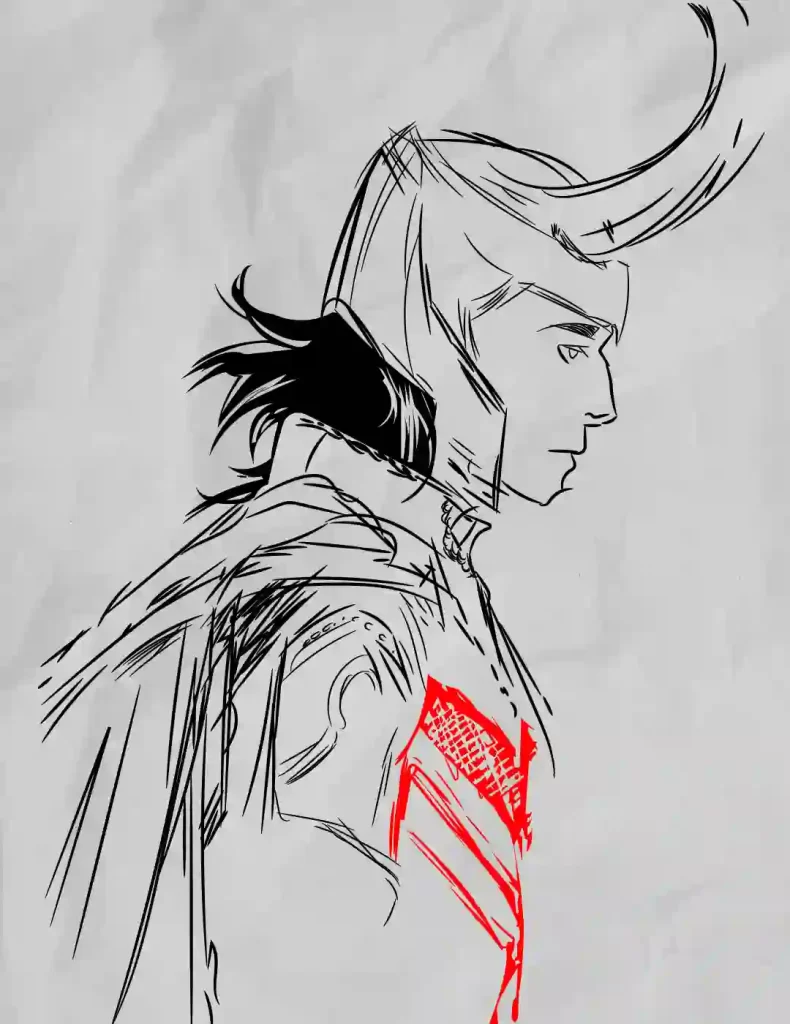
Step 11 :- The other part.
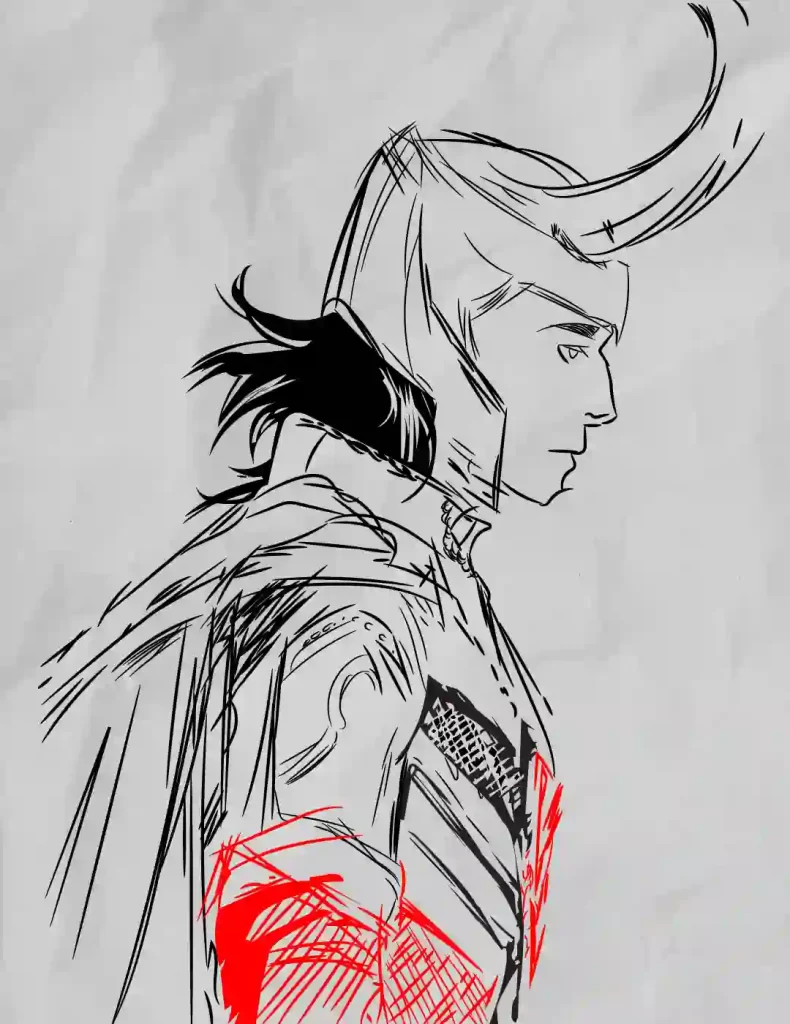
Step 12 :- The drawing is complete
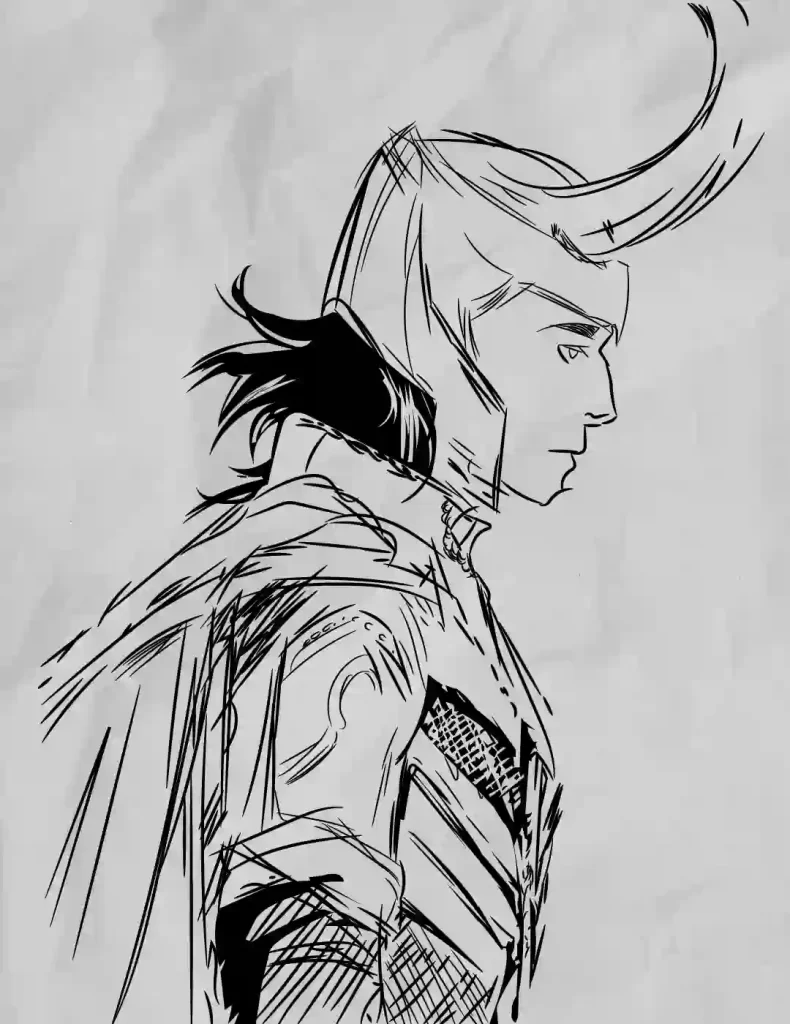
Hey kids did you like this How To Draw Loki | Step by Step? Practice it and you will see your drawing is improving in every attempt, also share your view in the comment box, and don’t forget to share this art with your friends on Social Media so they can also enjoy it. For more such drawings keep visiting Storiespub.com.
More Drawing Tutorials


