Summarize this Article with:
How to Draw Watering Can in Easy step by step guide for kids

Watering cans are small containers that are used to manually water plants. The majority of them have a handle and a spout for directing the water. Some spouts have a perforated head that allows the water to softly fall on the plant, similar to rain. This is referred to as the “rose.”
In the sixteenth century, the name “watering can” was coined. Previously, such gadgets were known as “watering pots.” Modern watering cans were in use by the 1700s.
Watering cans are now made of metal, ceramic, or plastic. The rustic design, as depicted in our artwork, is still appealing as a functional instrument and a decorative element. In addition to watering plants, watering cans are used as flower pots, home decor, and art pieces in sculpture.
Metal watering cans are frequently associated with rural life or “the good old days.” Other watering cans may have fanciful designs or images of well-known figures.
Do you want to make a drawing of a rustic watering can? This simple, step-by-step drawing instruction can assist you.
Things required to draw a watering can.
1-paper.
2-Pencil.
3-Marker.
4-Color.
Let’s learn how to draw a watering can.
Step1 :- Draw two parallel lines.

Step 2 :- Make two lines as shown in the image.
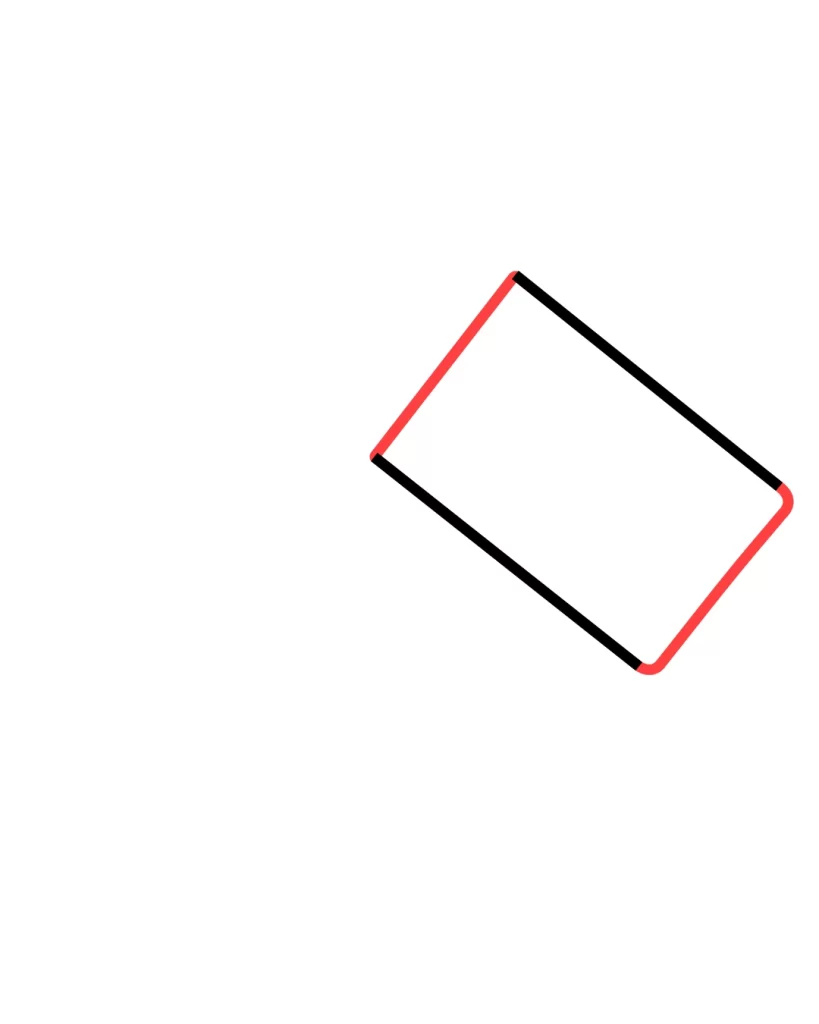
Step 3 :- Now we will draw the top part of the drawing.
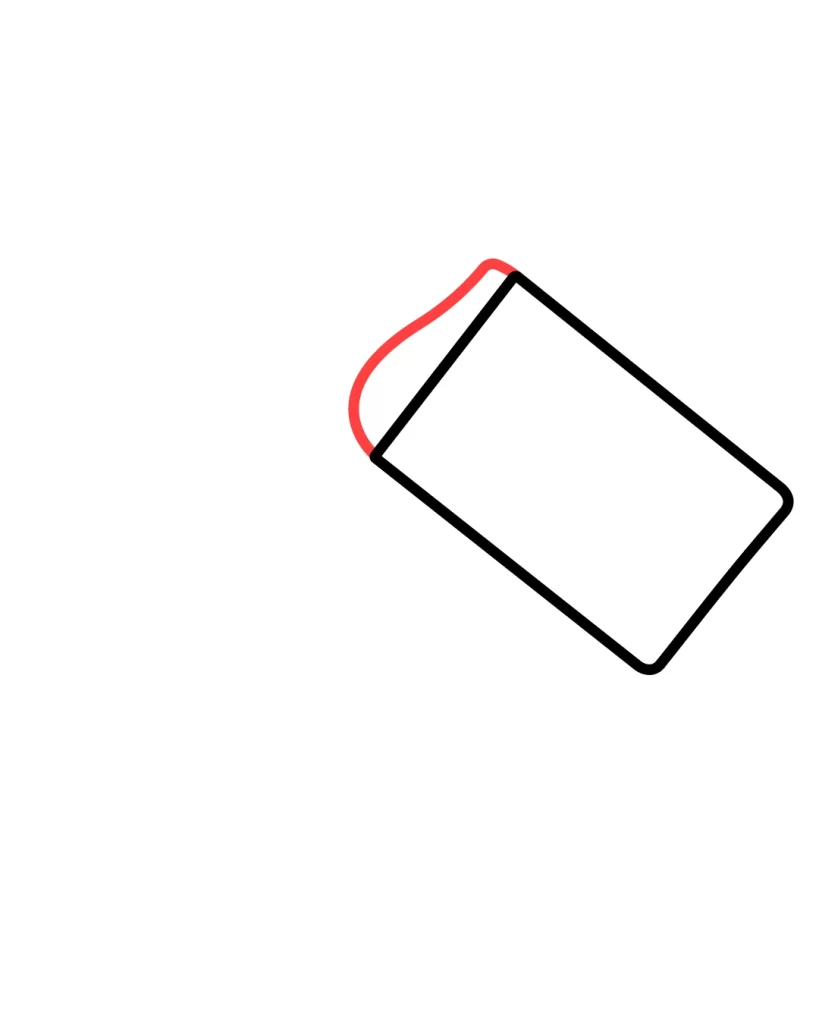
Step 4 :- Make two horizontal lines.

Step 5 :- Draw an oval shape on the line as shown in the image.
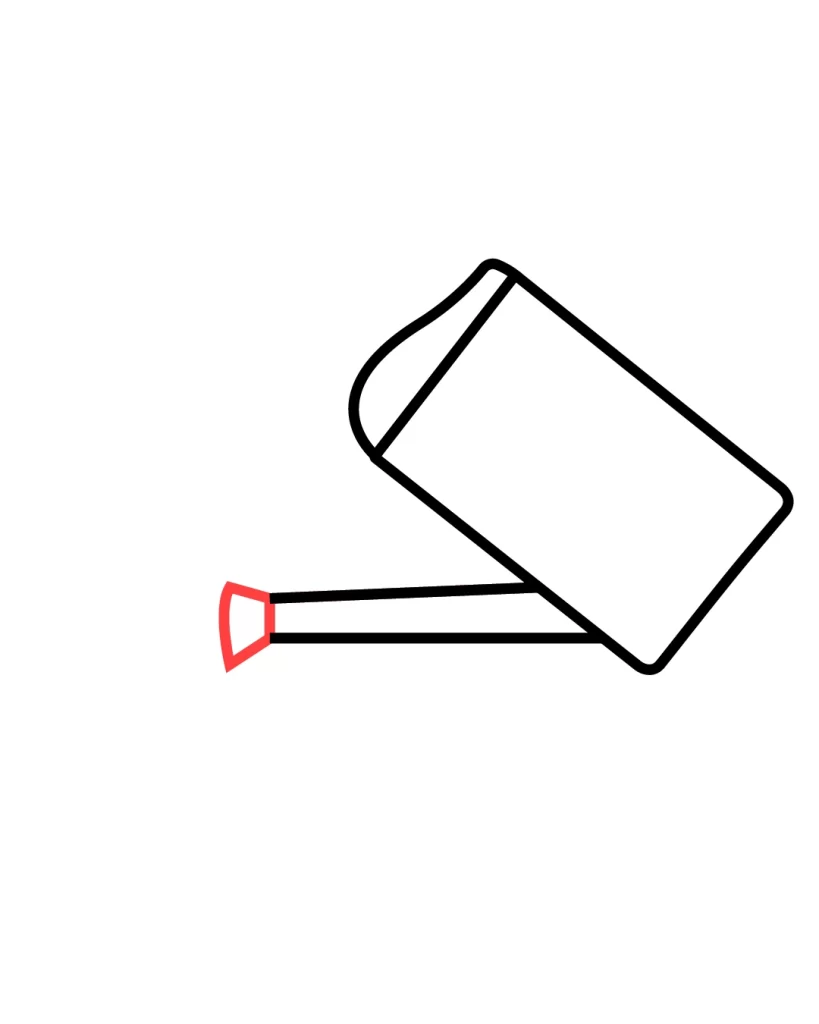
Step 6 :- Now we will draw the handle of the watering can.

Step 7 :- Make some drops of water come down from the outlet.

Step 8 :- Color the image as shown below. Our final image is ready.

Hey kids did you like this How to Draw Watering Can in Easy step by step guide for kids Practice it and you will see your drawing is improving in every attempt, also share your view in the comment box, and don’t forget to share this art with your friends on Social Media so they can also enjoy it. For more such drawings and stories keep visiting Storiespub.com.
- How to draw Volleyball
- How to draw Naruto
- How to draw bed
- How to draw bangs
- How to draw abs
- How To Draw Stairs
- How to draw graduation cap
- How to draw


