Summarize this Article with:
How To Draw Naruto Character | Step By Step
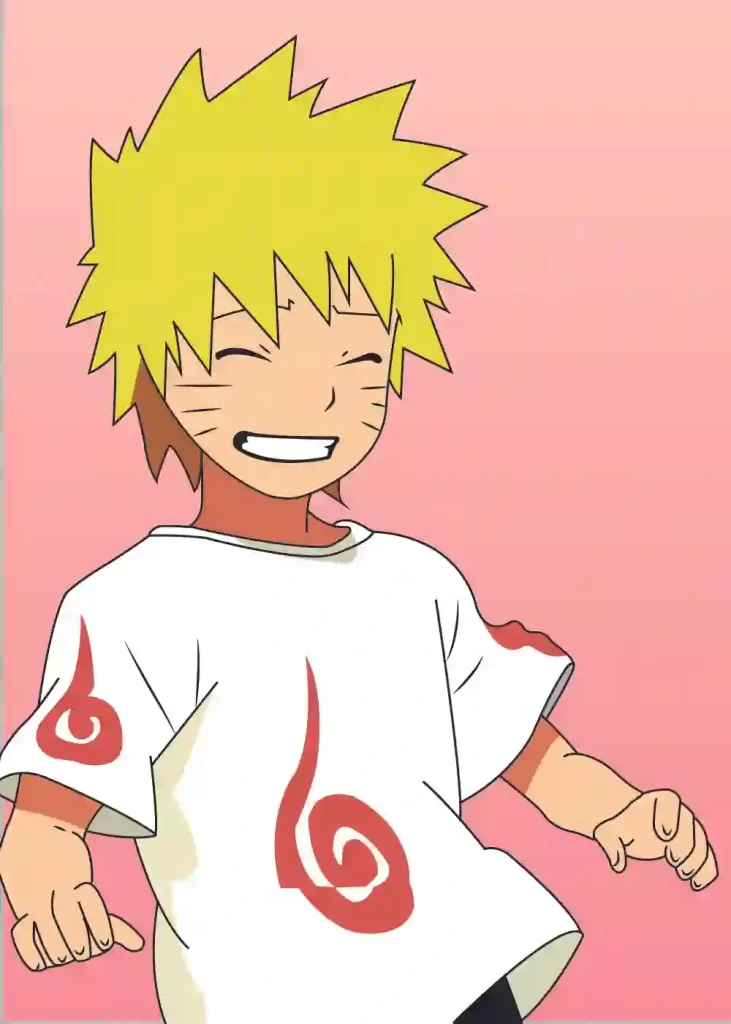
Naruto is one of the most popular anime and manga series of all time. The story is set in a world where ninjas fight each other with special powers. The main character, Naruto, is a young ninja who dreams of becoming the Hokage, the strongest ninja in his village.
If you’re a fan of Naruto, then you might want to learn how to draw Naruto characters. Here are some tips on how to draw Naruto characters.
Assuming you would like a step-by-step guide on how to draw a Naruto character, here are the instructions:
1. Begin by drawing the head and face. Draw a large circle for the head and then add facial features such as eyes, eyebrows, nose, and mouth.
2. Next, draw the body. Start with a large oval shape for the torso and then add two smaller oval shapes for the legs. Then, add arms and hands.
3. To finish up, draw clothing and other details such as hair. Start with a simple outfit such as a jacket and pants. Then, add any additional details like belts, straps, or other accessories.
With these steps, you should now have a basic understanding on how to draw a Naruto character!
Step 1
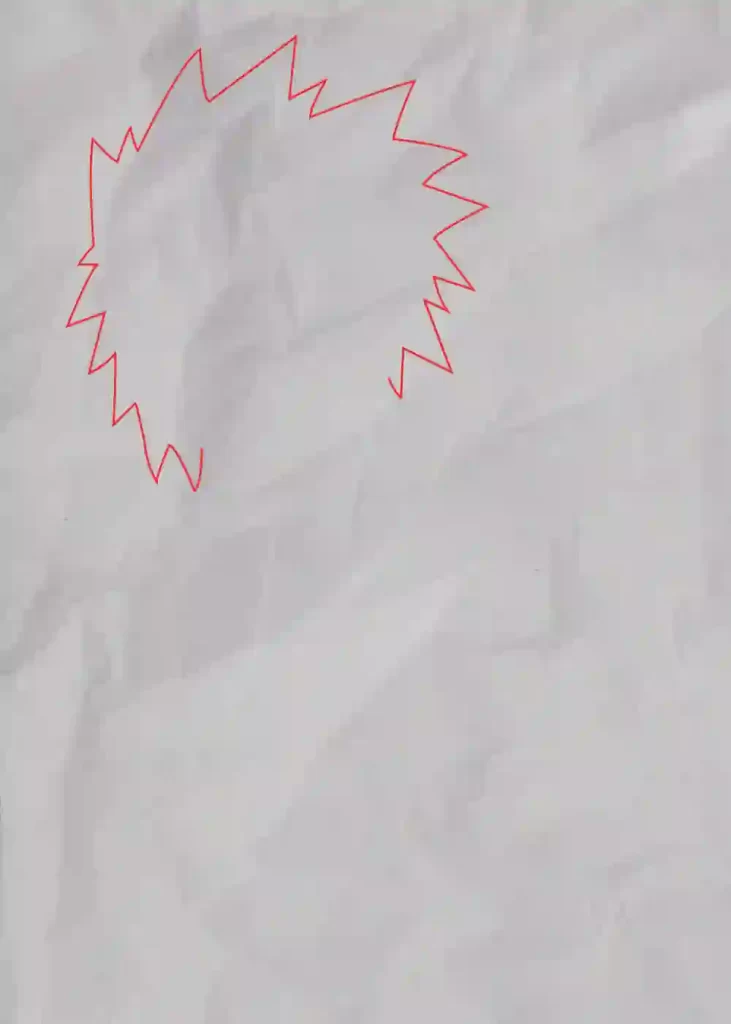
Step 2
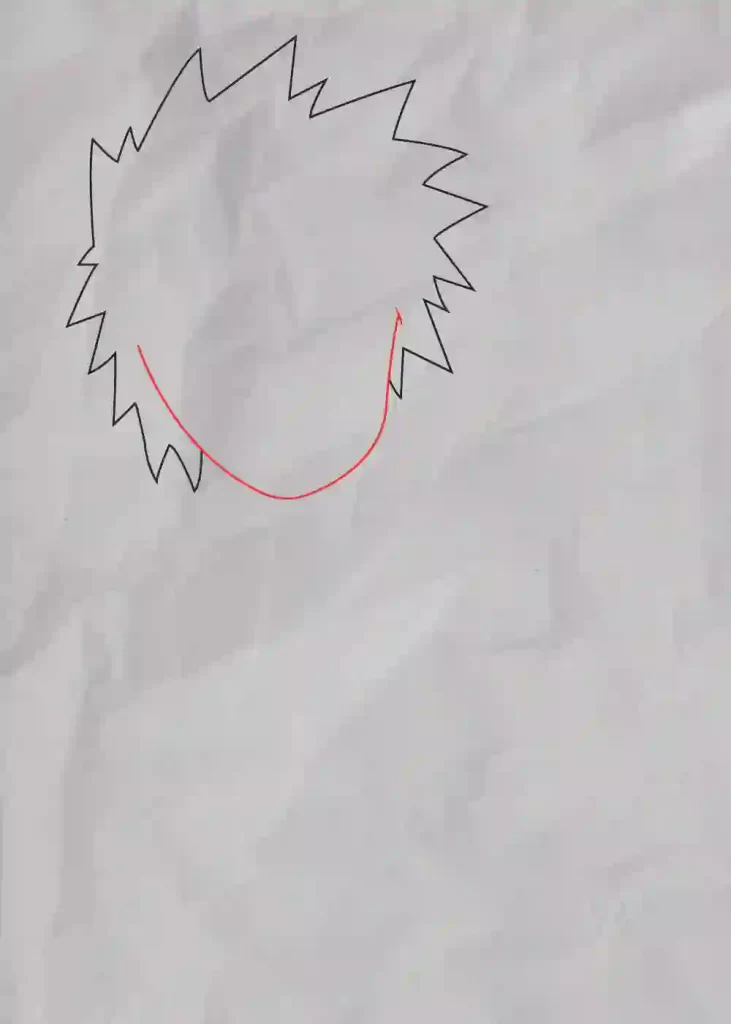
Step 3
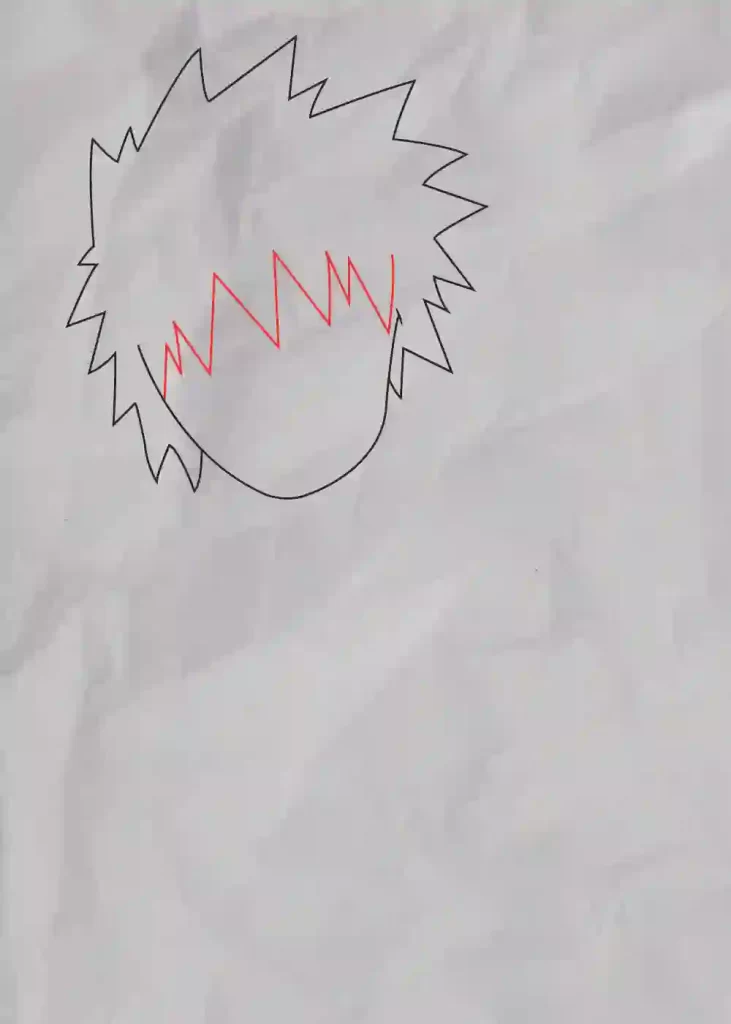
Step 4
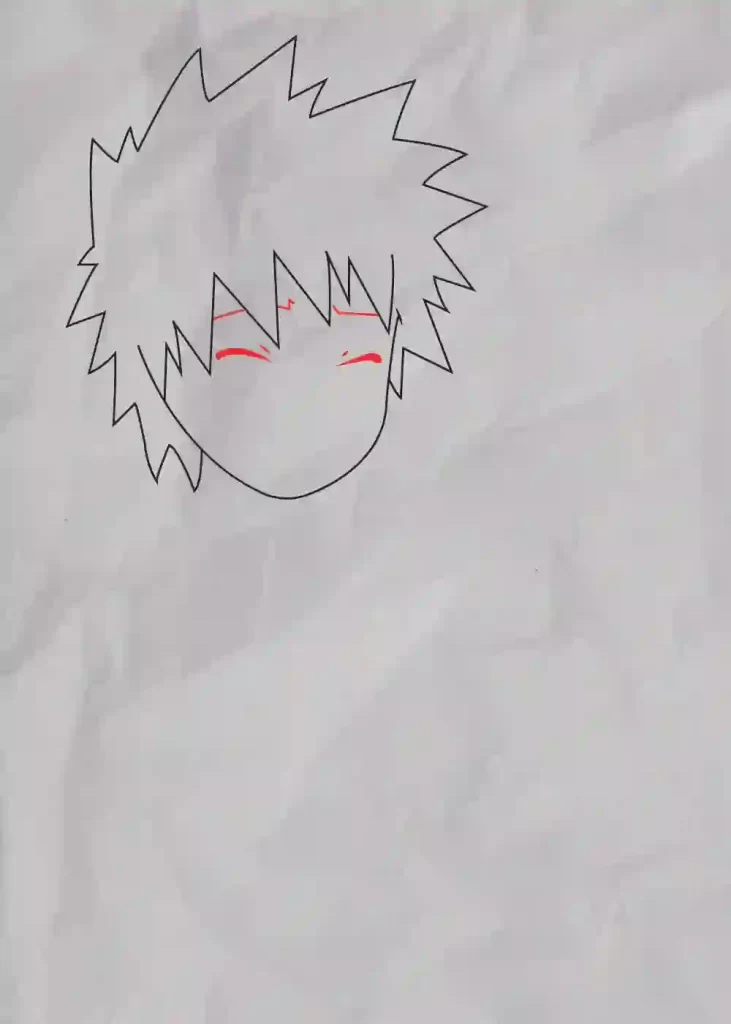
Step 5
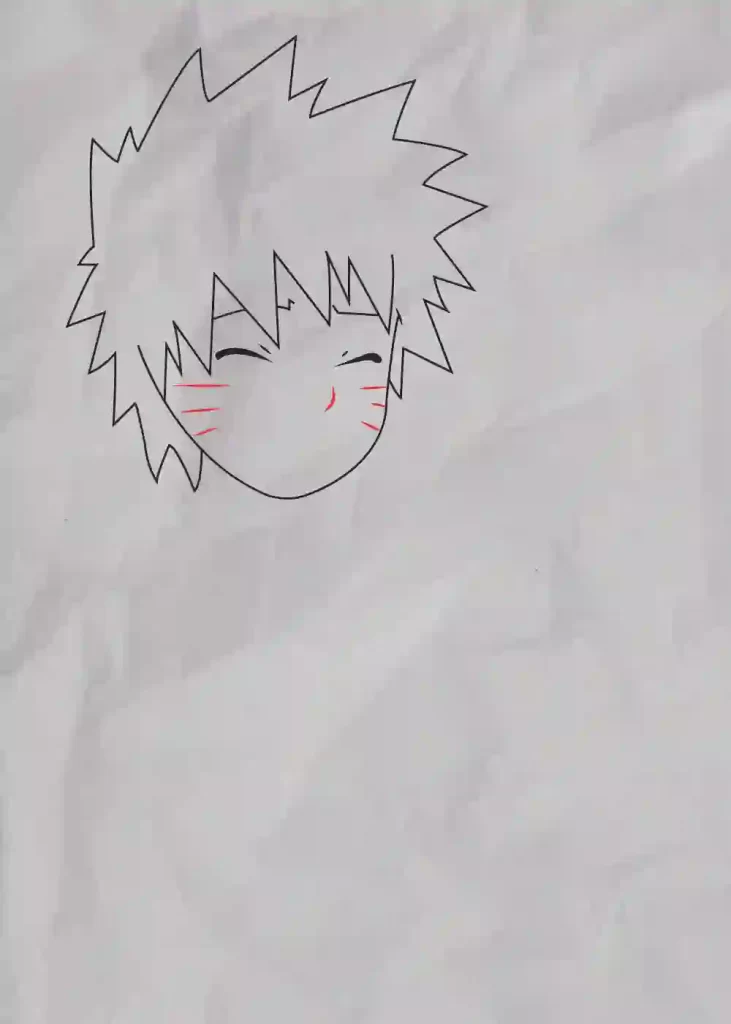
Step 6
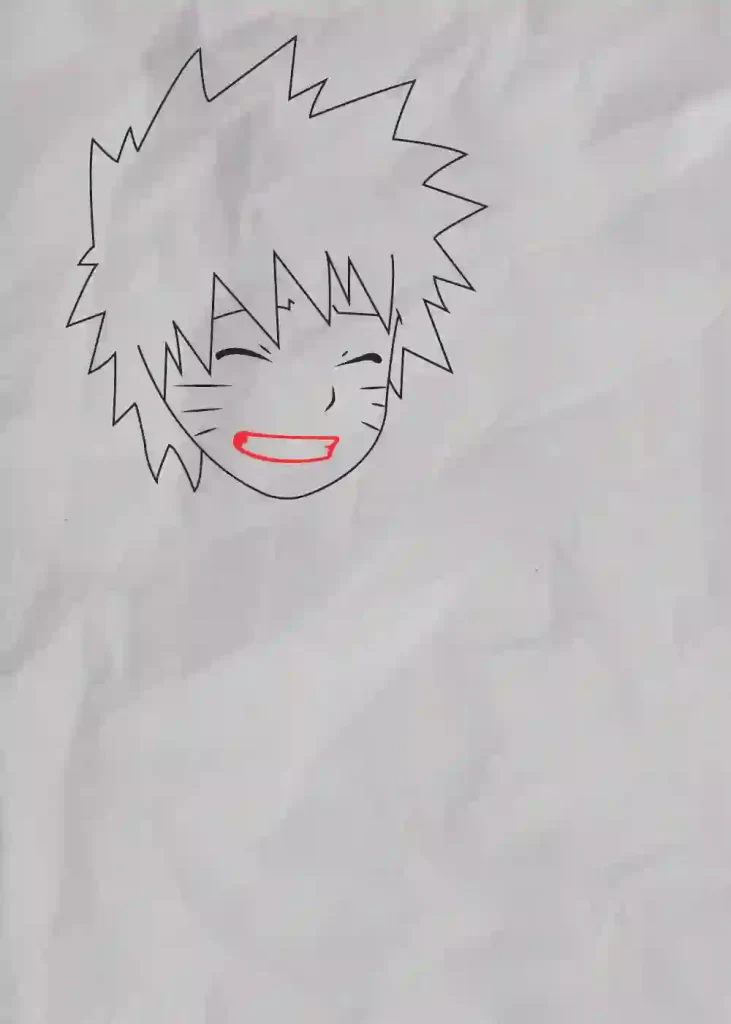
Step 7
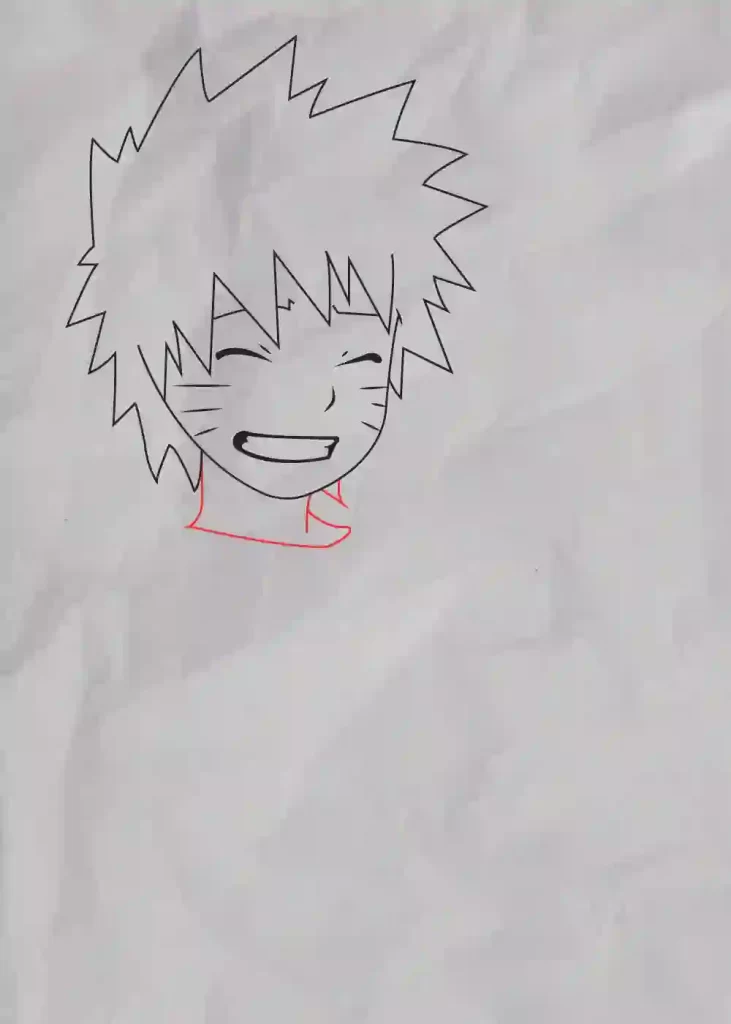
Step 8
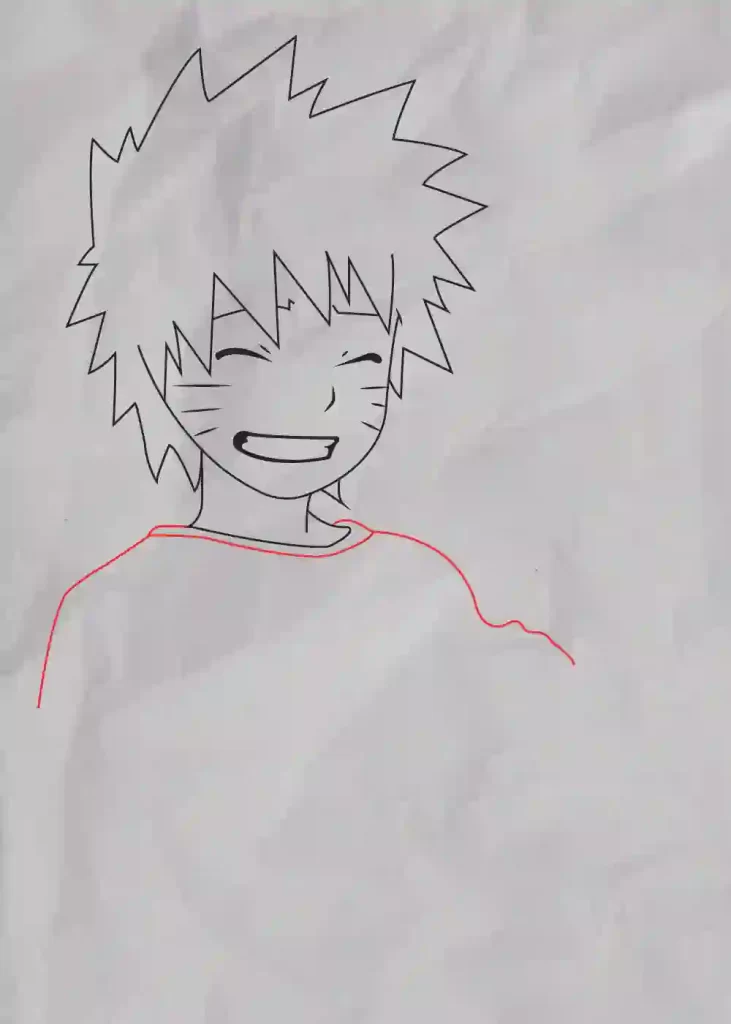
Step 9
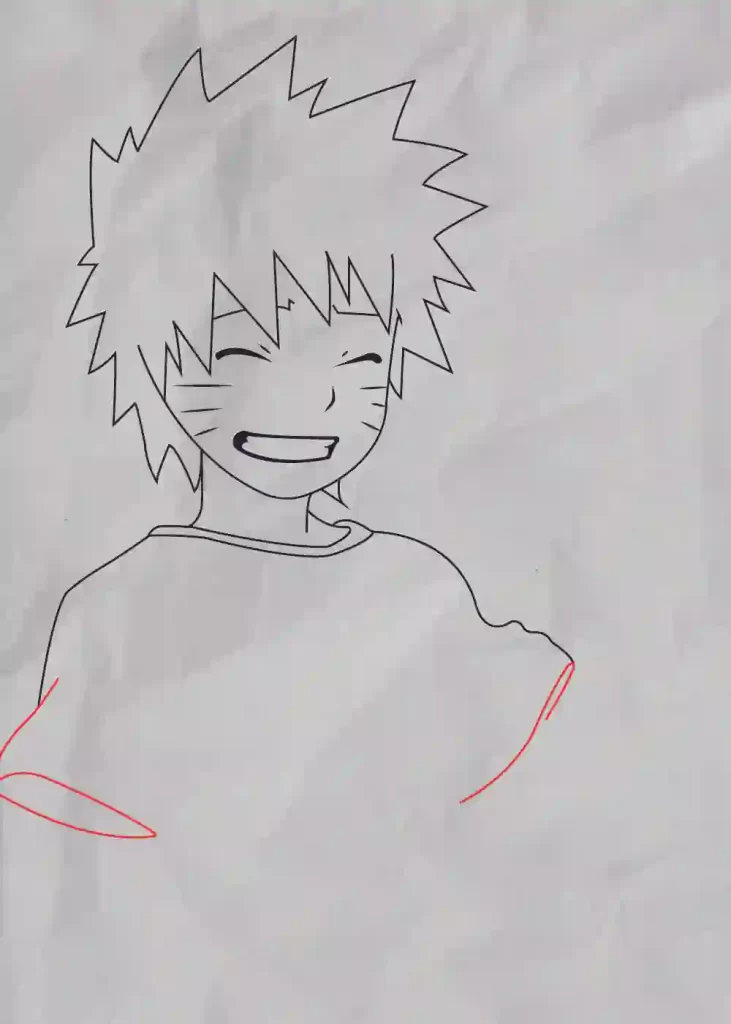
Step 10
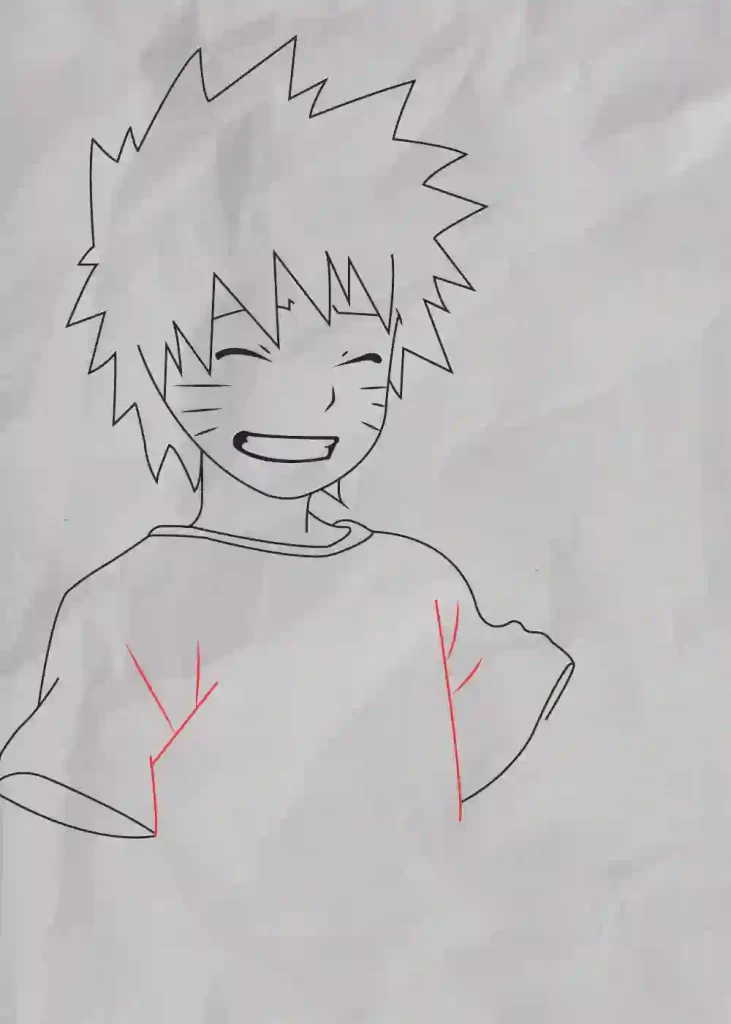
Step 11
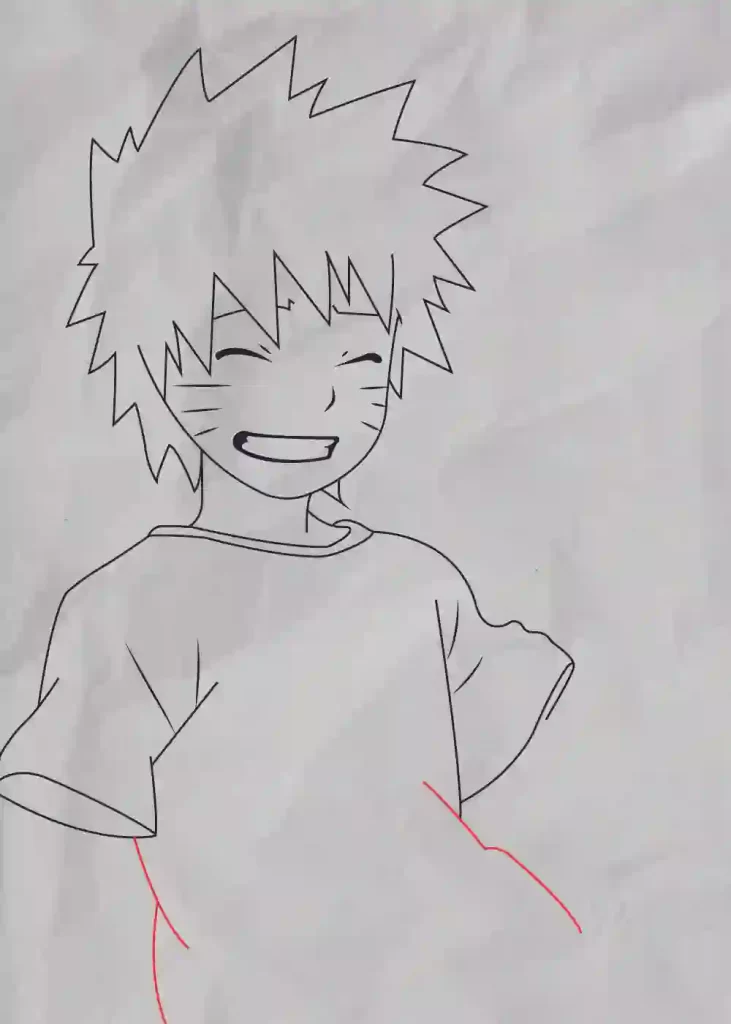
Step 12
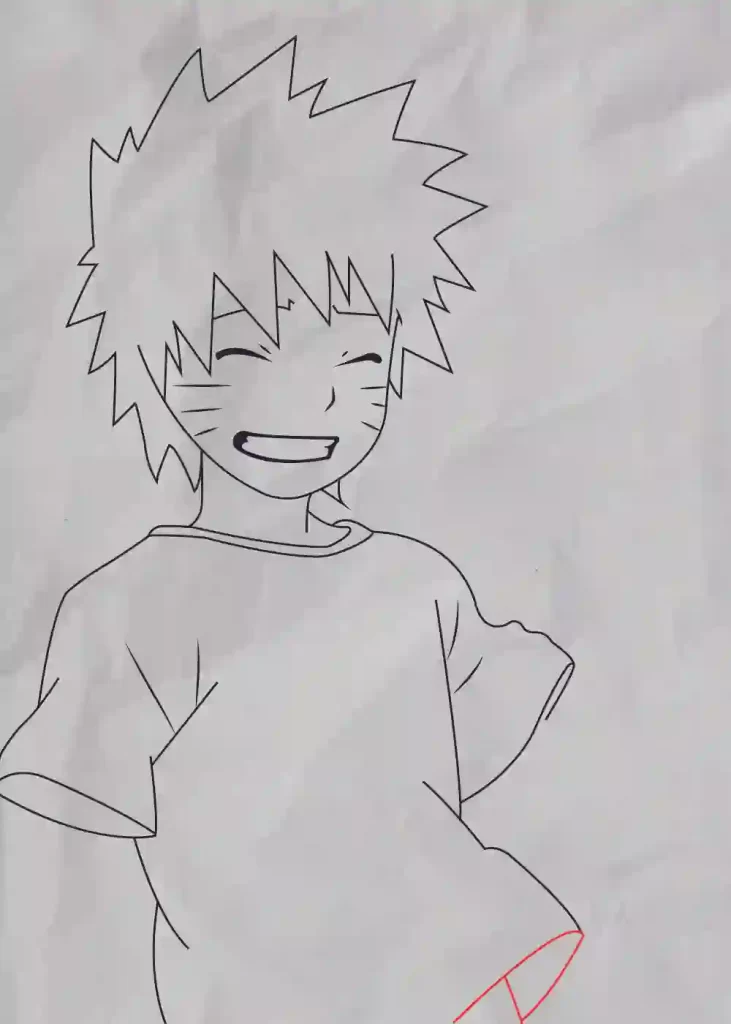
Step 13
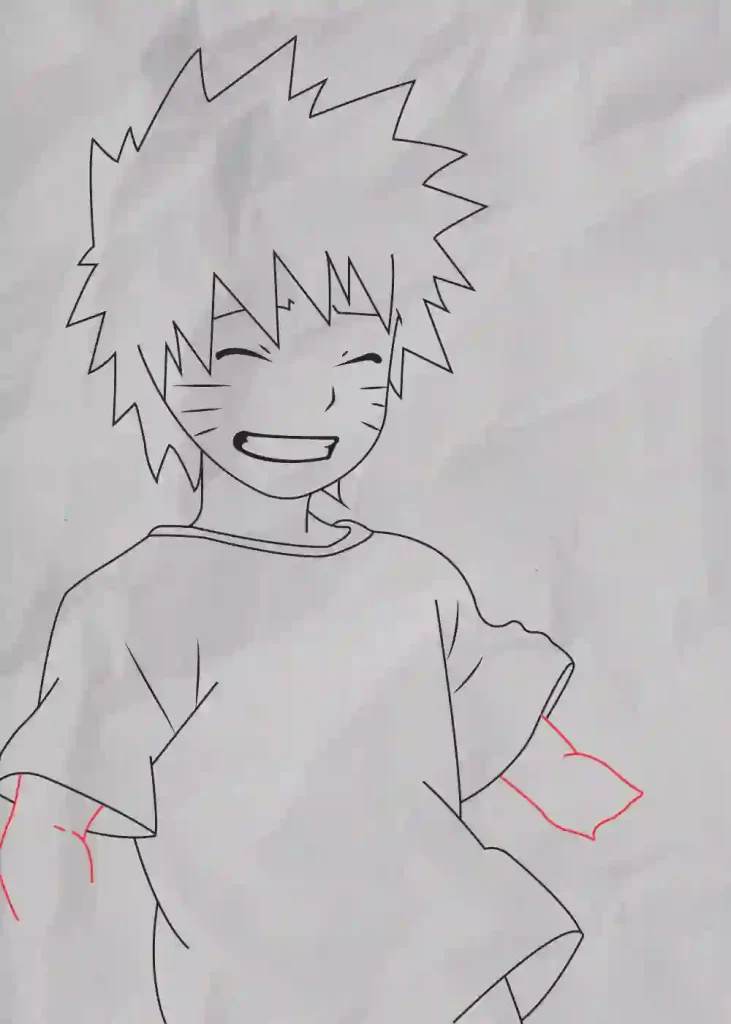
Step 14
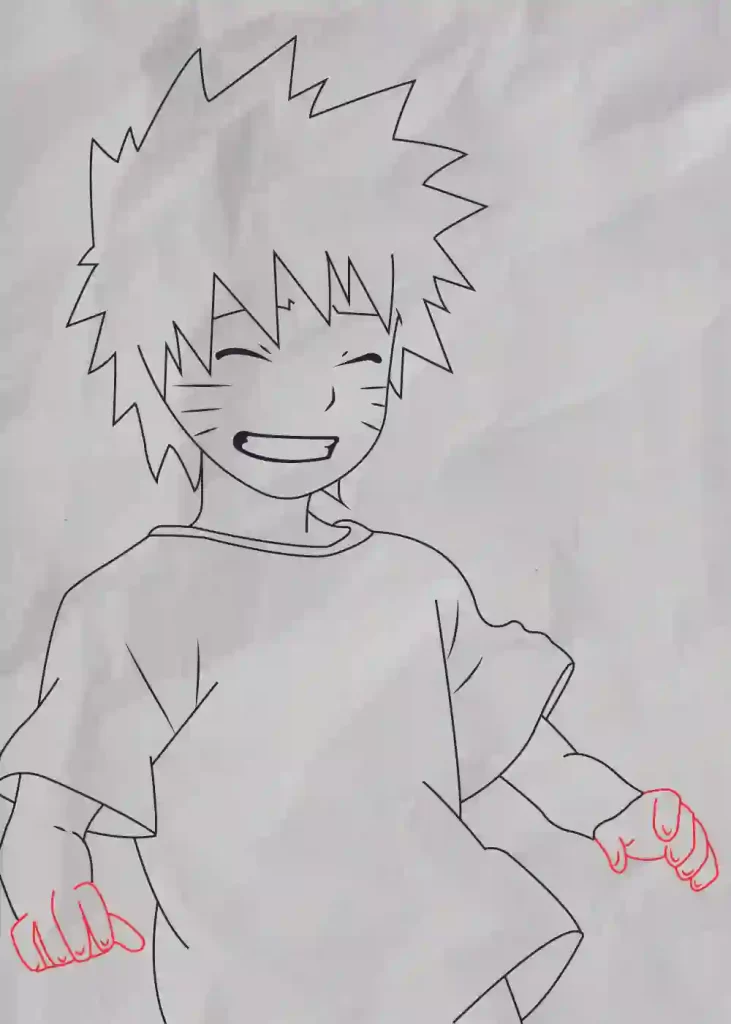
Step 15
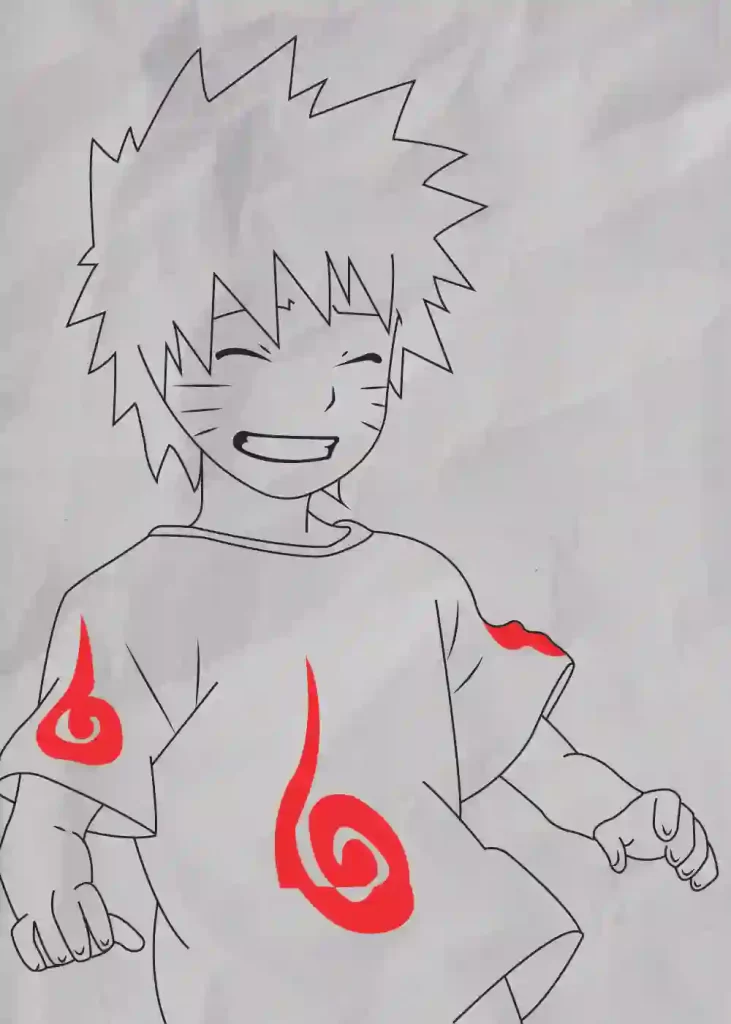
Step 16
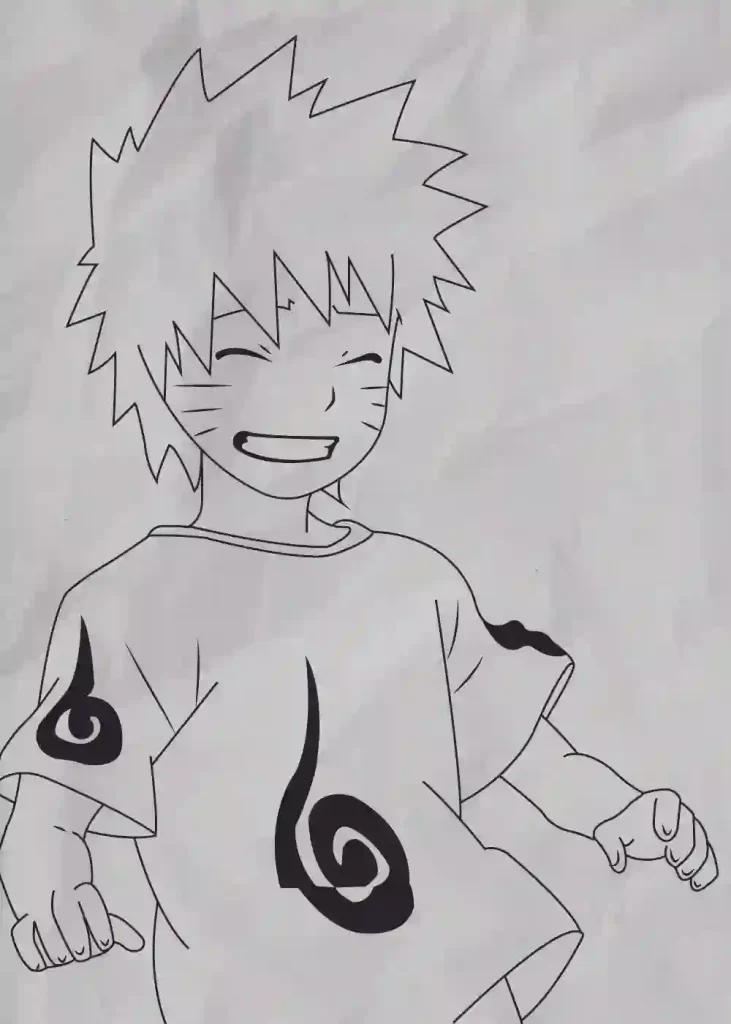
Step 17
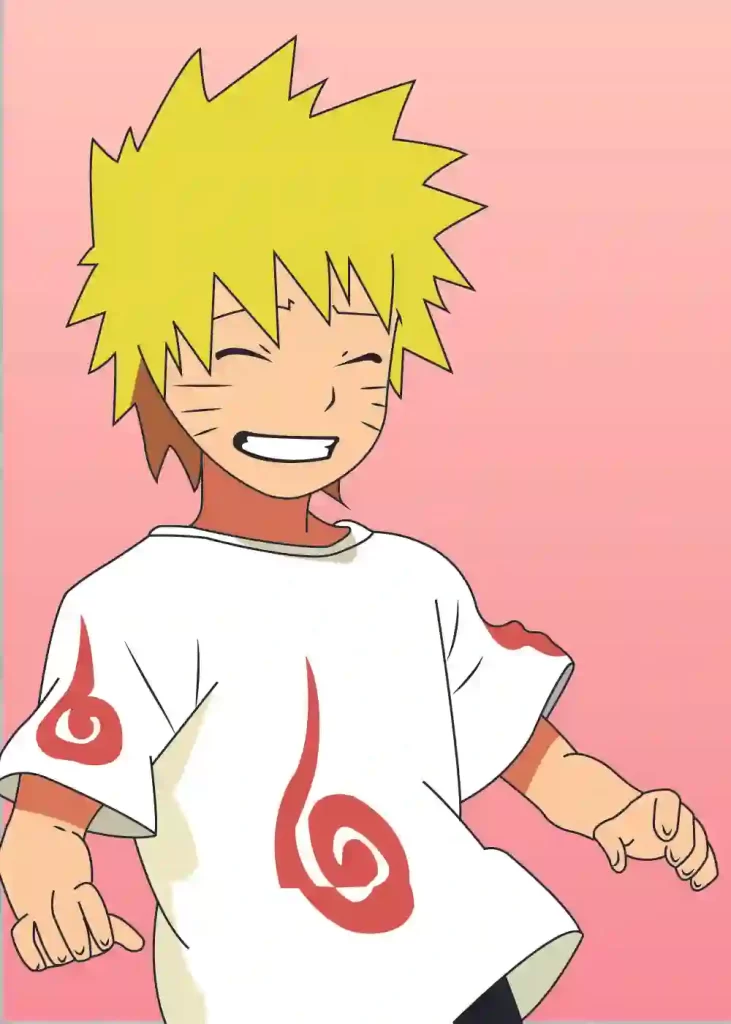
Naruto Character Mobile Wallpaper
Thanks For Reading This How To Draw Naruto Character | Step By Step Drawing tutorials
Hey kids did you like this How To Draw Naruto Character | Step By Step? Practice it and you will see your drawing is improving in every attempt, also share your view in the comment box, and don’t forget to share this art with your friends on Social Media so they can also enjoy it. For more such drawings and stories keep visiting Storiespub.com.
- How to draw Volleyball
- How to draw Naruto
- How to draw bed
- How to draw bangs
- How to draw abs
- How To Draw Stairs
- How to draw graduation cap
- How to draw


