How To Draw A Tooth Step By Step Easy Drawing
Drawing a tooth may seem like a challenging task, but with the right guidance and some practice, you can create a stunning and realistic dental illustration. This step-by-step guide will take you through the entire process, from understanding tooth anatomy to adding the finishing touches.
Gathering Your Art Supplies
Before you begin, make sure you have the following art supplies ready:
- Sketchbook or drawing paper
- Pencils (2H, HB, 2B, and 4B)
- Eraser
- Sharpener
- Blending stumps
- Coloured pencils or watercolours (optional)
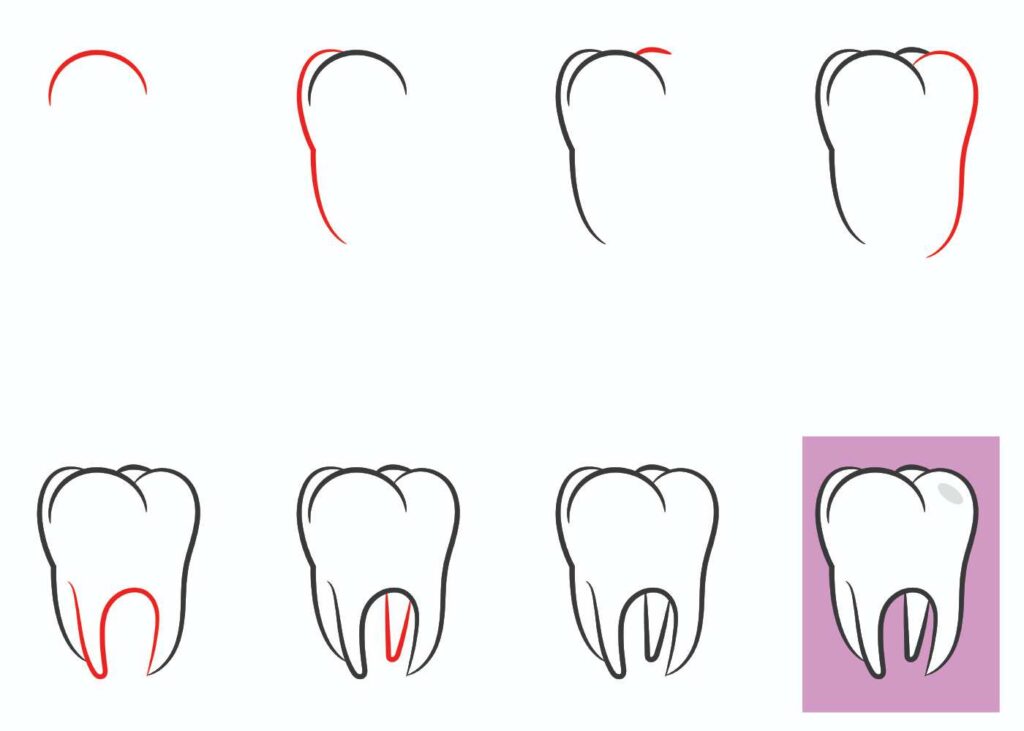
Step 1:Start by drawing the upper part of the tooth.

Step 2:- Now draw the left part of the tooth.

Step 3:- Move to draw the next part.

Step 4:- Draw the right part of the tooth.

Step 5:- Now draw the lower part.

Step 6:- Now the back part of the tooth.
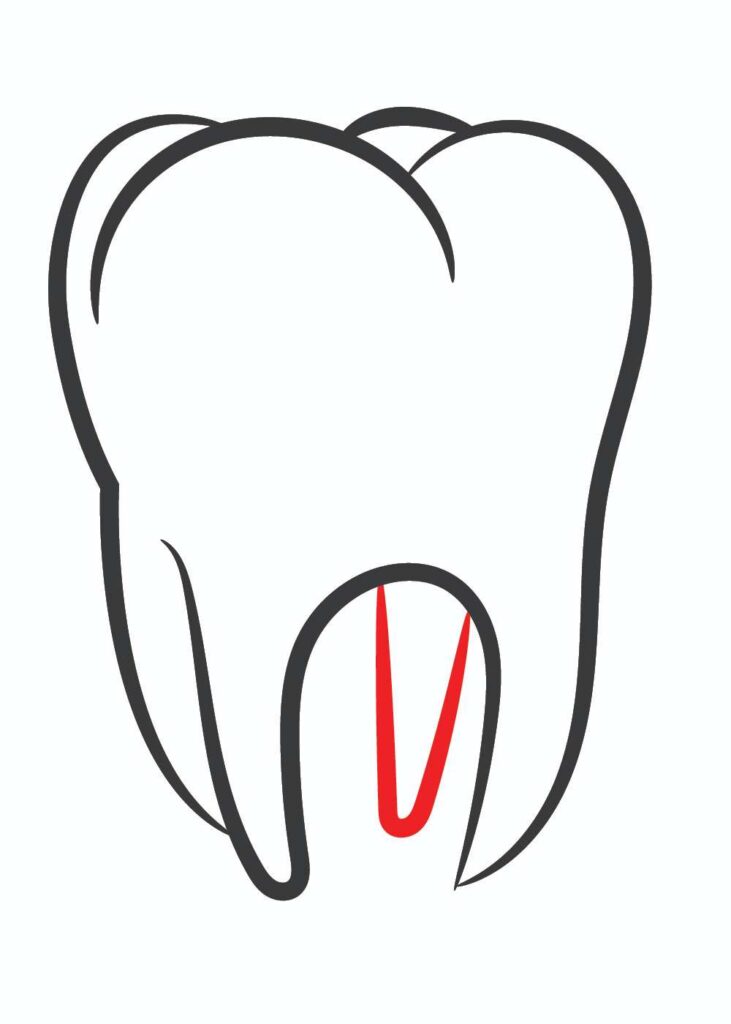
Step 7 The drawing is complete.

Step 8 Color the drawing as shown in picture.

Hey kids, did you like this How To Draw A Tooth Step By Step Easy Drawing? Practice it and you will see your drawing improve with every attempt. Also, share your view in the comment box, and don’t forget to share this art with your friends on Social Media so they can also enjoy it. For more such drawings keep visiting Storiespub.com.
More Drawing Tutorials